"When you share your sparkle, we all shine"
GREENERY!!!!
I am pretty obsessed with the Pantone color of the year for 2017. More than just a color, Greenery is a concept and a way of life. As someone who tries very hard to live green, for the Earth, the climate, and the future generations, this color speaks to me!!! I will definitely be including more green in my designs this year and everyday working to make choices that will leave this planet better than I found it! Here is a trend board with some Greenery, my personal pictures from travels around the world. Enjoy! Reuse them, love them, be inspired, live green!
Plus Pantone has beautiful color palette inspirations to add more green in your life and balance this bountiful color with other beauties. Check it out below!
Something FUN!
A fun kids print celebrating diversity and of course honoring Keith Haring.
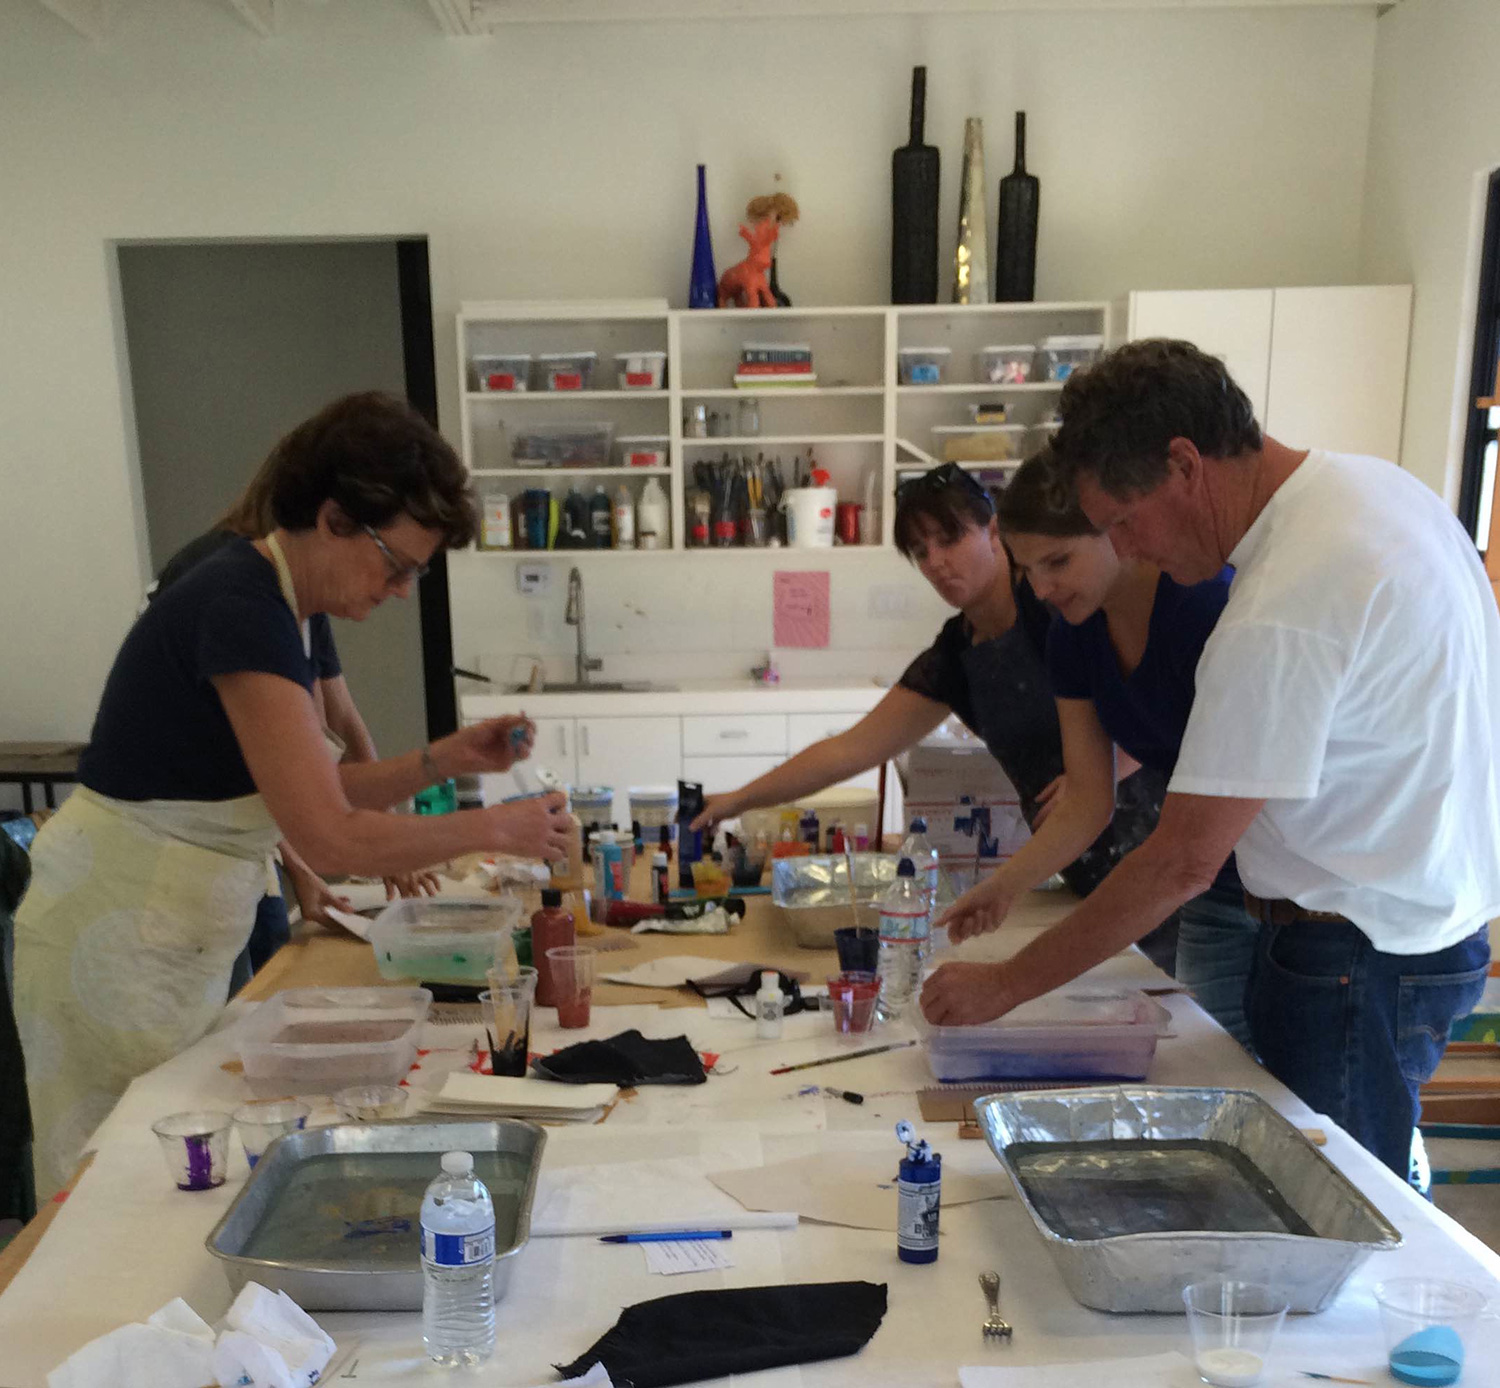
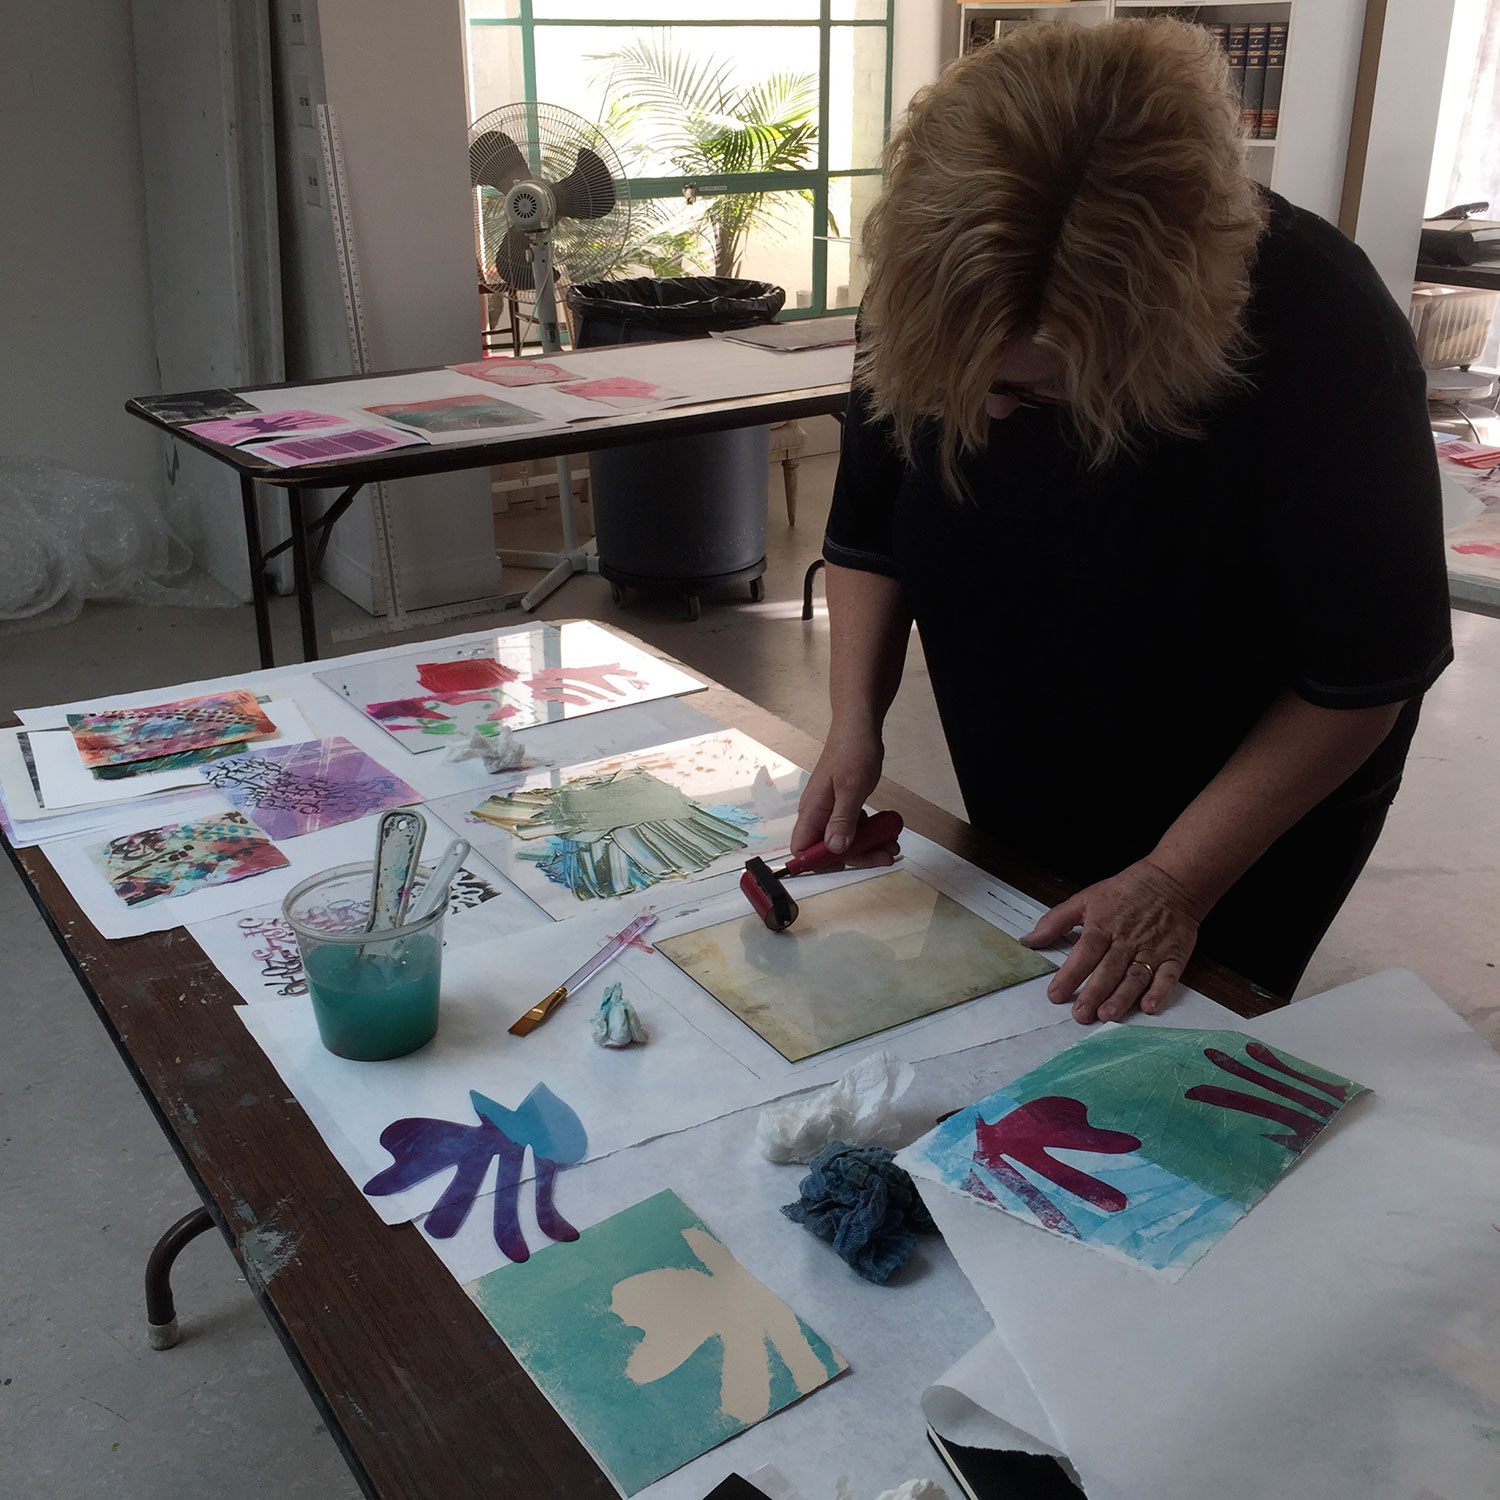
this saturday 1/14 PAPER MARBLING CLASS IN ENCINITAS!!!!!
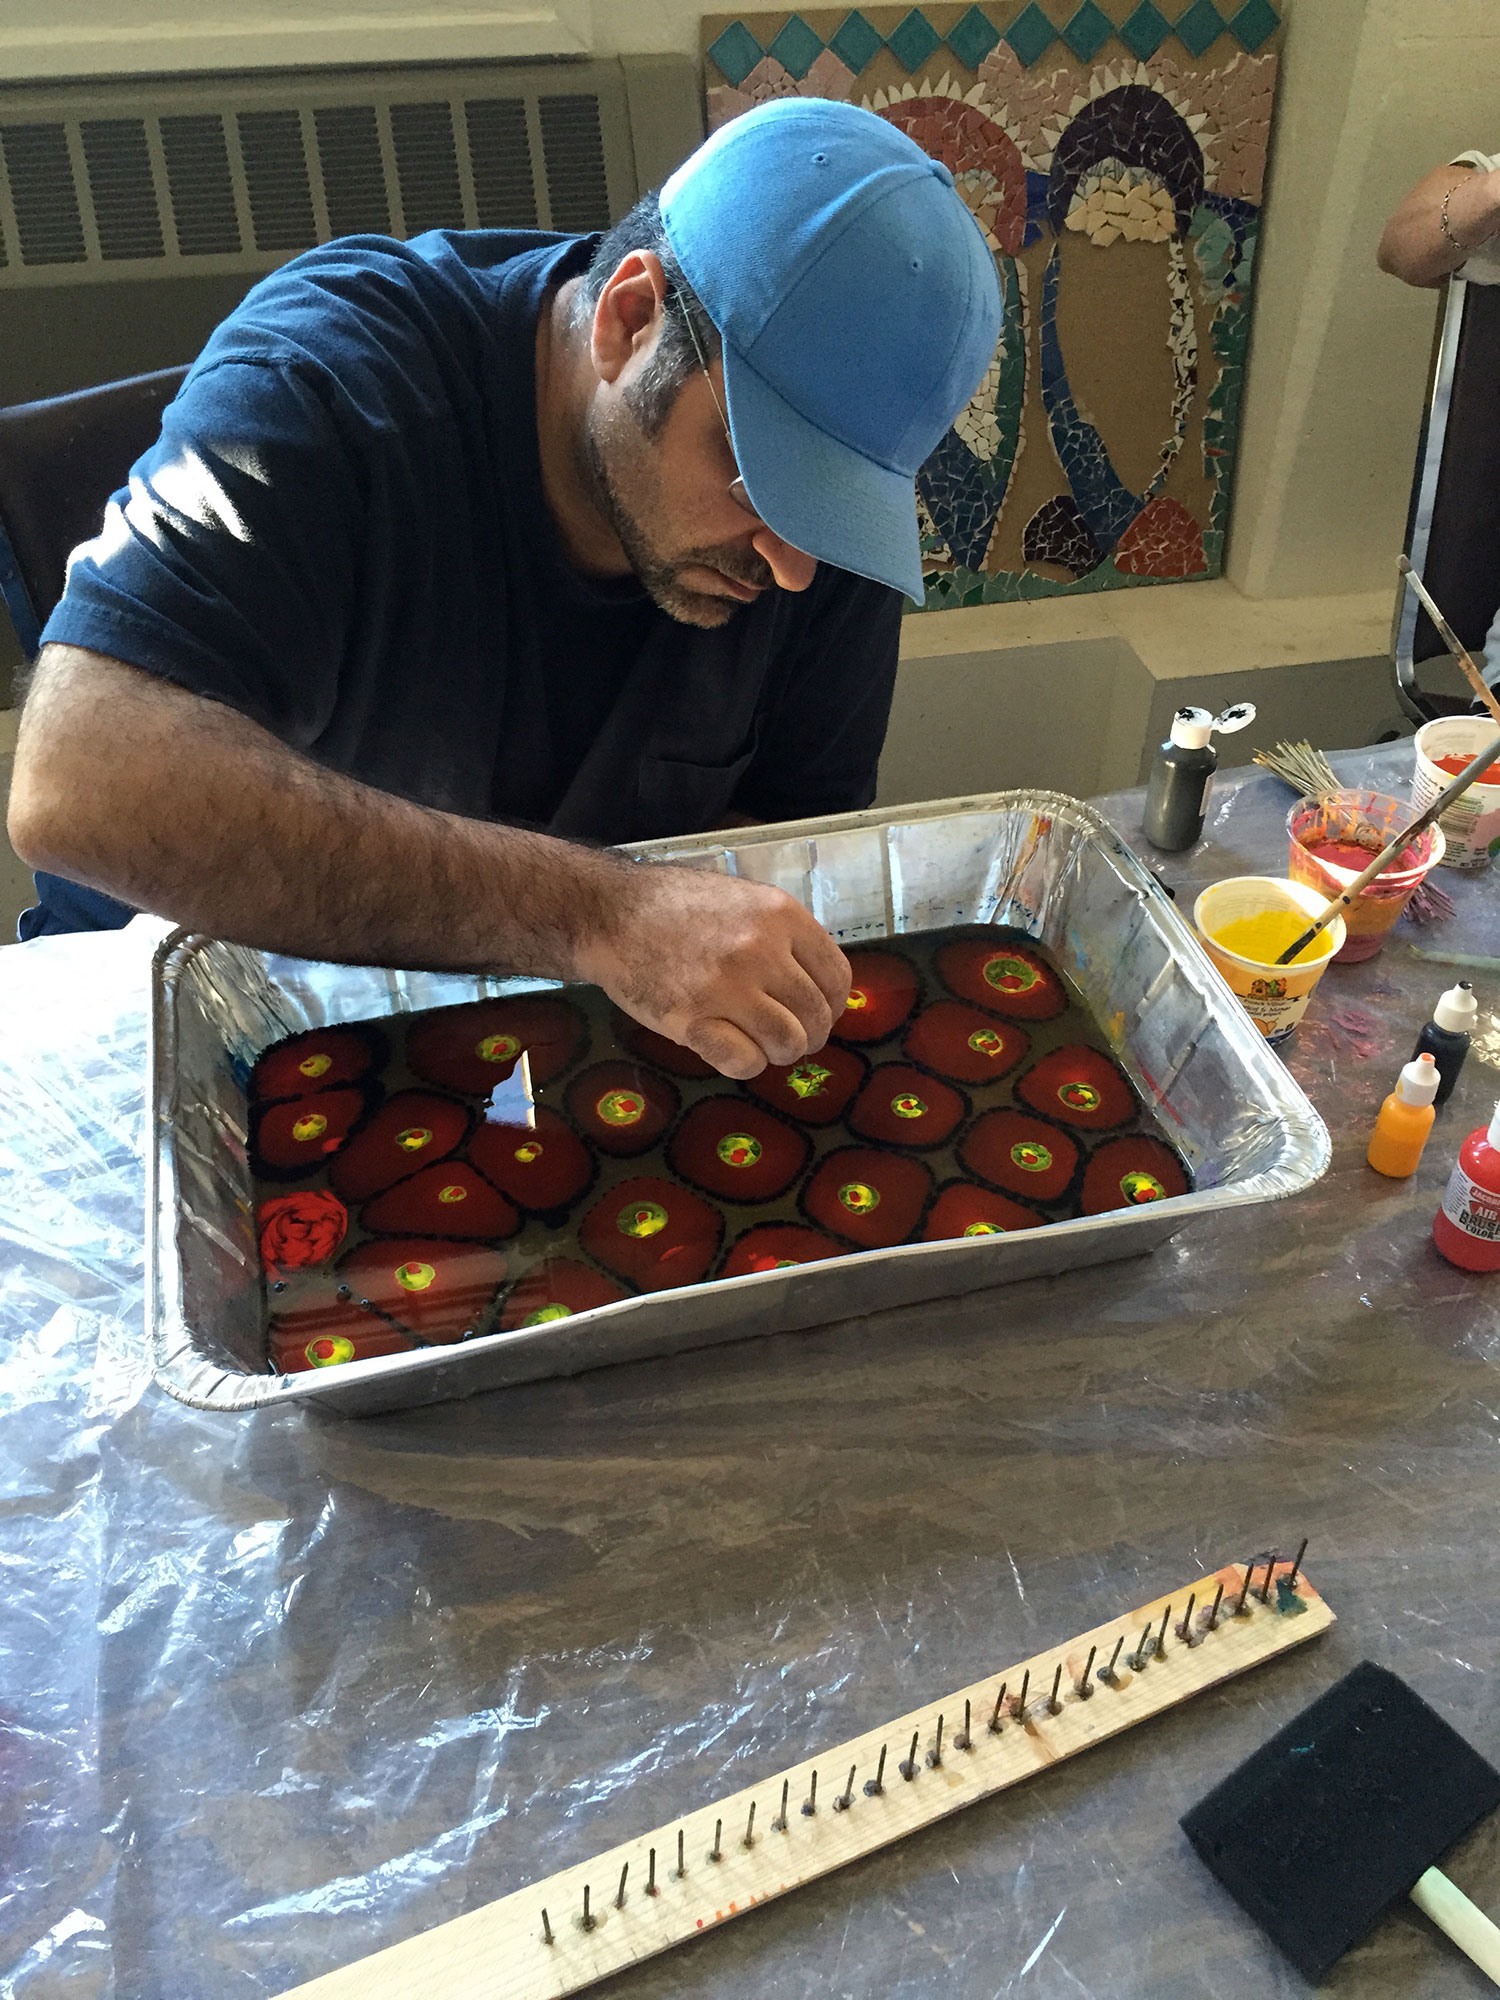
Yup! This Saturday January 14th from 2-5pm I will be at the adorable Art Lounge on 101 in Encinitas. This is such a fun workshop...See you there!!!
Bonus... There are more classes in 2017!
January 29th from 1-4pm or March 26th from 3-6pm at Bravo School of Art in Point Loma

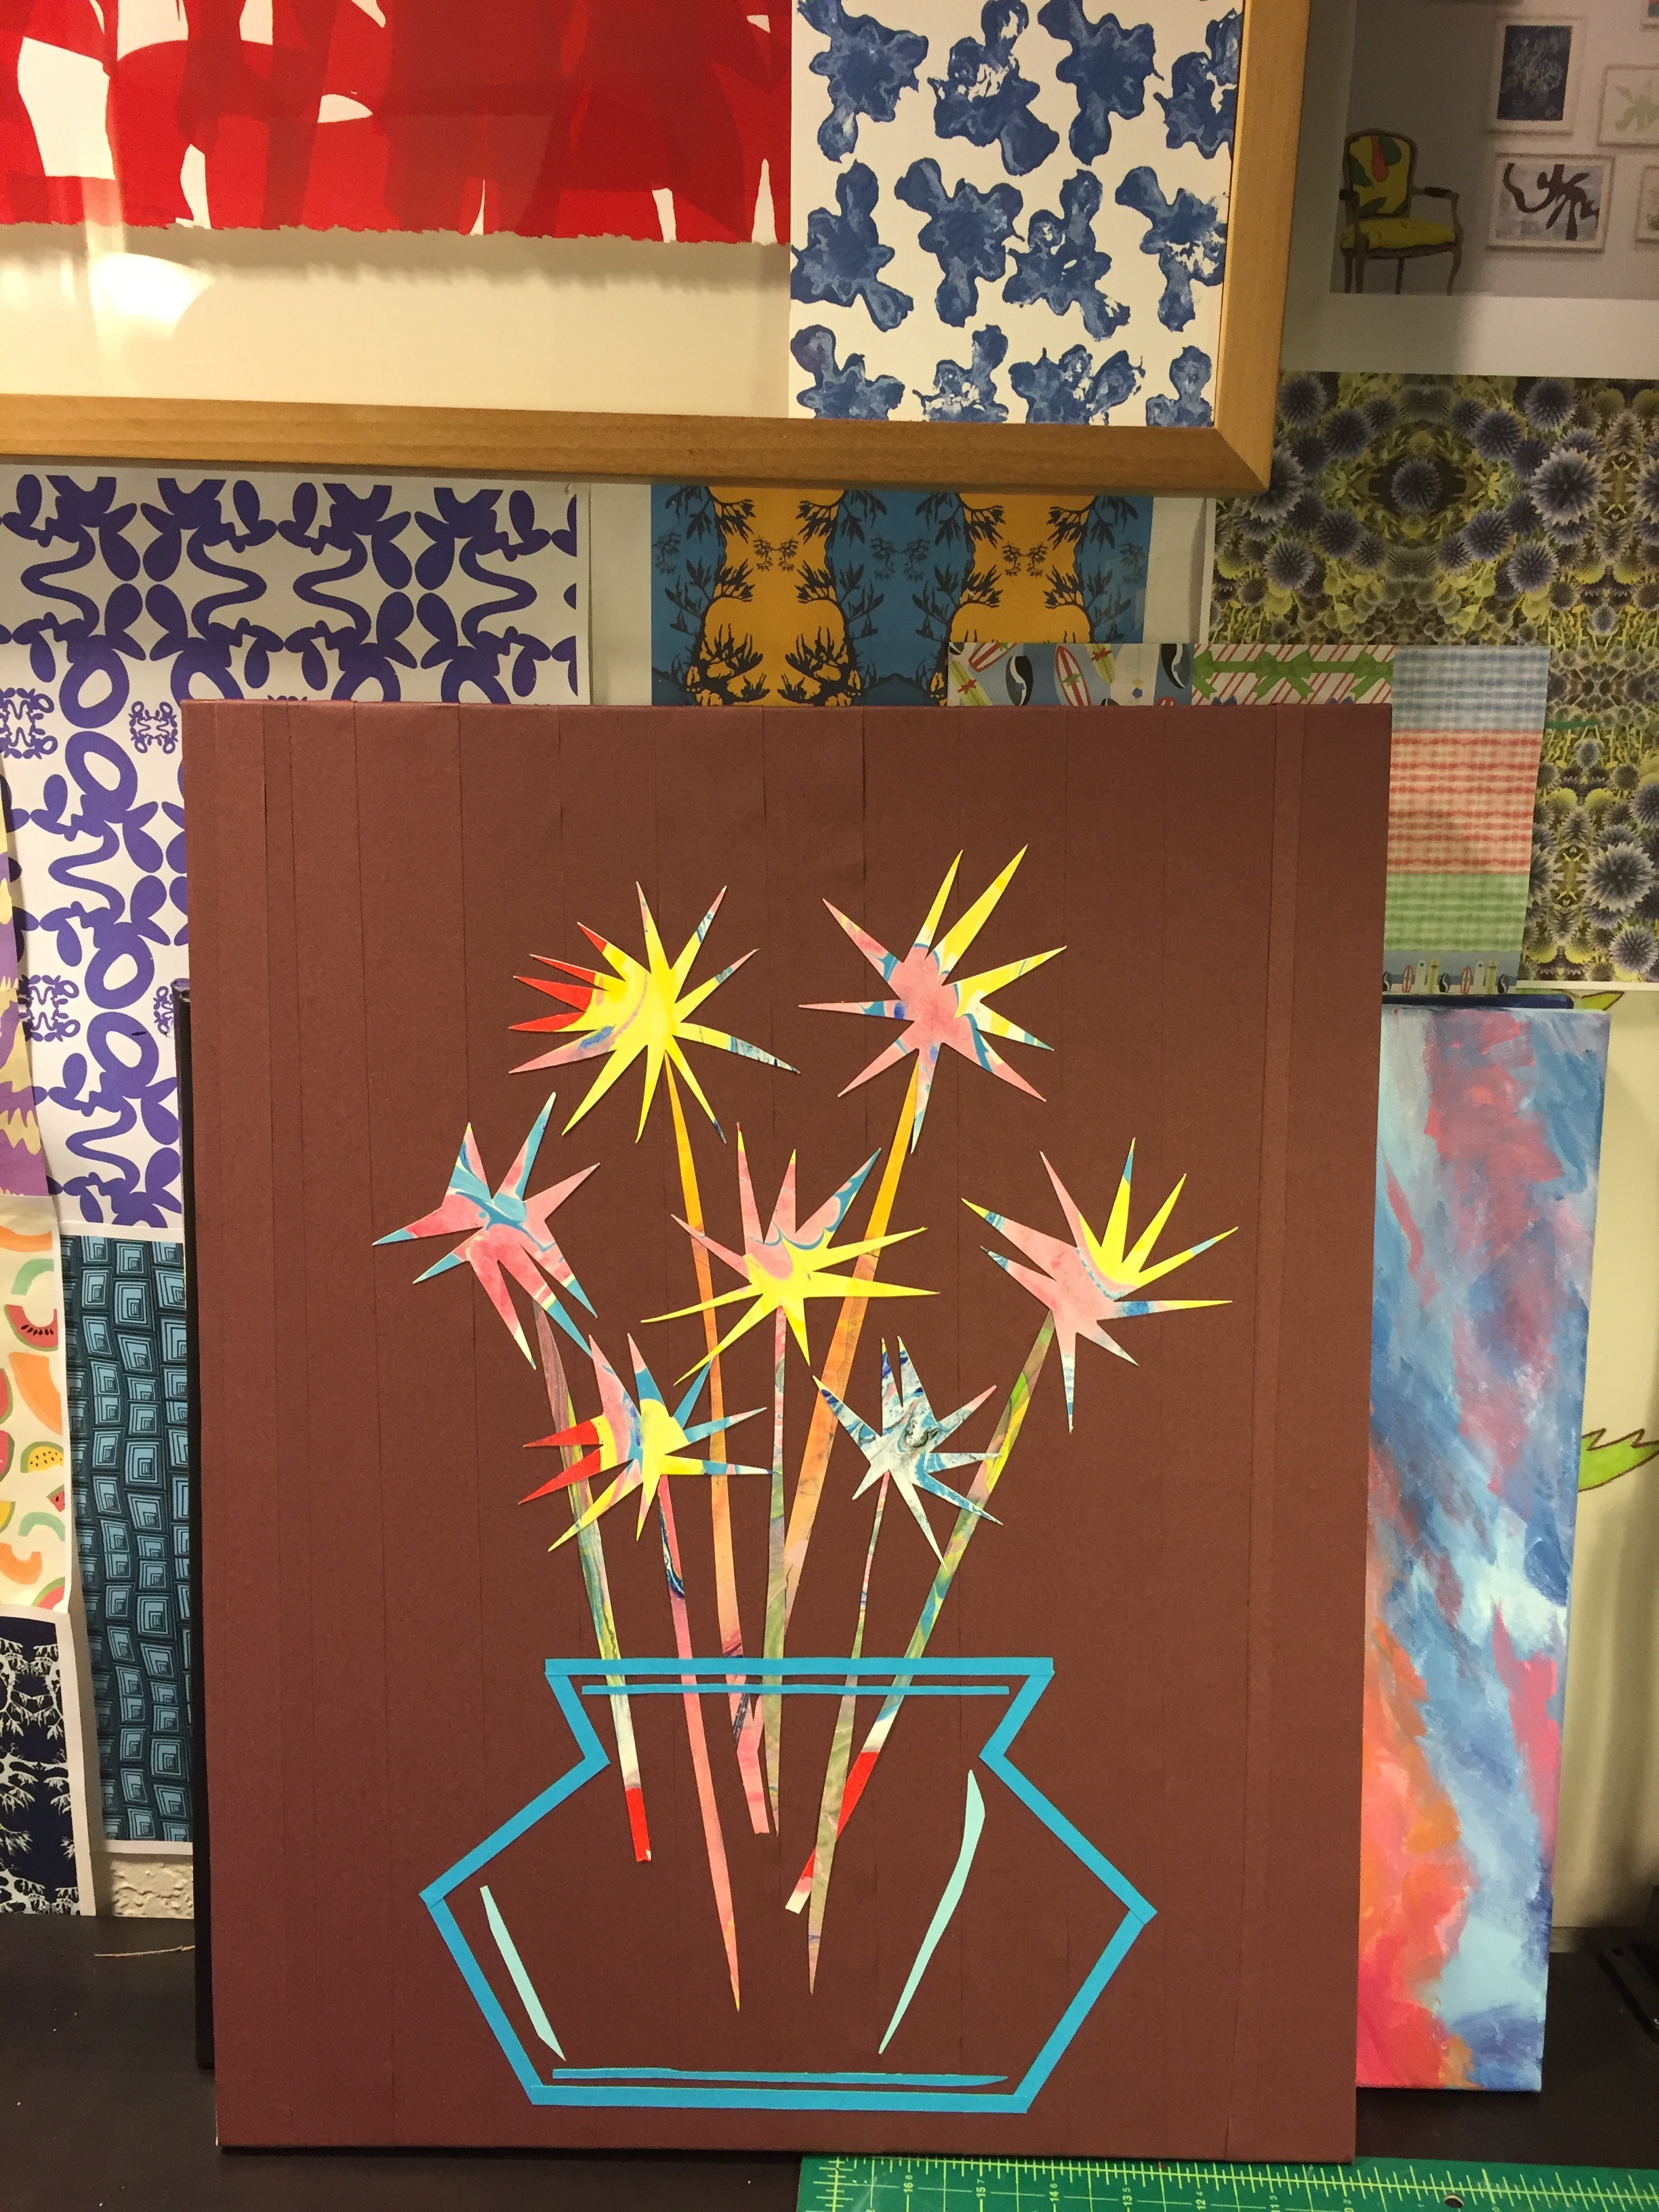
My Spikey Floral Collage
A new piece....keeping with the tropical vibe!!
Vision Board
Making a vision board is an exercise in defining your brand and style, the top photos are from Ikea and Pinterest. The bottom two are RHD originals.
Rouse House Design invents playful patterns that generate positive energy for the home, stationary, and quilting markets. Made for the young and young at heart.
Upcoming Indigo Workshops in San Diego
Winter Indigo Dyeing and Shibori one day workshops!!
Haven't you always wanted to try this!!?? Now is the time....
Come make something for yourself or someone else!
November 5th at Art Lounge in Encinitas 9:30am - 1:00 pm
November 6th at Bravo School of Art in Point Loma 1:00pm - 5:00 pm
December 9th at Bravo School of Art in Point Loma 10:00am - 2:00 pm
December 10th at Art Lounge in Encinitas 10:00am - 1:00pm
January 28th at Art Lounge in Encinitas 10:00am - 1:00pm
February 5th at The Athenaeum La Jolla TBD
Sculptures from the past...
It is always fun to peruse portfolios from years ago, here are three sculptures I made in college at the University of Miami....10 years ago! Wow!
Piano Chair circa 2007 found objects
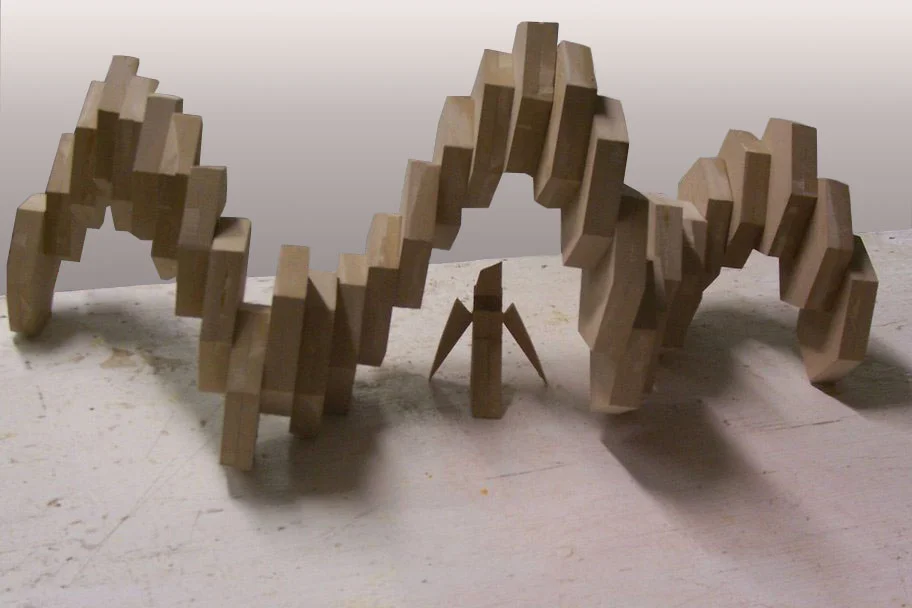
Sugar Addict circa 2006 wood
Organic Chemistry Massacre circa 2006 found objects

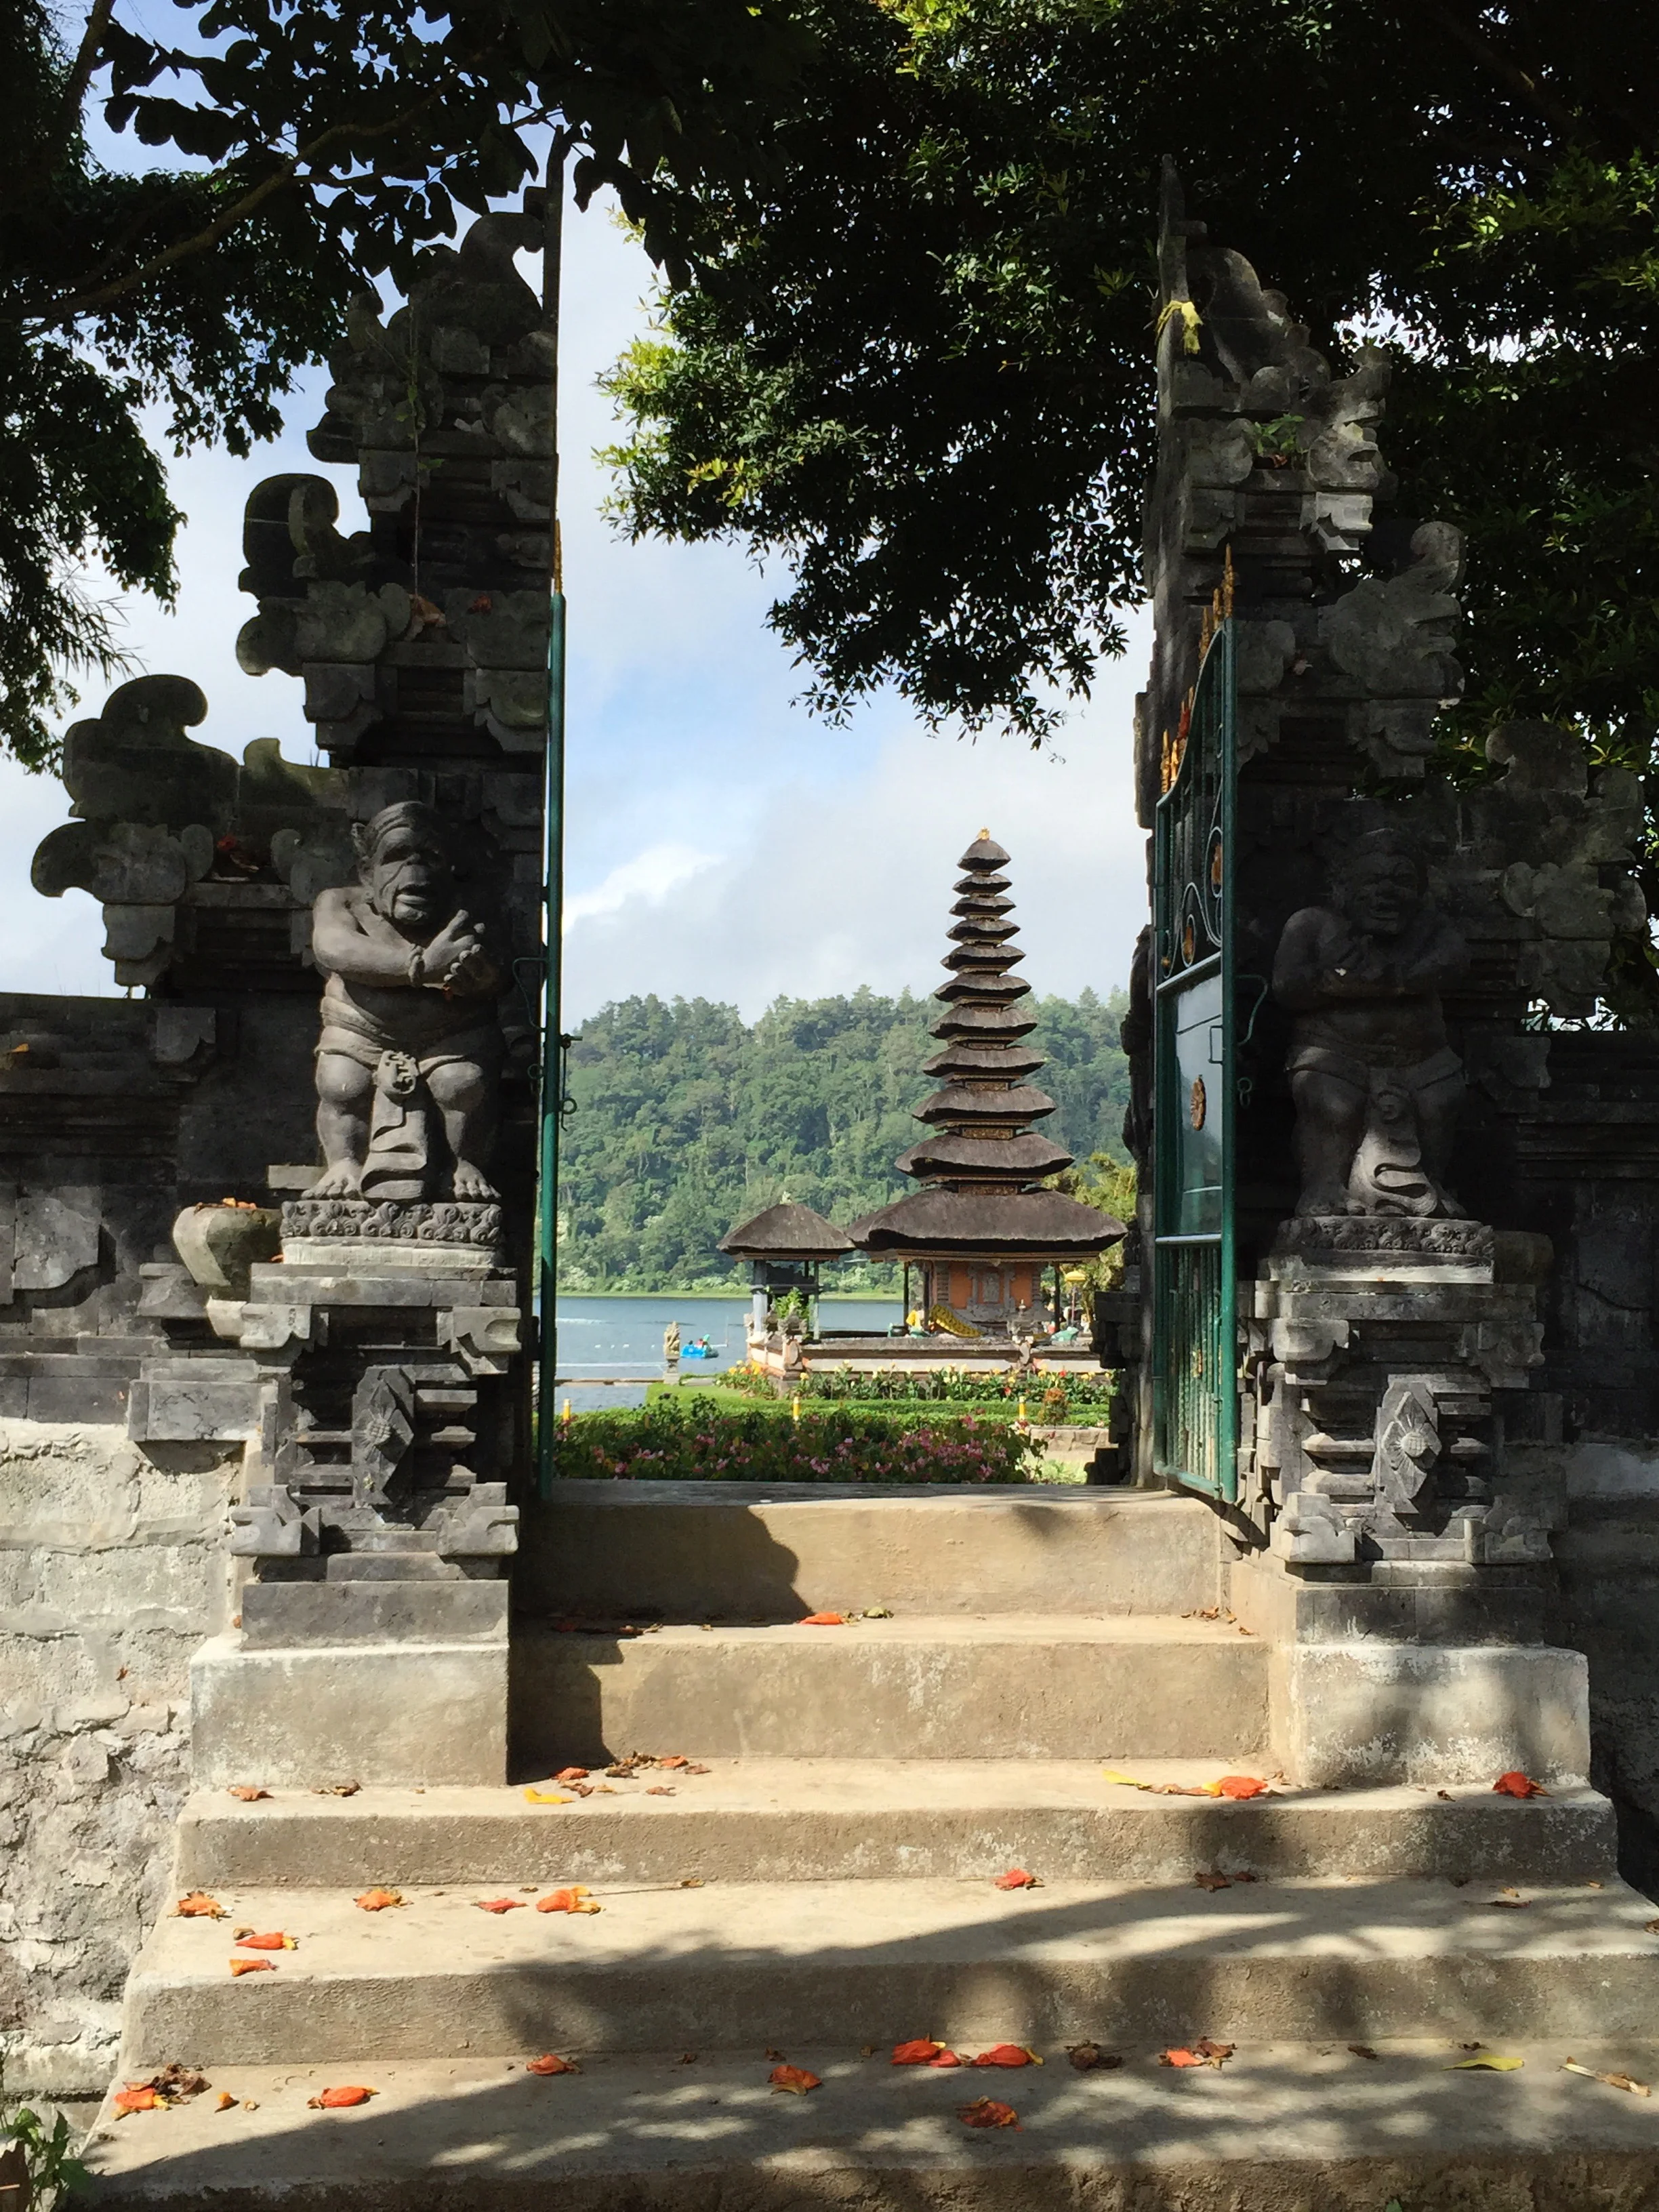
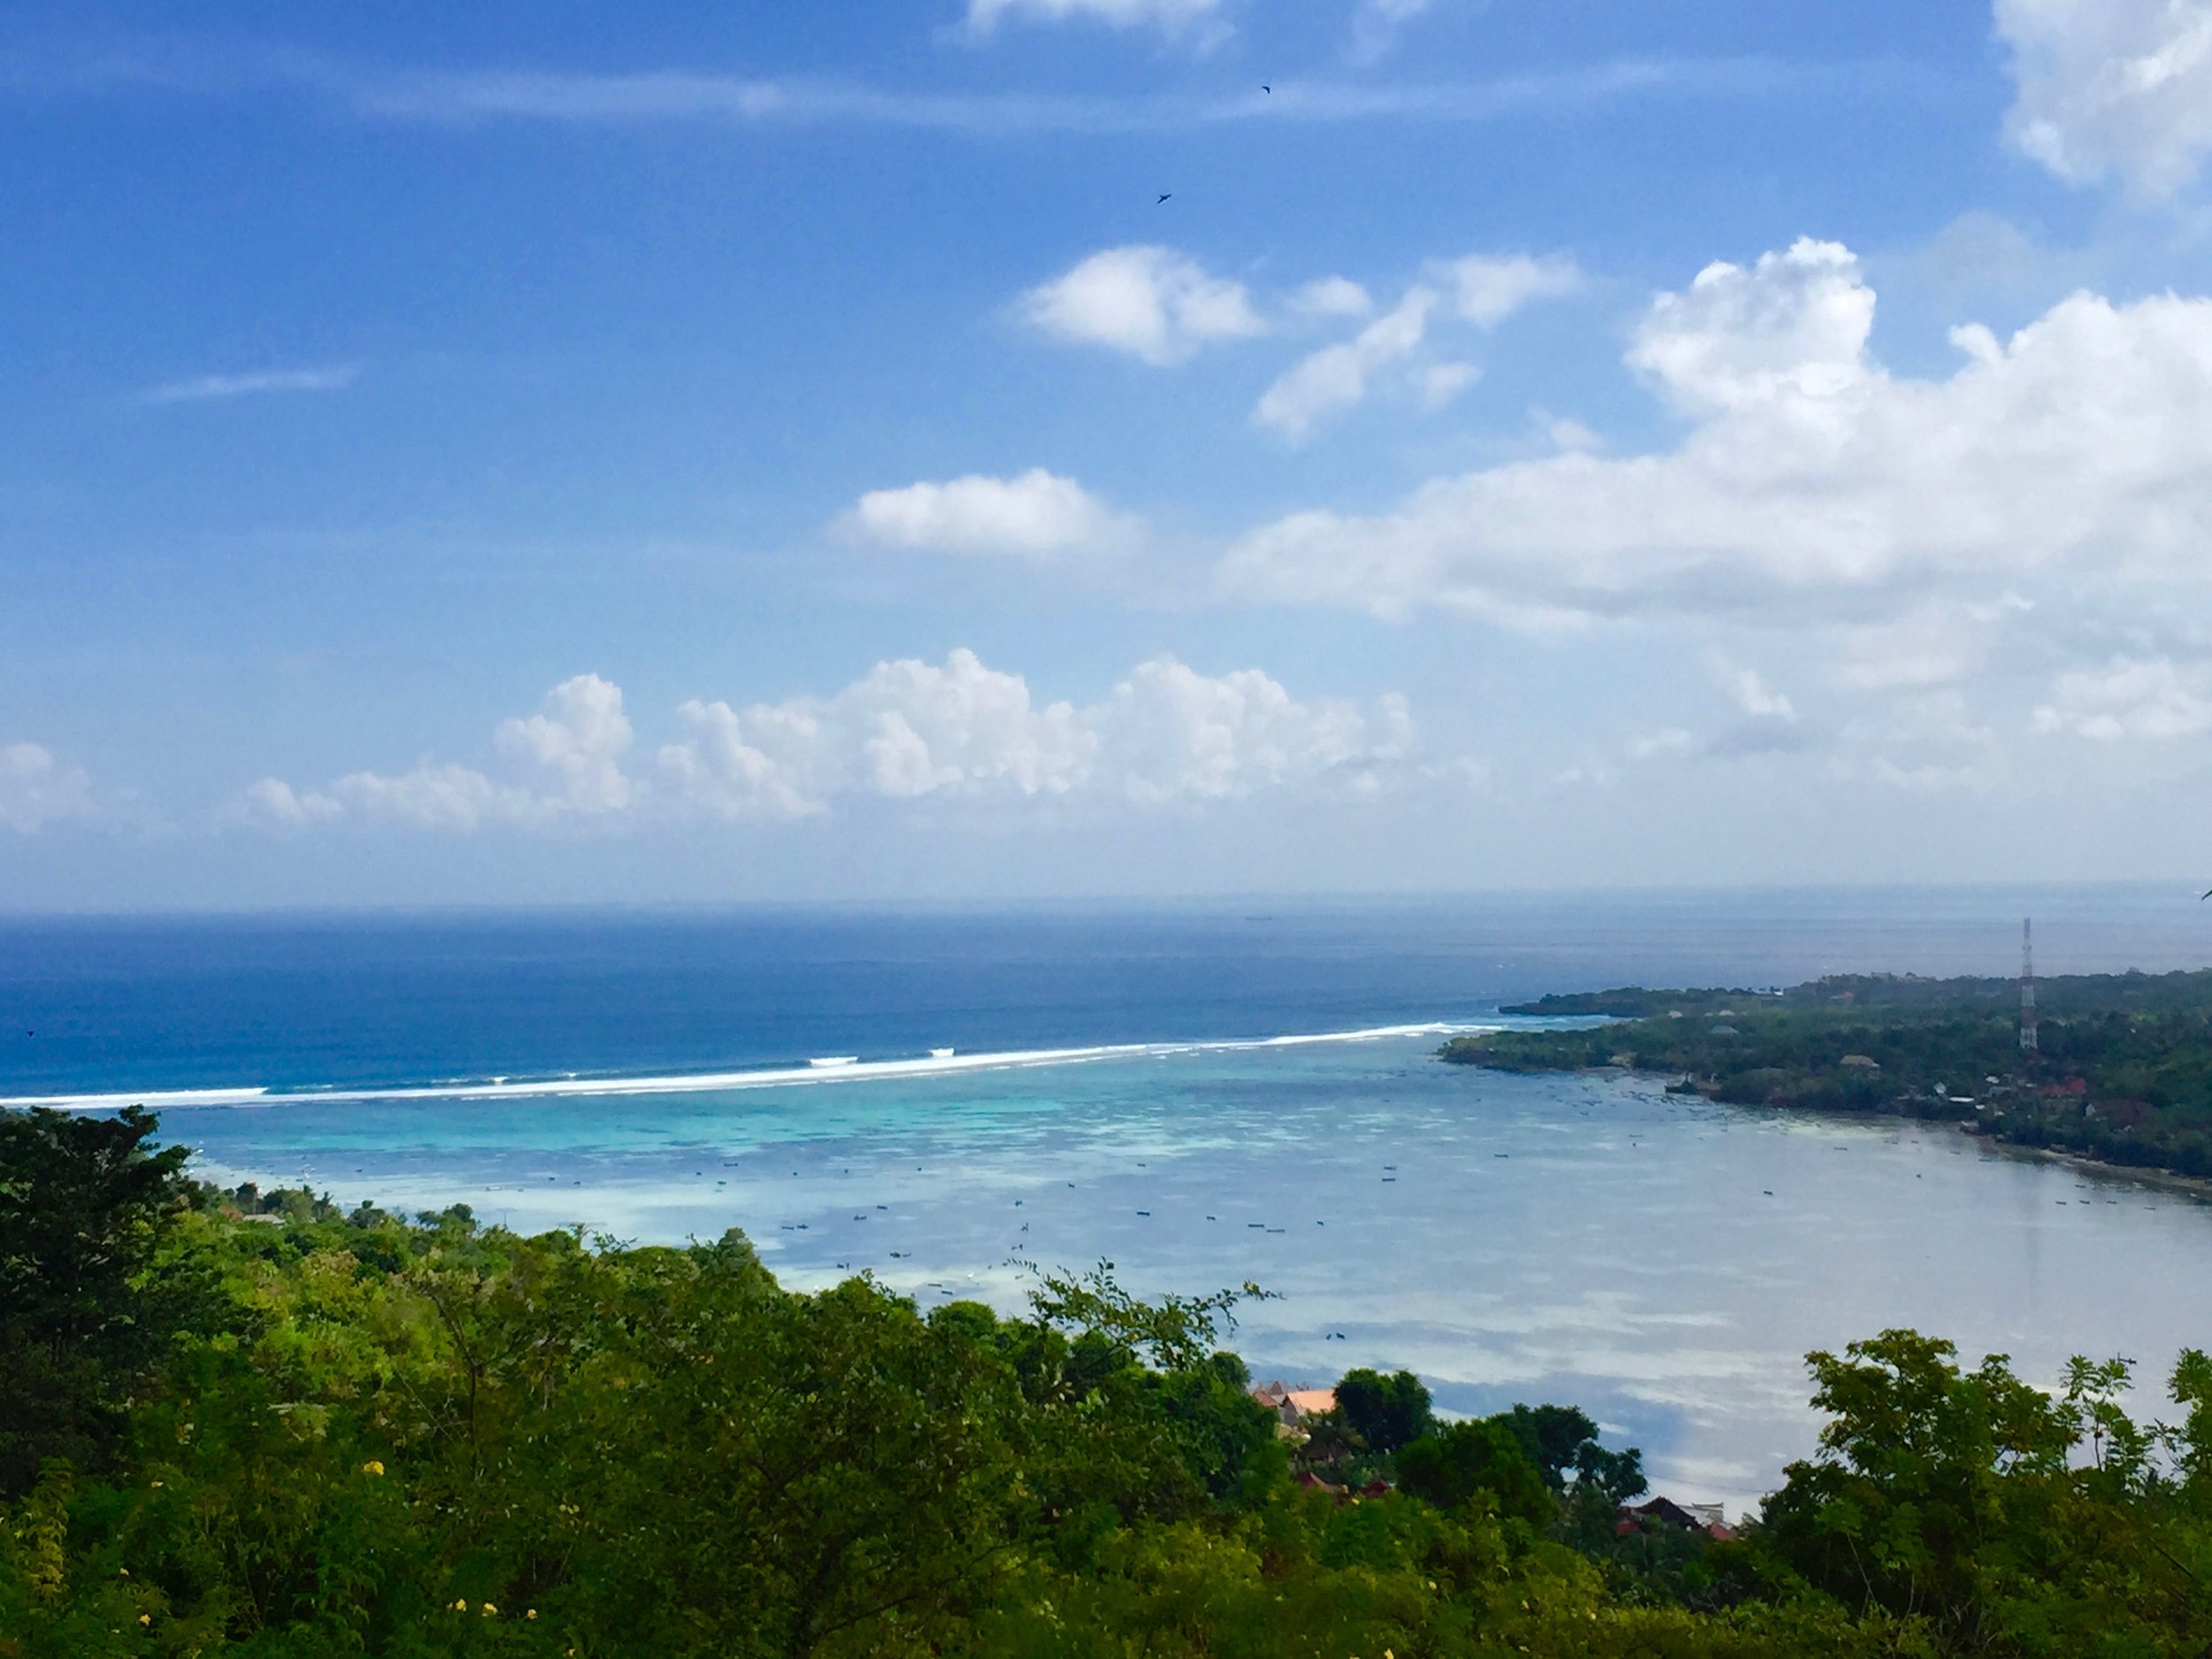
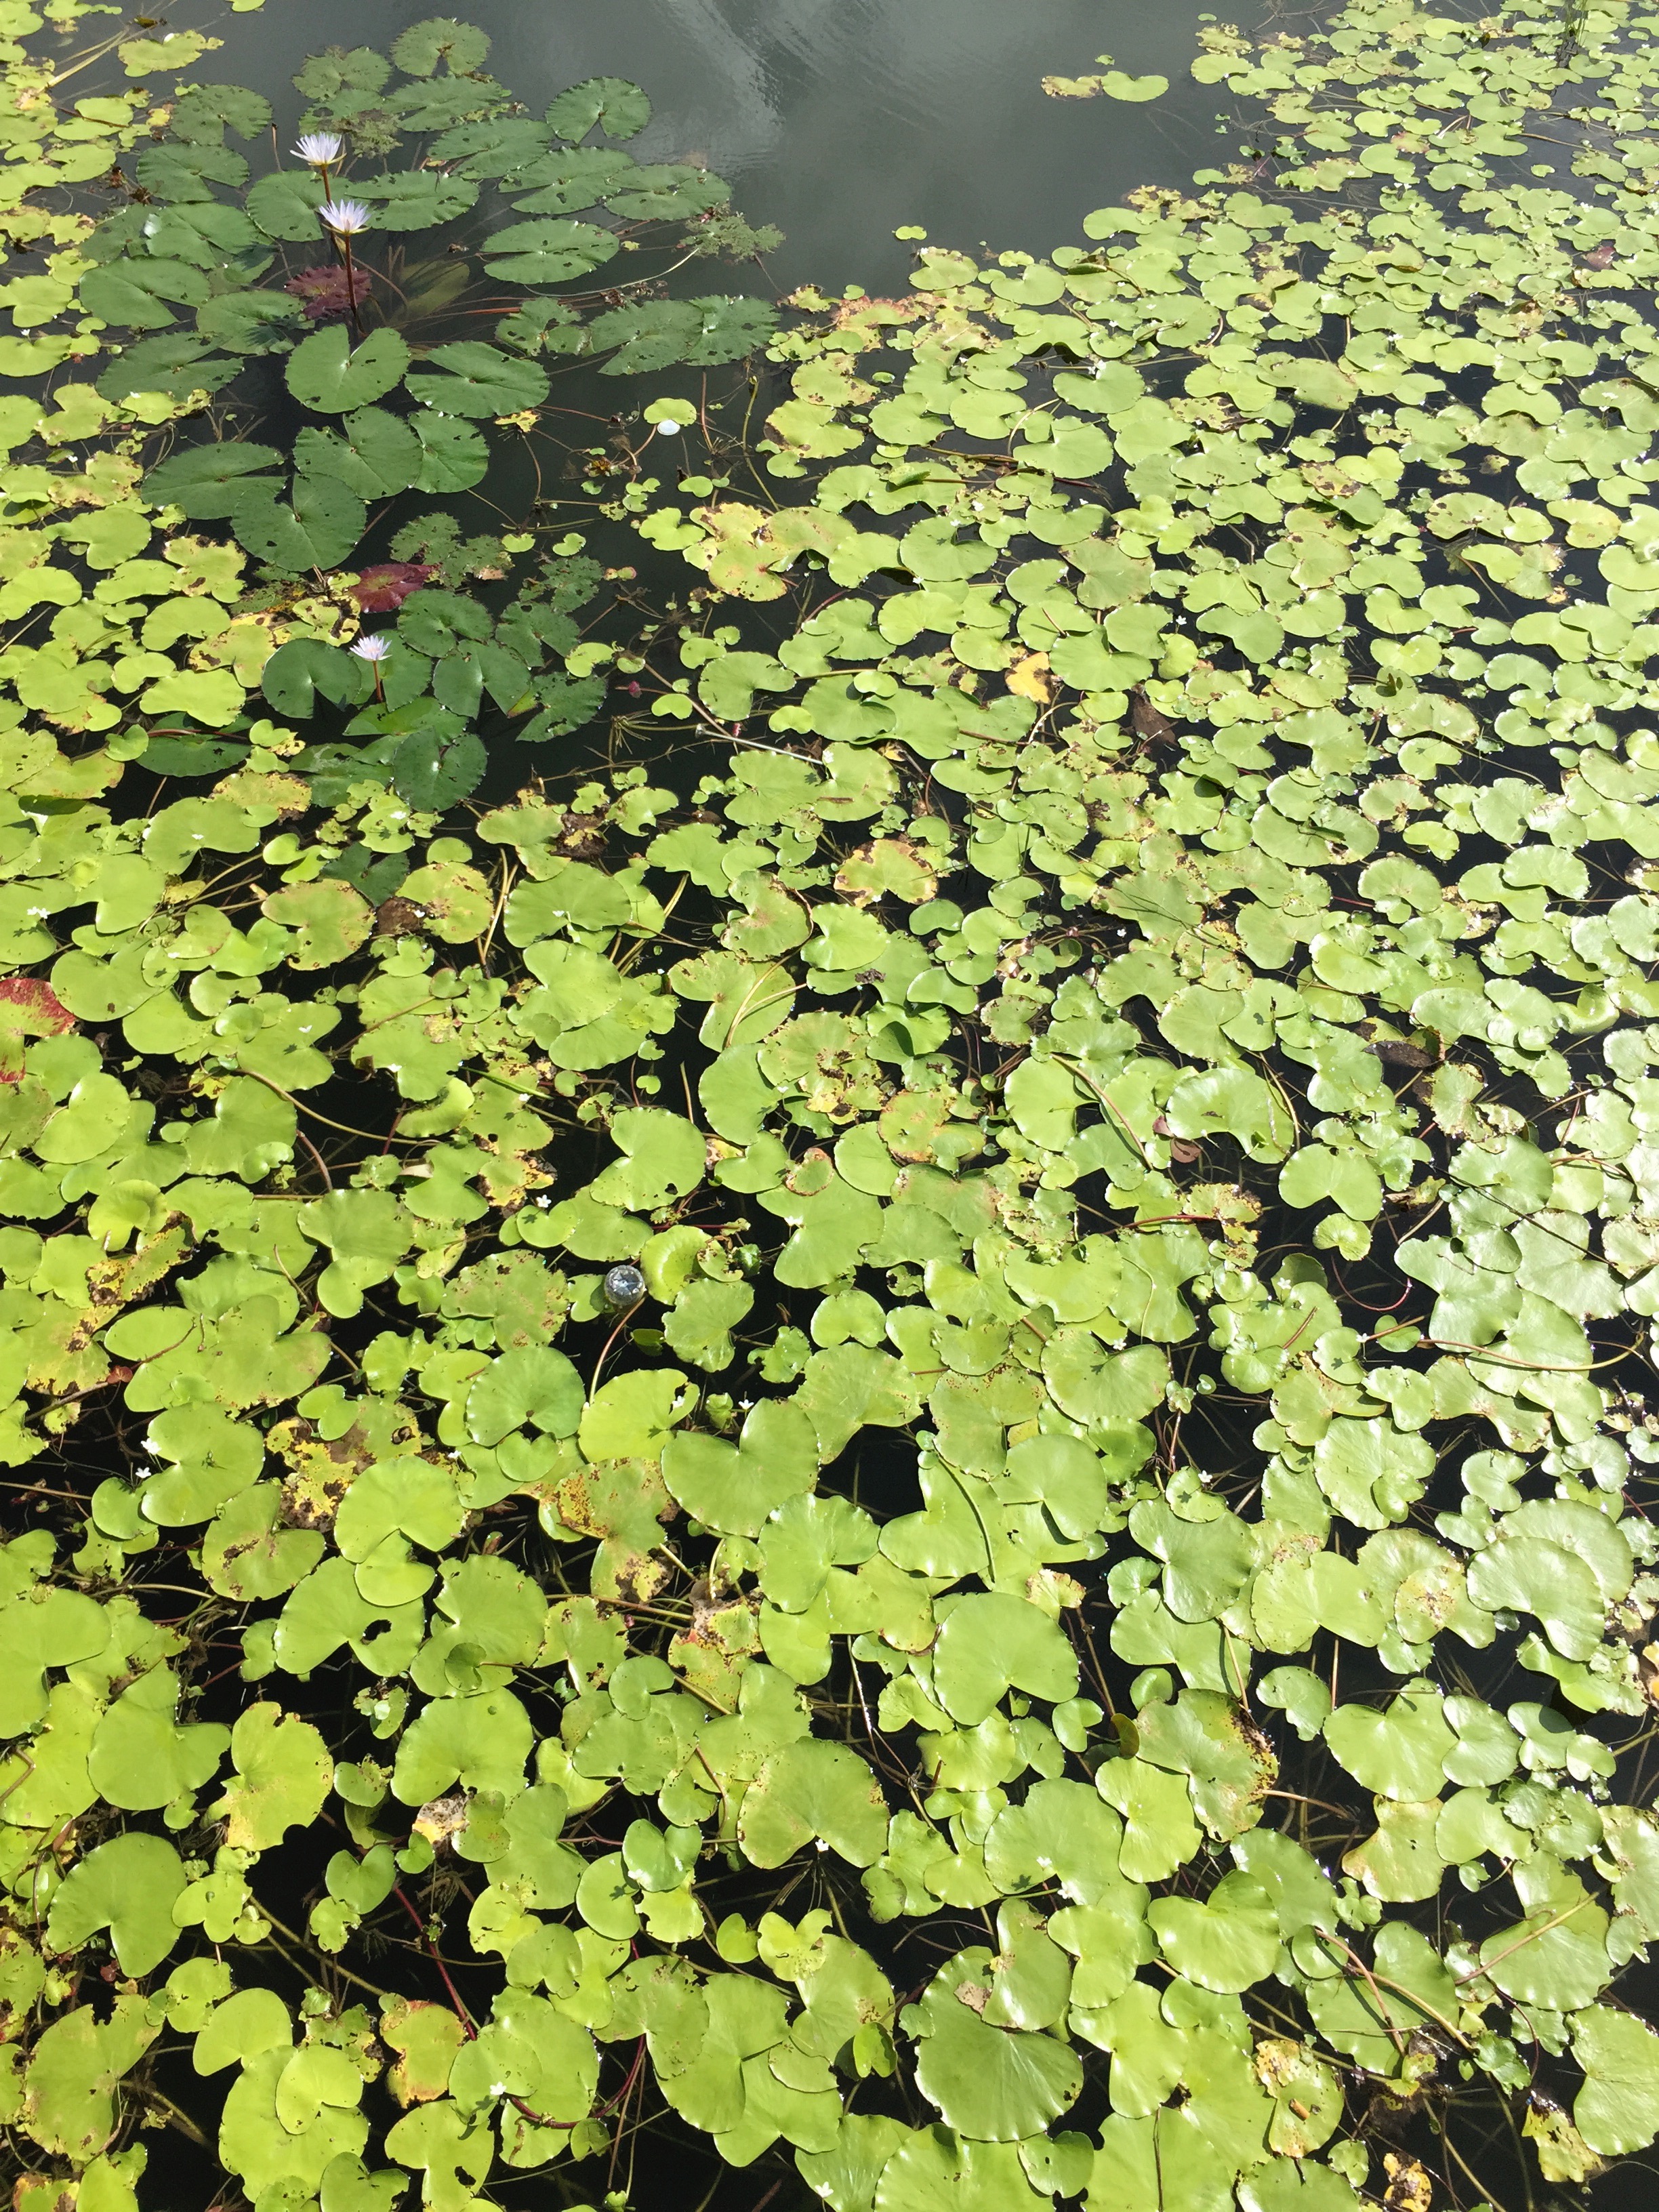
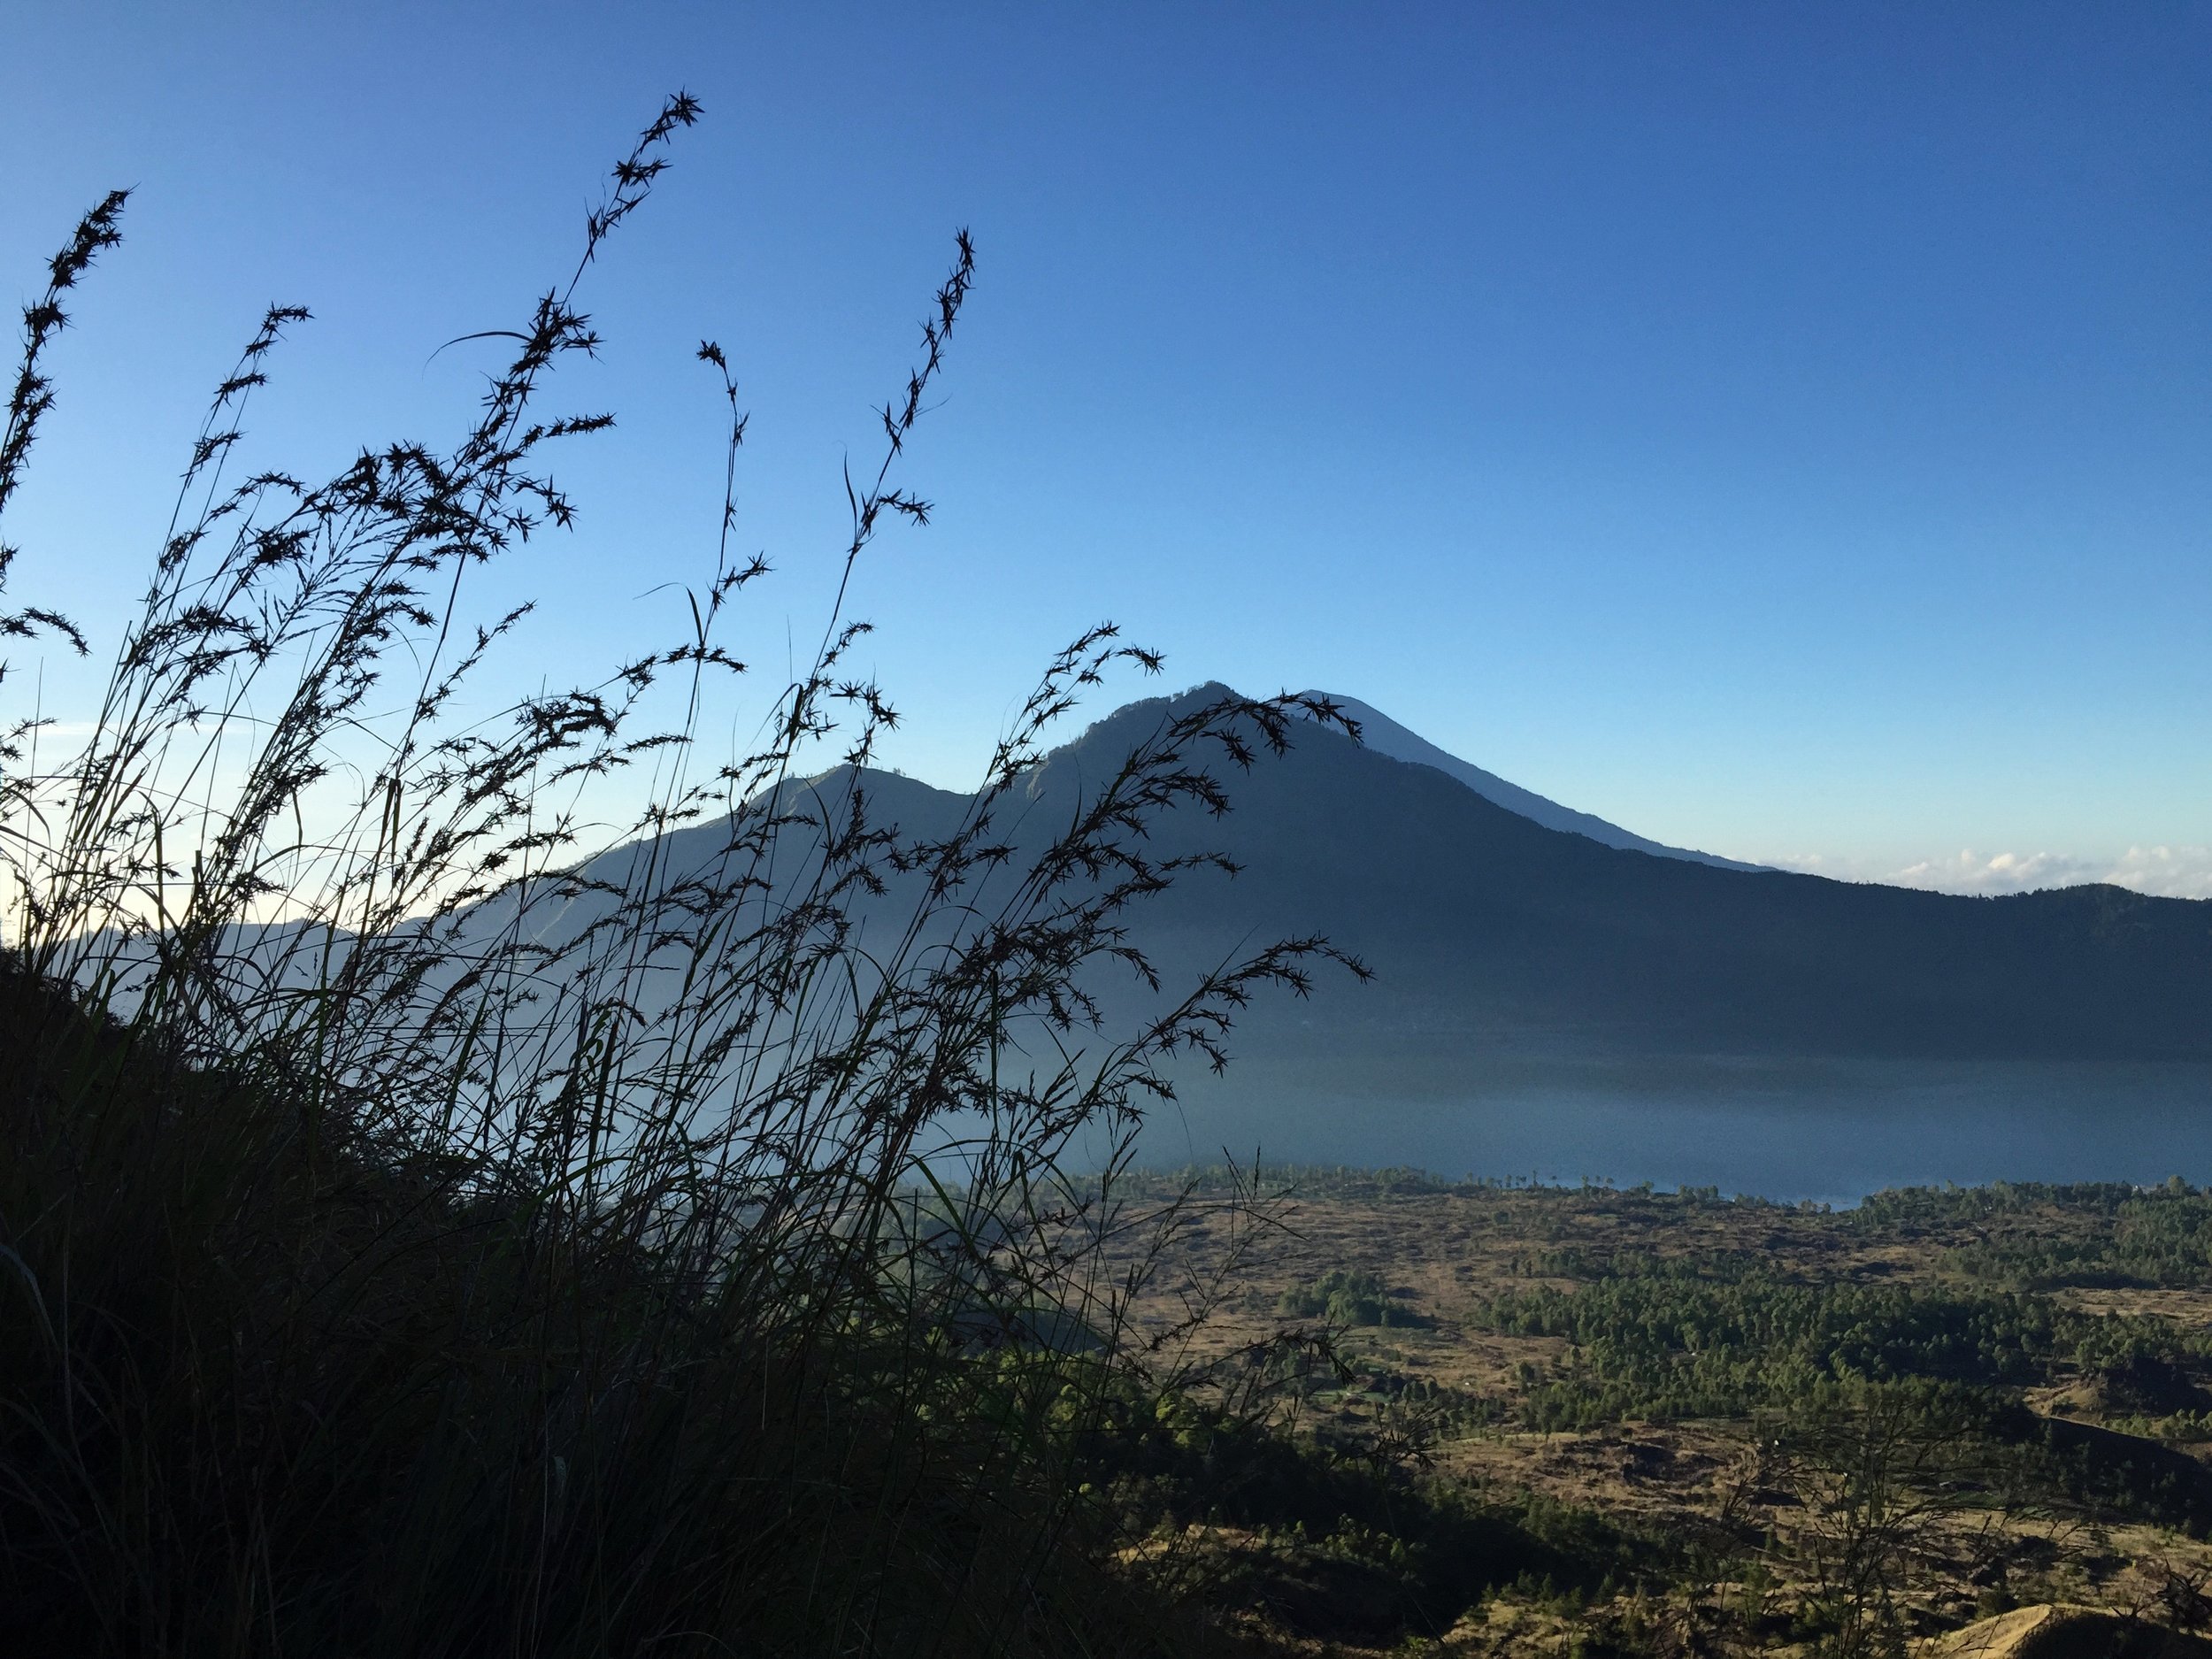
Bali Reminiscing....
Collecting research for a Tropical Holidays collection means looking at photos from our honeymoon in Bali, Indonesia, what great inspiration! Sunrise to sunset on this magical Hindu island....


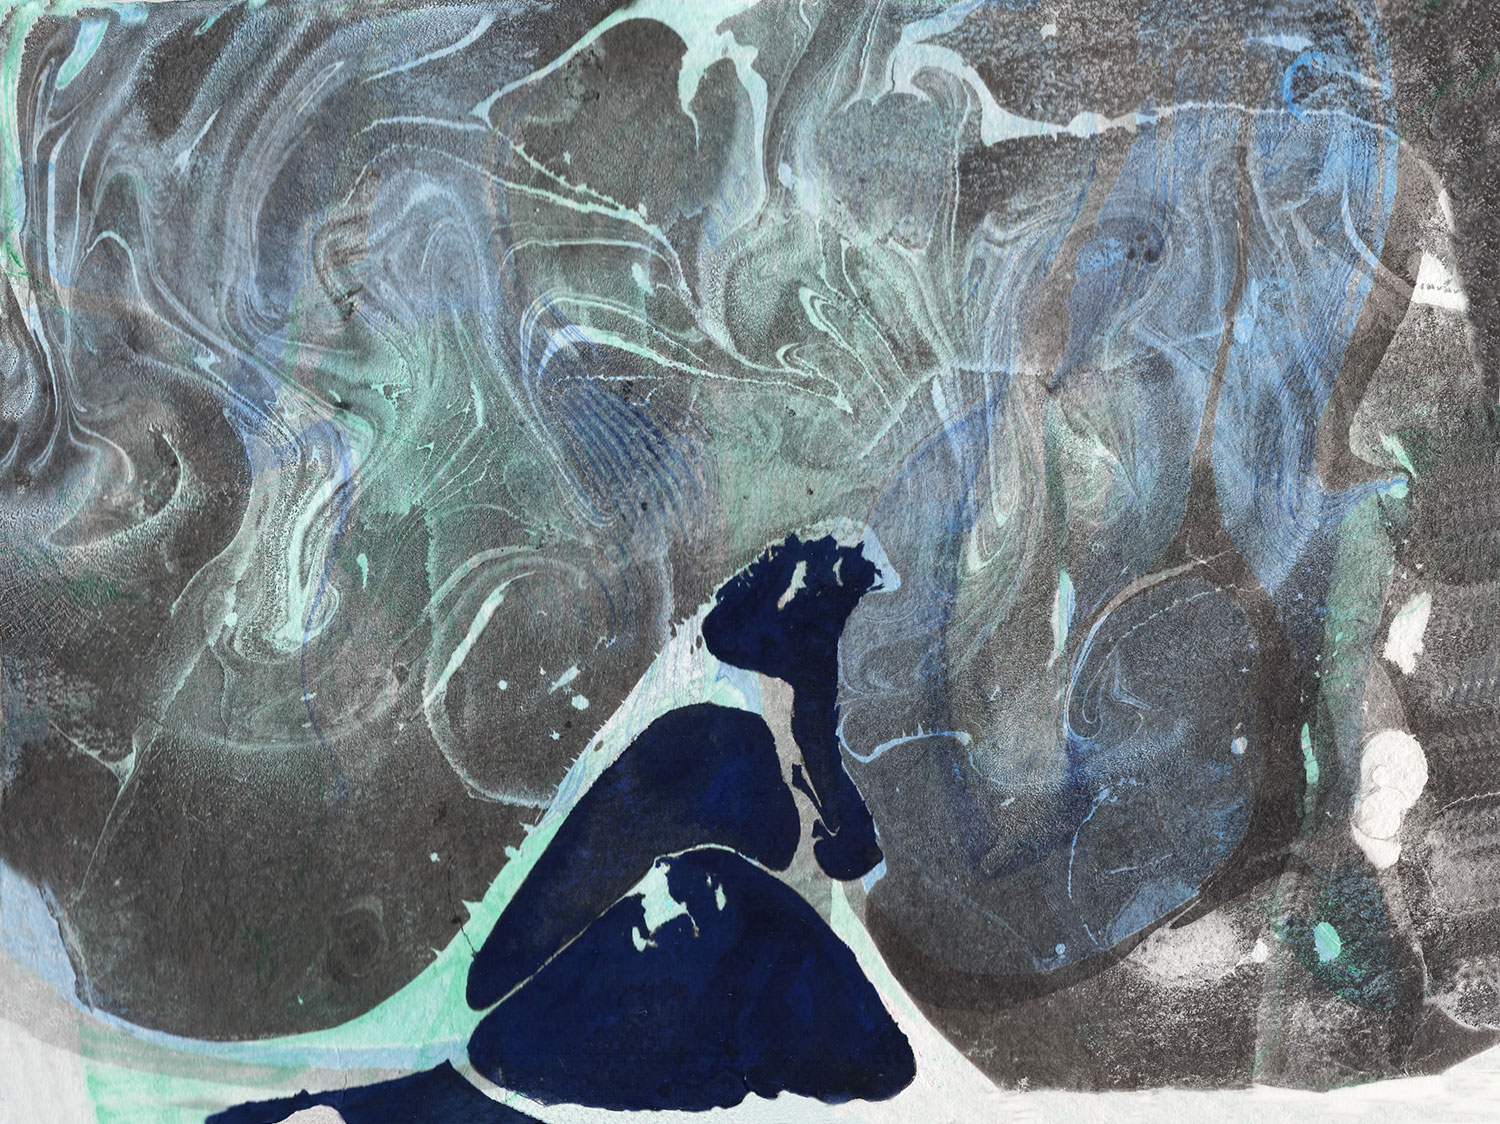
Honeycomb Shibori Tutorial
The Honeycomb shibori pattern is pure magic! It is also quite simple to execute, making it a great beginner pattern. I will walk you through it with photos and step by step instructions, you got this!


Step one: Collect supplies needed
* 5 gallon bucket and lid from hardware store, or some type of large dye vat capable of holding around 4-5 gallons of liquid, you will also want a lid
* Natural fiber textiles, meaning cotton, hemp, lenin, silk, bamboo, some rayon fabrics, I recommend Dharma Trading Company or supporting your local fabric store. You may want to wash the fabric first in the washing machine, to remove dust and sizing.
* Indigo dye kit from Jacquard which can be purchased on Amazon, Dharma Trading CO, or sometimes I find them at my local Arts Store, shout out to Artist&Craftsman! see photo above for a great photo. This kit contains a small starter pack for indigo dyeing designed for a 5 gallon dye vat.
* You will also want a great pair of utility or dish gloves that you don't mind turning blue, some scissors, and depending on how many you make, different sizes of cord, rope, whatever you can find!
Step two: Design Pattern: Determine width of fabric and begin to roll on the cord
* As you can see there are lots of photos documenting this step, but it is easy, especially after trying this a few times. Important things to note:
1. Make sure the rope is longer than the width of your fabric, I am making really small samples, the fabric can be really wide if you have long rope and strength to squash it down.
2. You can fold the fabric in half either direction, to make a mirrored effect of the pattern. Or you can try rolling the fabric diagonally on the rope. Or you can roll from end to end. The pattern will pretty much always make a blue color gradient with the lightest part of the pattern being on the inside, where you being rolling the fabric, and the darker part being on the outside.
3. You want to roll the fabric evenly across and you don't want to do it too tight, otherwise the next step can be challenging, especially if you have lots of fabric
Step Three: Squash the Fabric
* Once the fabric has been rolled all the way up the rope, you will push the fabric on both ends of the rope until it is squashed together. This squashing/bunching action is what creates the honeycomb pattern on the rope.
* When the fabric is pushed down tight on both sides (sometimes I have someone help me do this if there is lots of fabric rolled up) You will tie off the rope with a simple double knot, keeping everything in place, and you are ready to dye!
* Note that there will be a little "tail" of the fabric sticking out at the end, this usually isn't too much of a problem because it adds to the ombre gradient created in the piece. If you feel like not enough was tucked in at the end, restart, every time you roll the fabric you will get better!
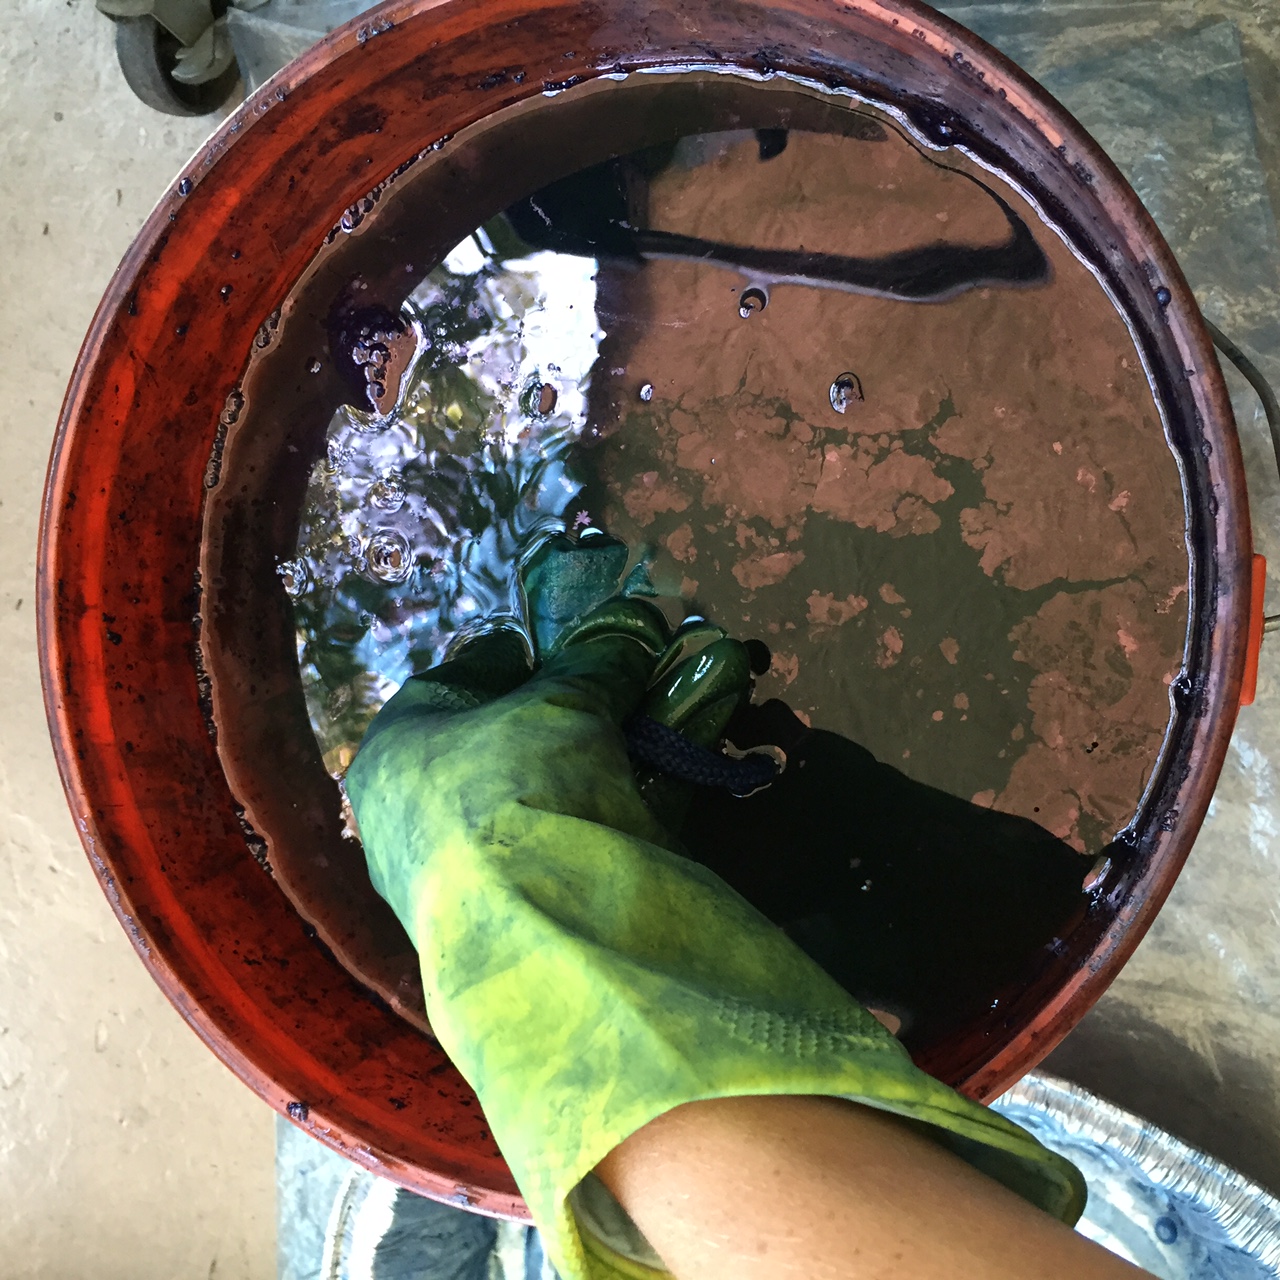
Step Four: The dyeing process
* Indigo has a very unique dyeing process, because it is a natural dye, there is a chemical reaction involved with the oxygen in the air, which turns the fabric blue. You obtain darker richer shades of blue by continually dipping the fabric in the vat and letting it oxidize over time and then redipping. There are excellent instructions in the dye kit. Keep in mind that it is possible to dye fabrics over several days, leaving your fabrics out and the dye vat covered. However, the dye will be strongest the first few days.
* You might want to do this outside, on a patio, or in a local park. If you do this inside you will want to have lots of plastic sheeting underneath for stray splashes and drips that always happen. Also you might want some type of storage container to rest your piece in as it oxidizes, something to catch all the excess dye.
* Also it is important to flip your pieces over as they oxidize, you will see they are green/teal where the air is not getting to the fabric. After 20-30 minutes dip again
* What I tell my students all the time, is the most deceiving thing about this process is how dark blue the fabric looks when you are in the middle of dyeing the fabric, but this is because the fabric hasn't been washed/rinsed and dried. After the fabric dries it will be much lighter than you realize. Therefore, it is important to have patience with this process and dip the fabric as much as you can. (The dips are only 5 minutes, the time in between can be 25+ minutes) Sometimes I set this up and dip fabrics throughout the day or over a few days)
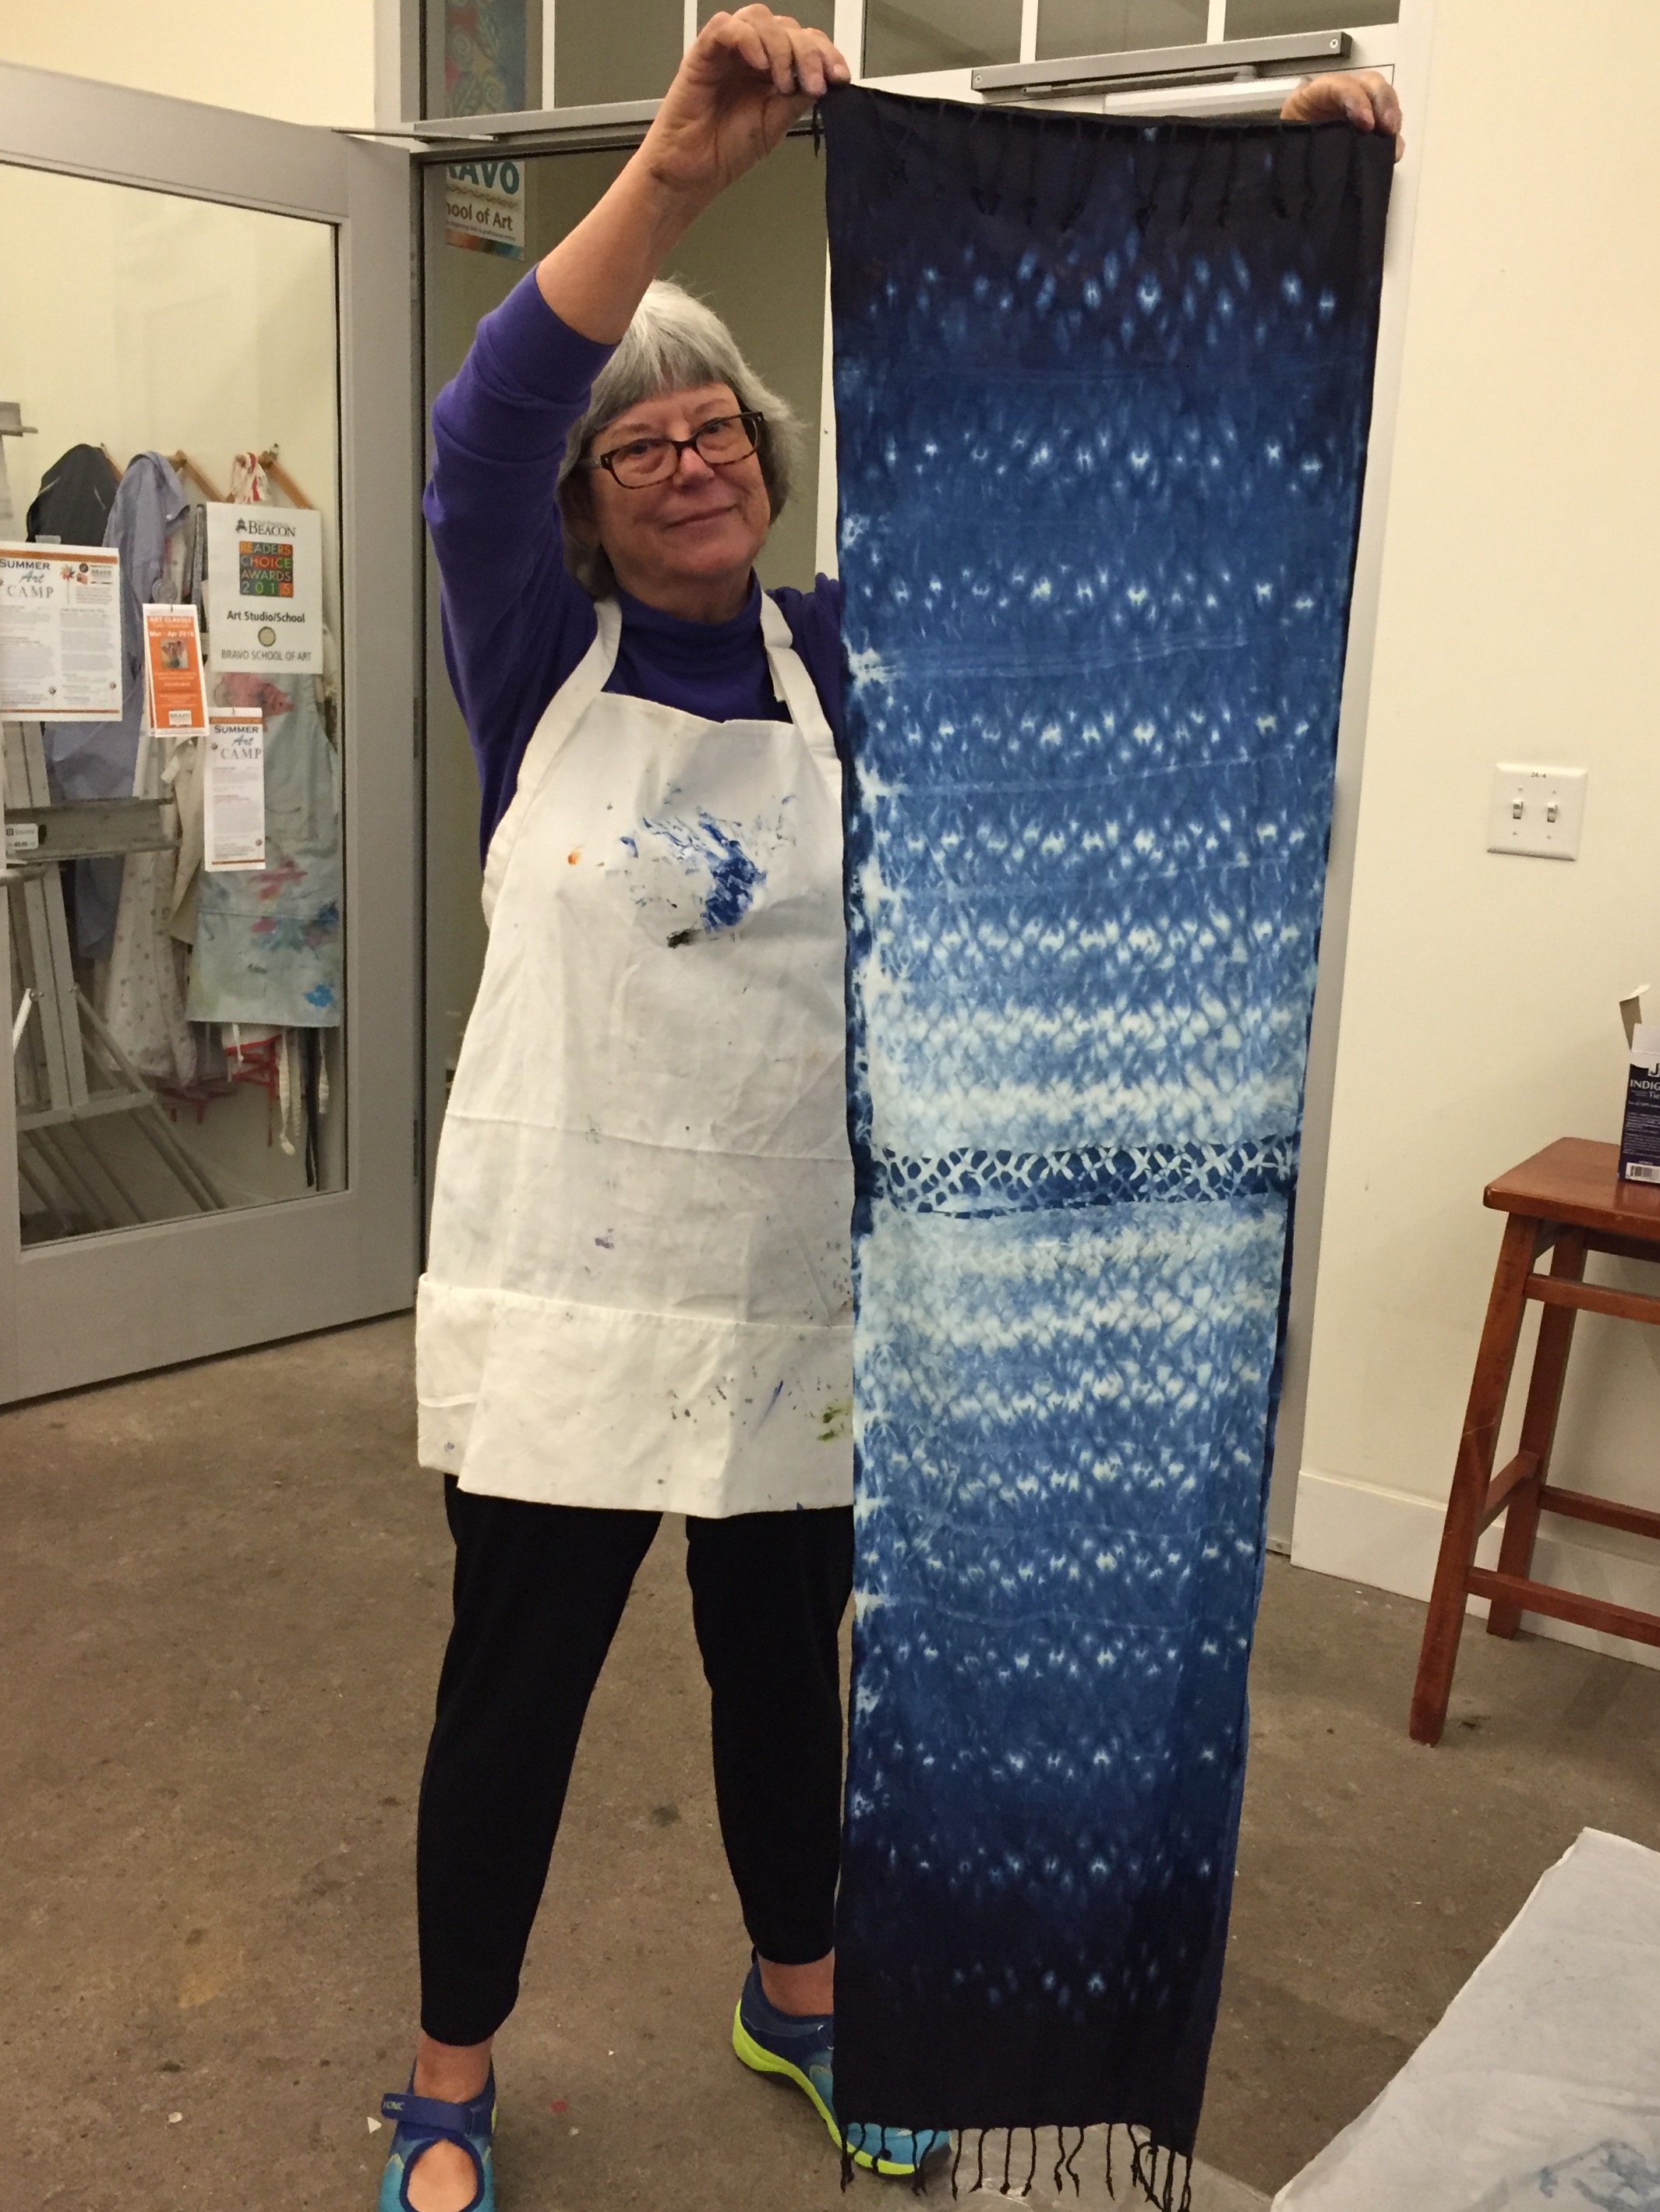
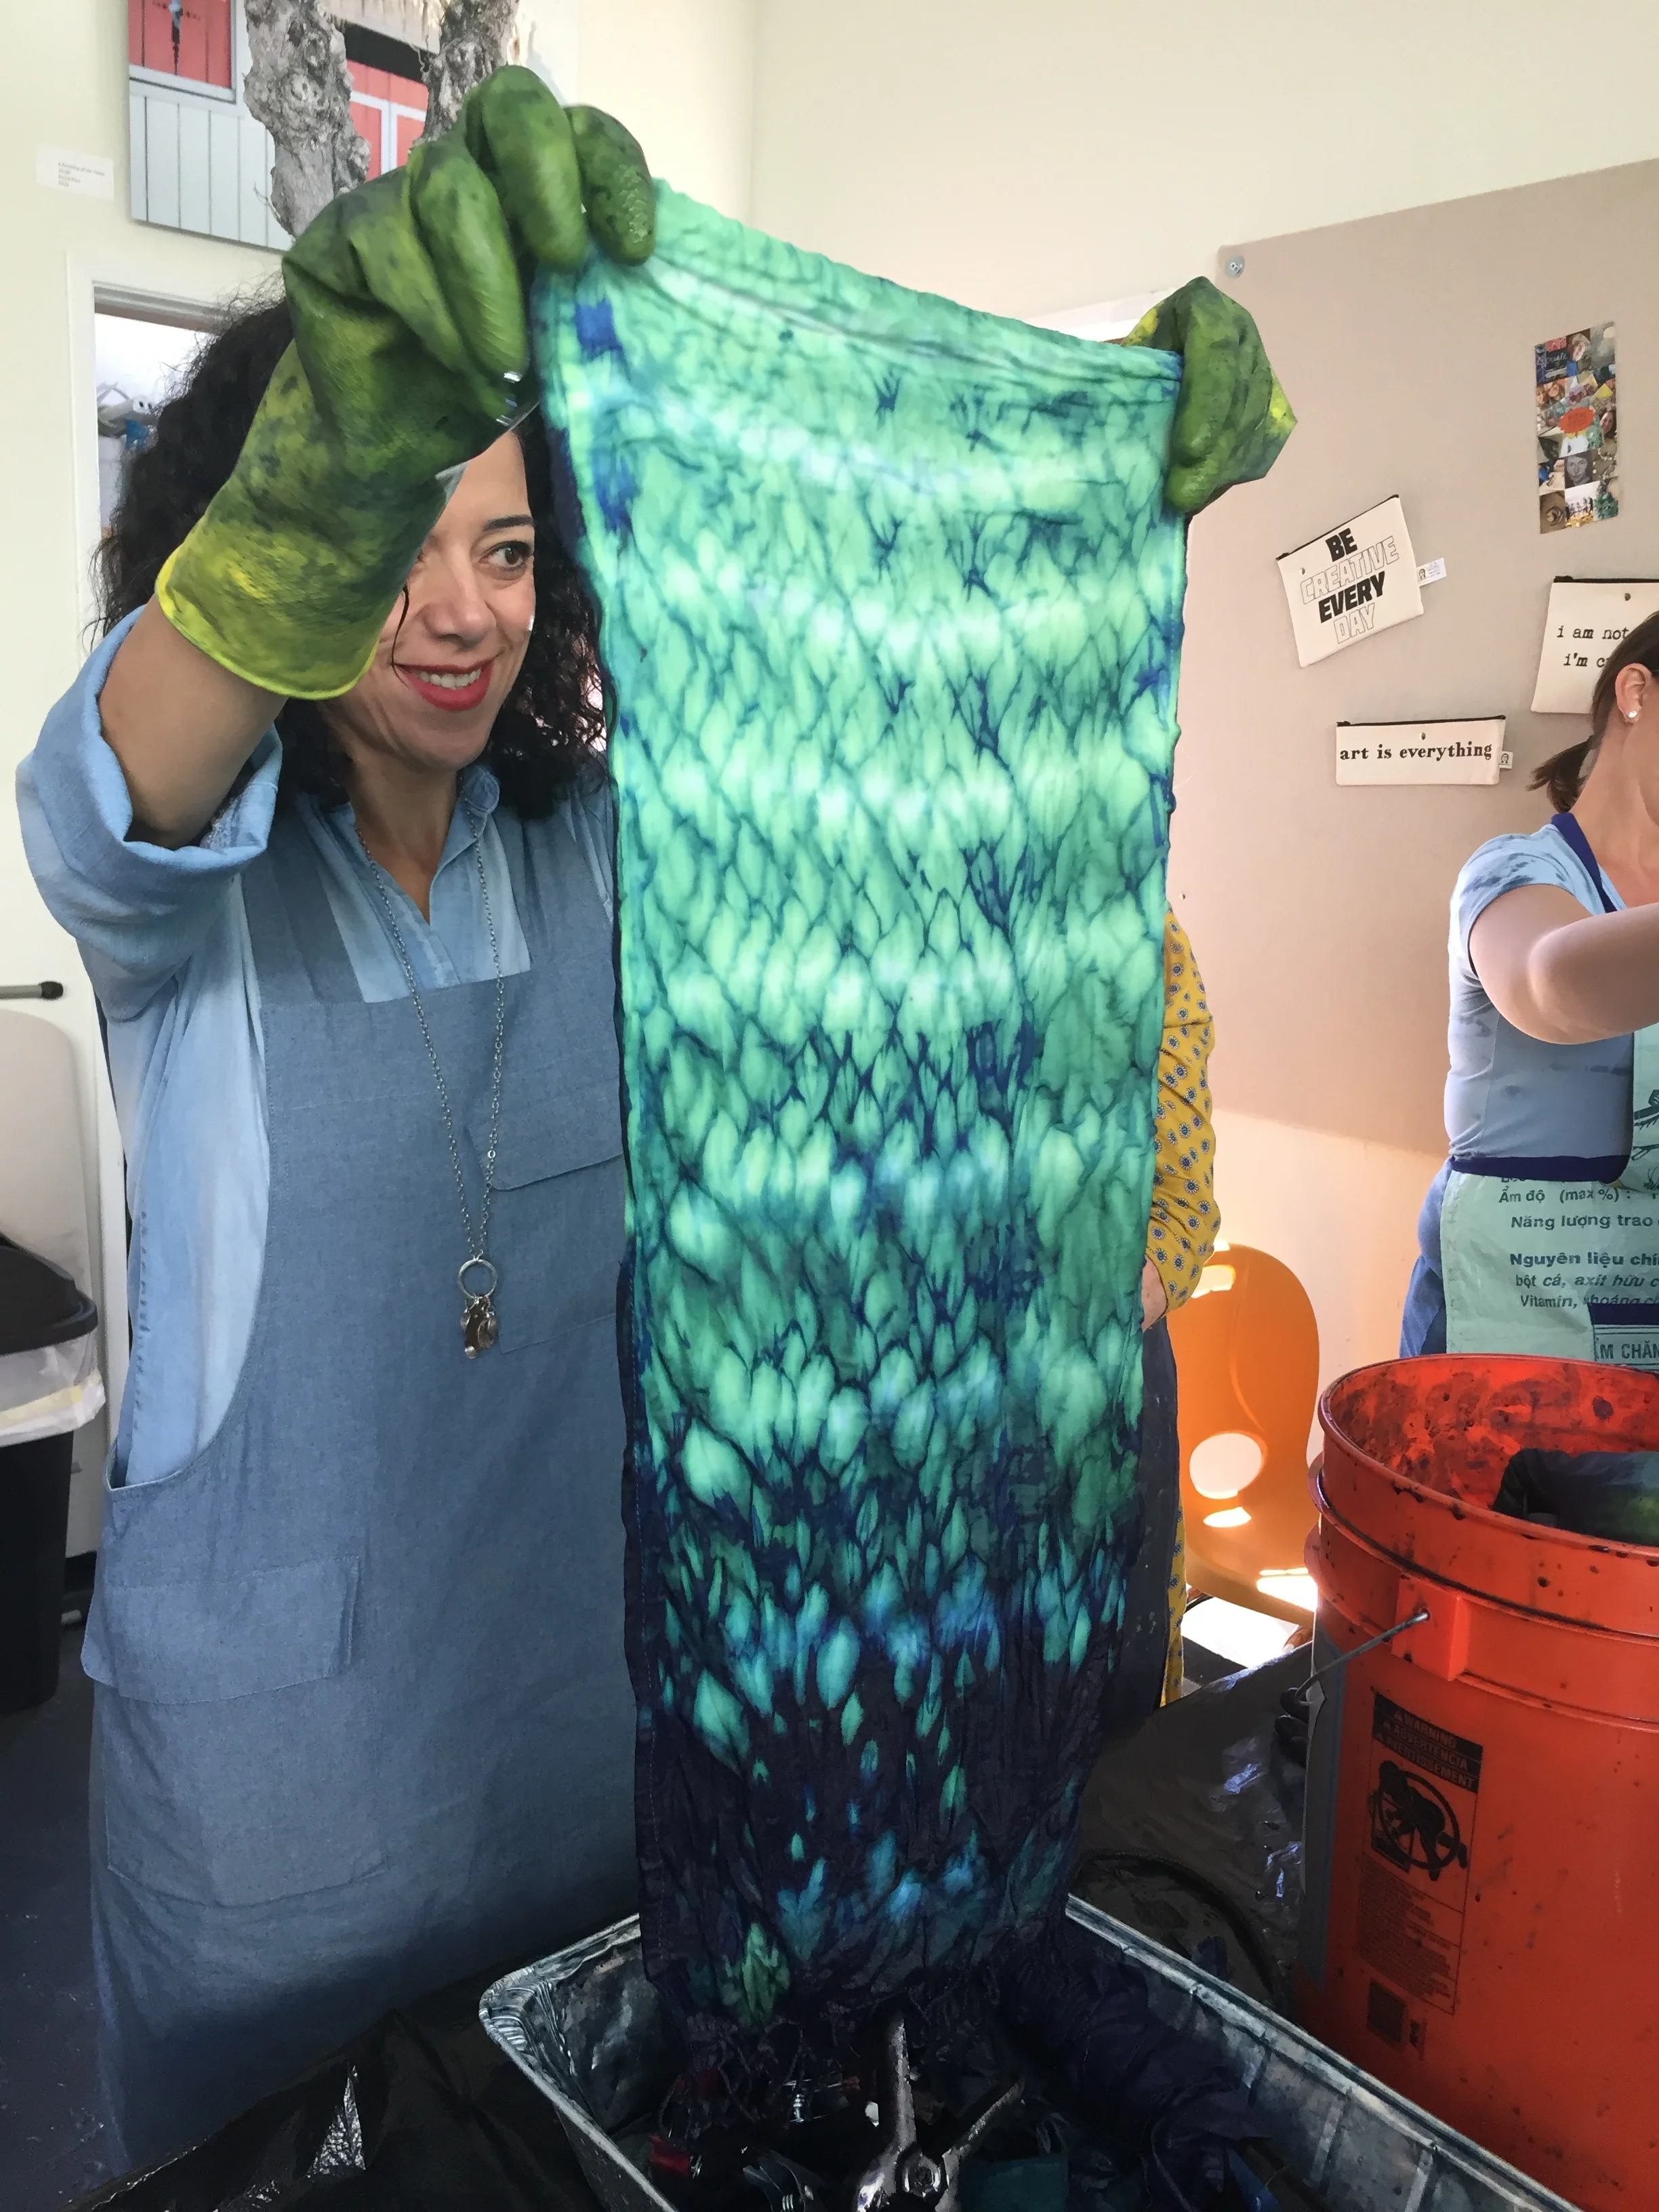
Step Five: The reveal
* Now for the most exciting part! The unraveling! When you are sure you have dipped your fabric enough, you can unwind the fabric from the rope.
* As you can see in the photos below, the fabric will be that light teal/greenish color that we started out with, this is normal! The oxygen hasn't been able to penetrate this part of the fabric, overtime the whole fabric will oxidize and the piece will change right before your eyes!
* Keep in mind the white will stay white, the teal will turn lighter blue, the already oxidized blue will be the darkest part.
* Hang your fabric to oxidize and dry, when the whole piece is blue and white you can rinse the fabric in cool water until the water turns clean. Then you can hand wash with mild soap and more dye will come out again, wash and rinse until the water runs clear again, hang to dry and you are ready to wear your new garments or sew a new project!


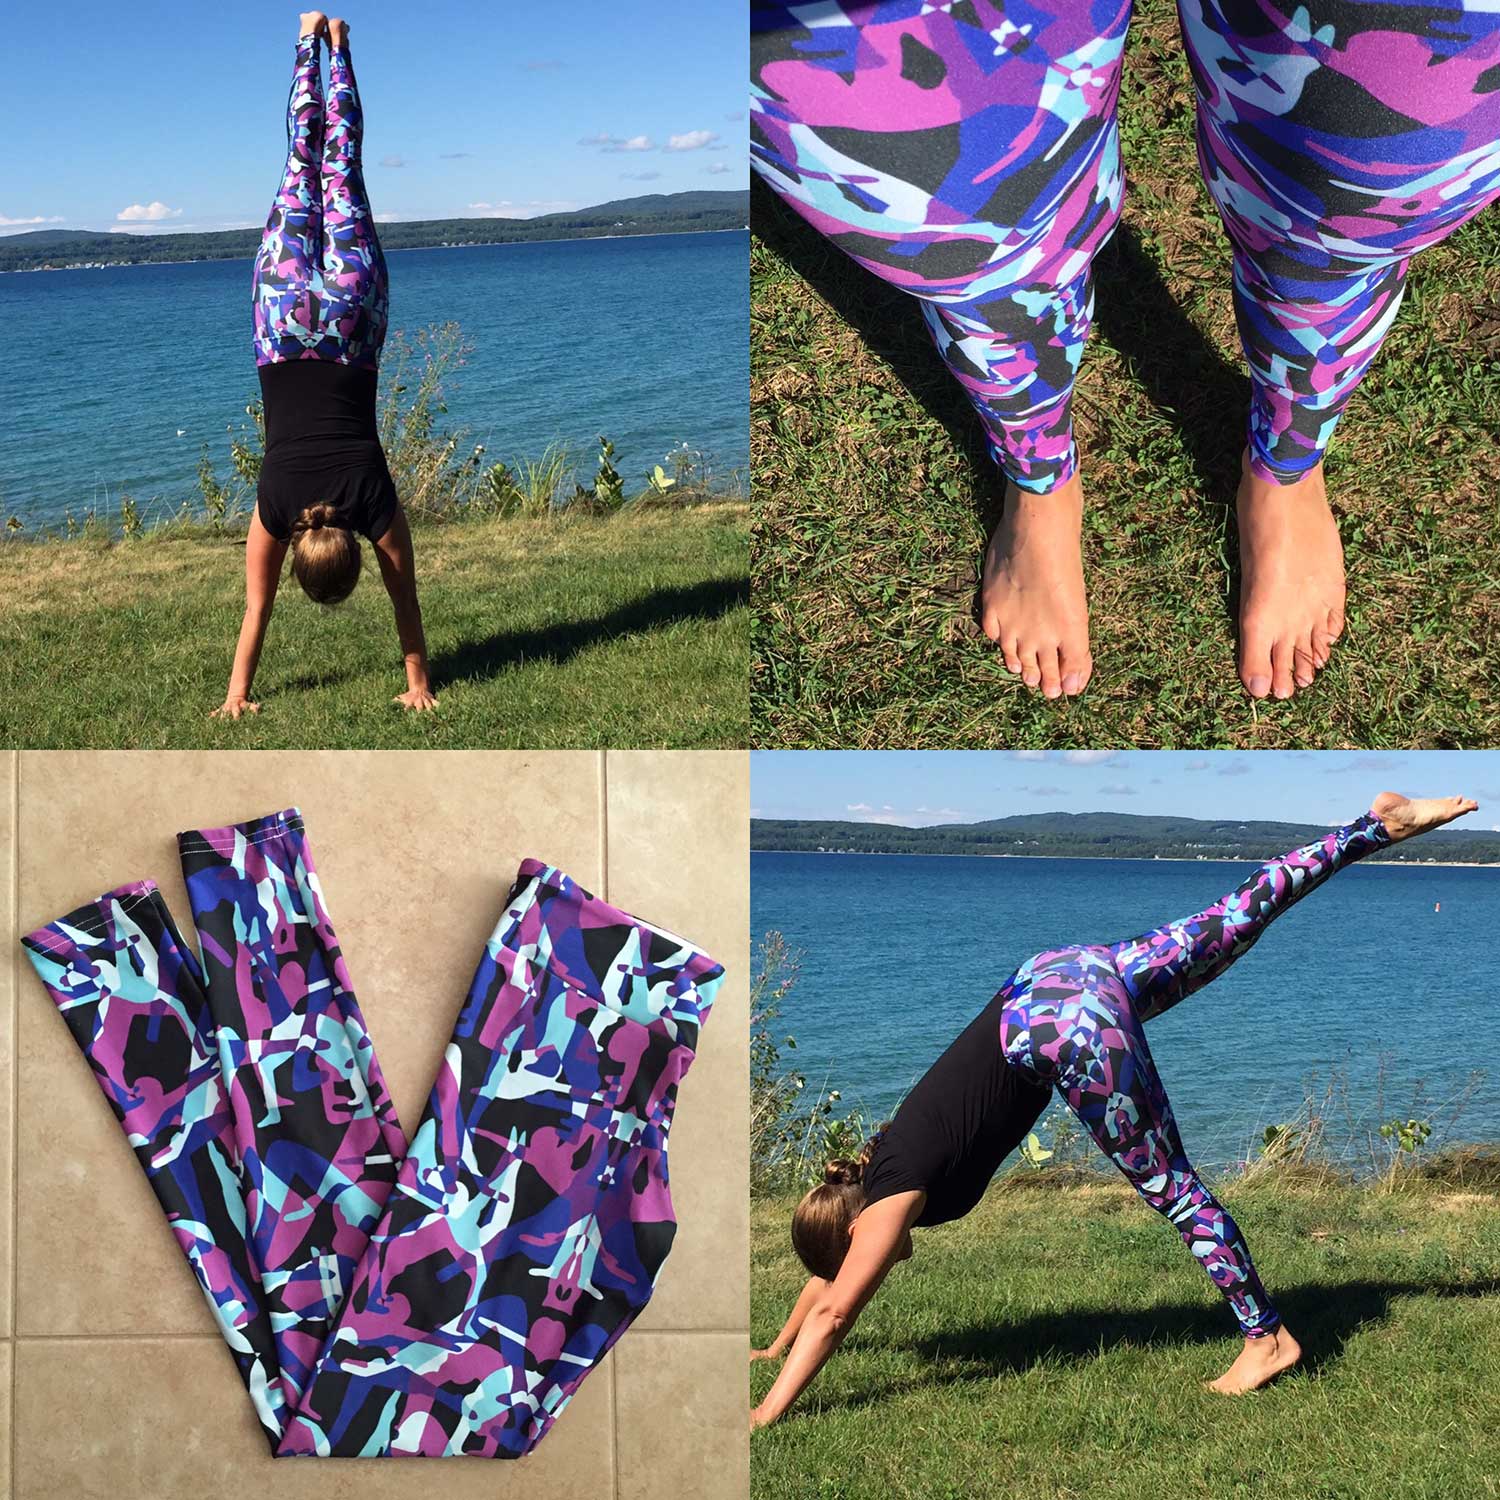
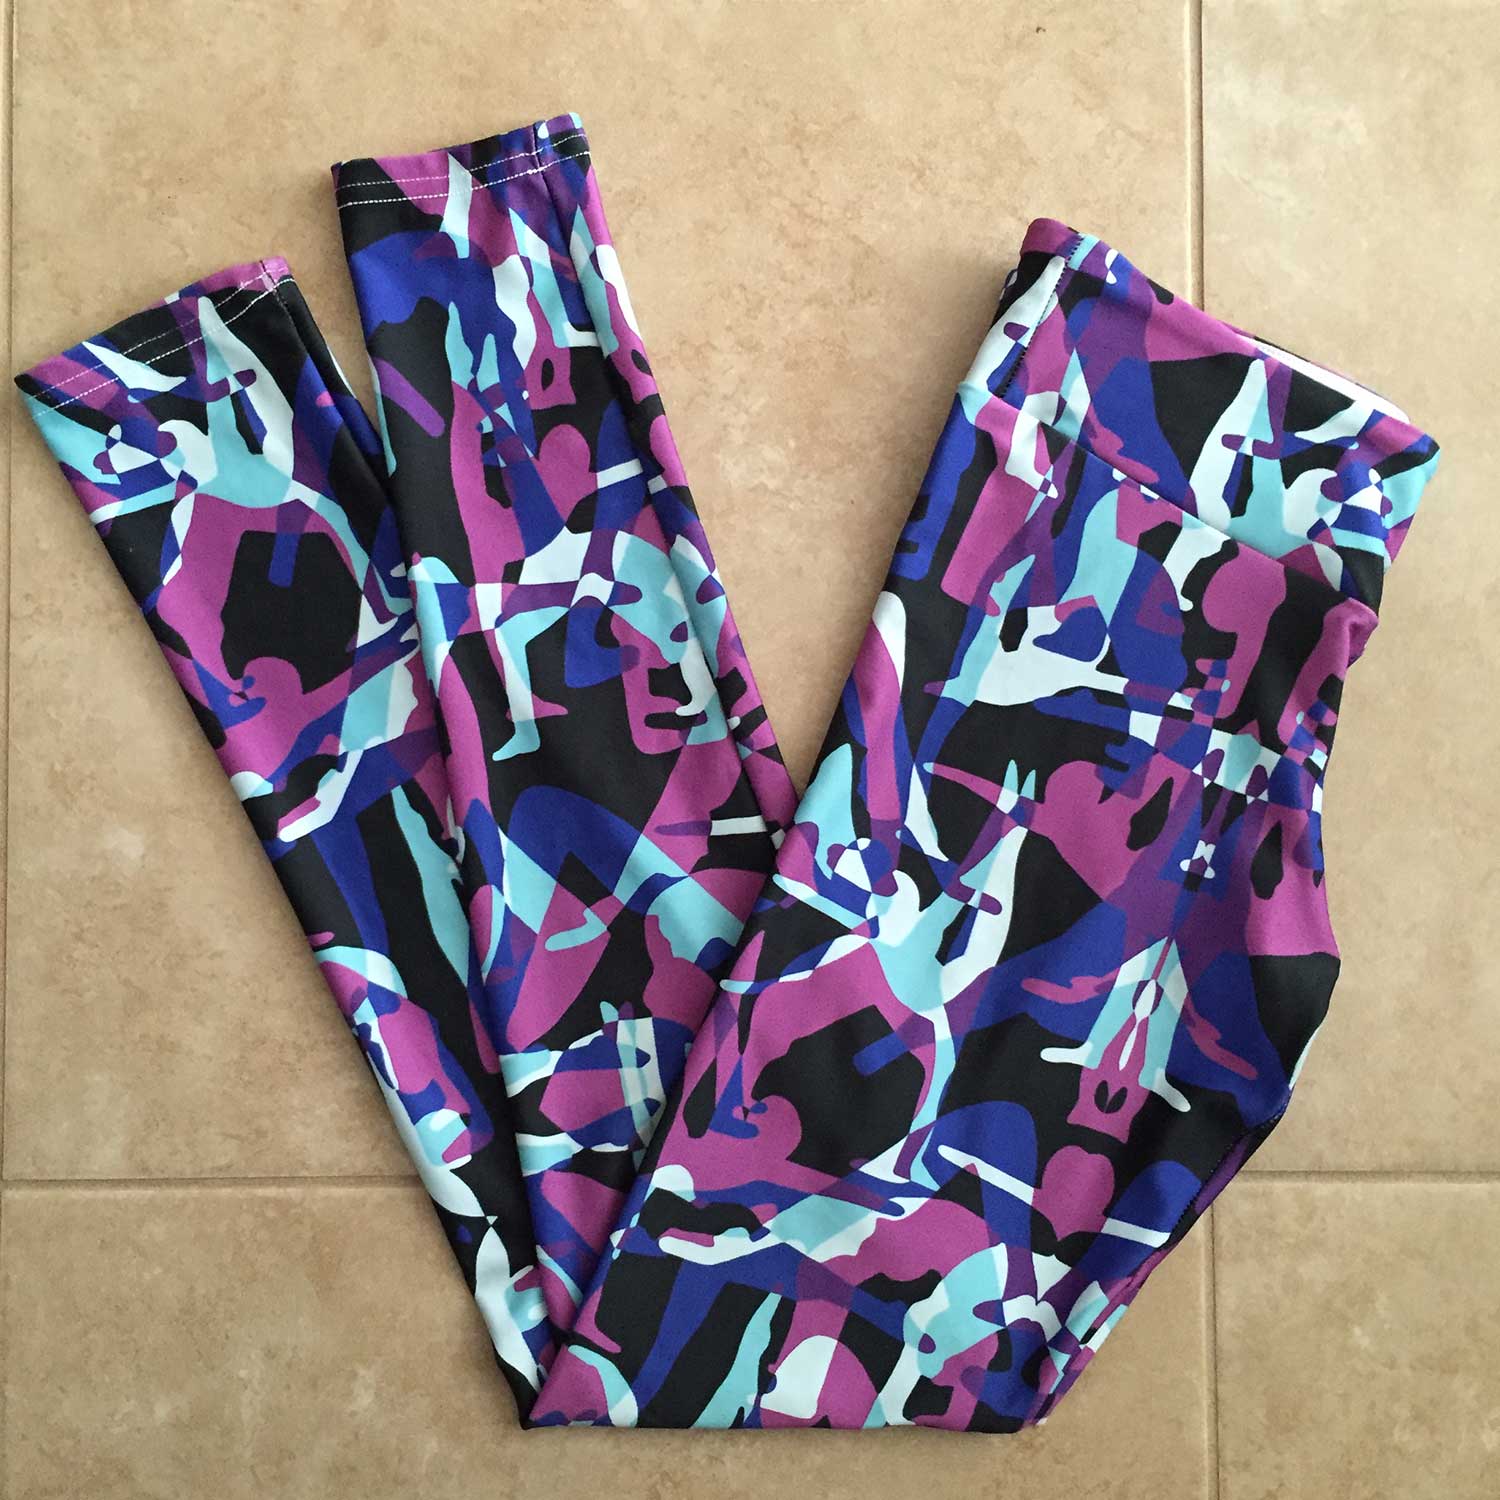
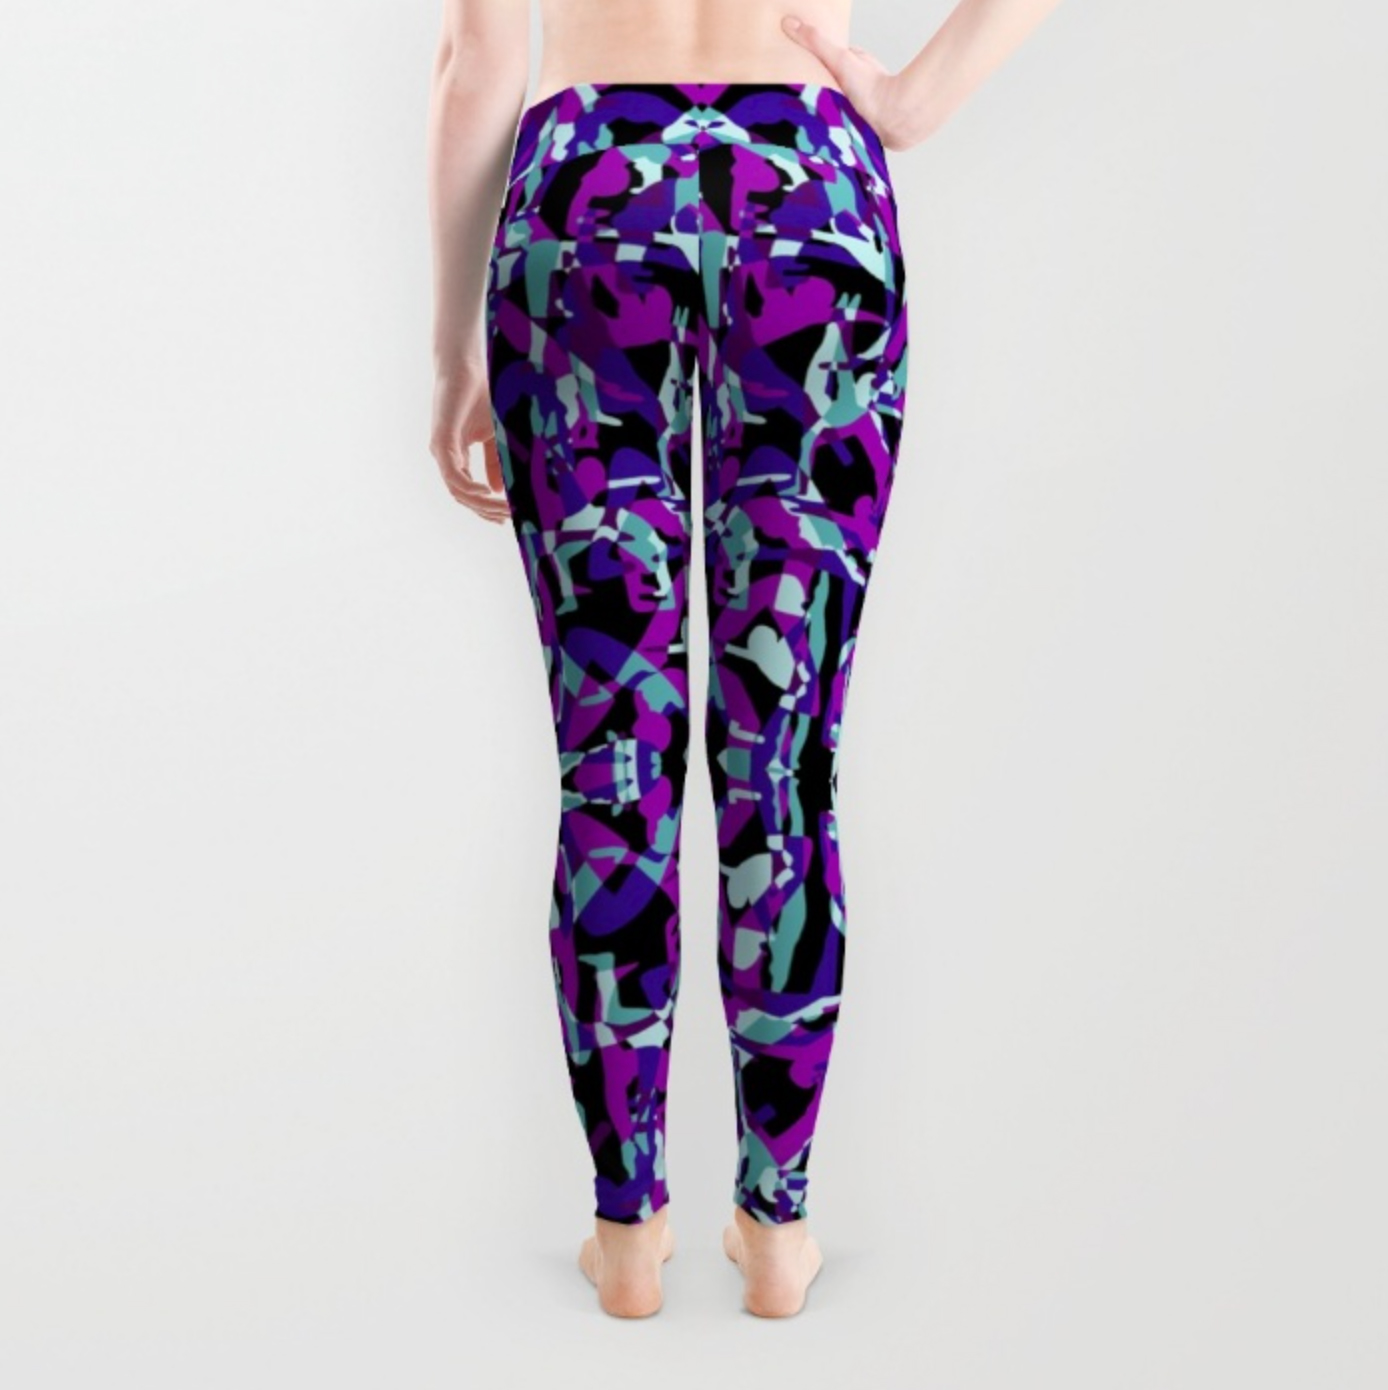
Those Leggings!
They are in stock! Leggings digitally printed with my pattern are available on Society6 check it out and get a pair this weekend, they are having a Labor Day Sale!!!! They are super comfortable with a mosaic/kaleidoscope effect and the hidden yogi poses change direction, so when you are inverted the bottoms of the leggings will be in the right direction. Pretty fun and so unique! These are inspired by Mosaic Studios, here is San Diego, if you live in the area it is a MUST check out yoga spot. They also have a spot in Charlottesville. Have a great holiday weekend!
Indigo is Bliss
My student's rad indigo shirt he made in class this past Saturday at Bravo School of Art in Liberty Station, San Diego!
That's a wrap!
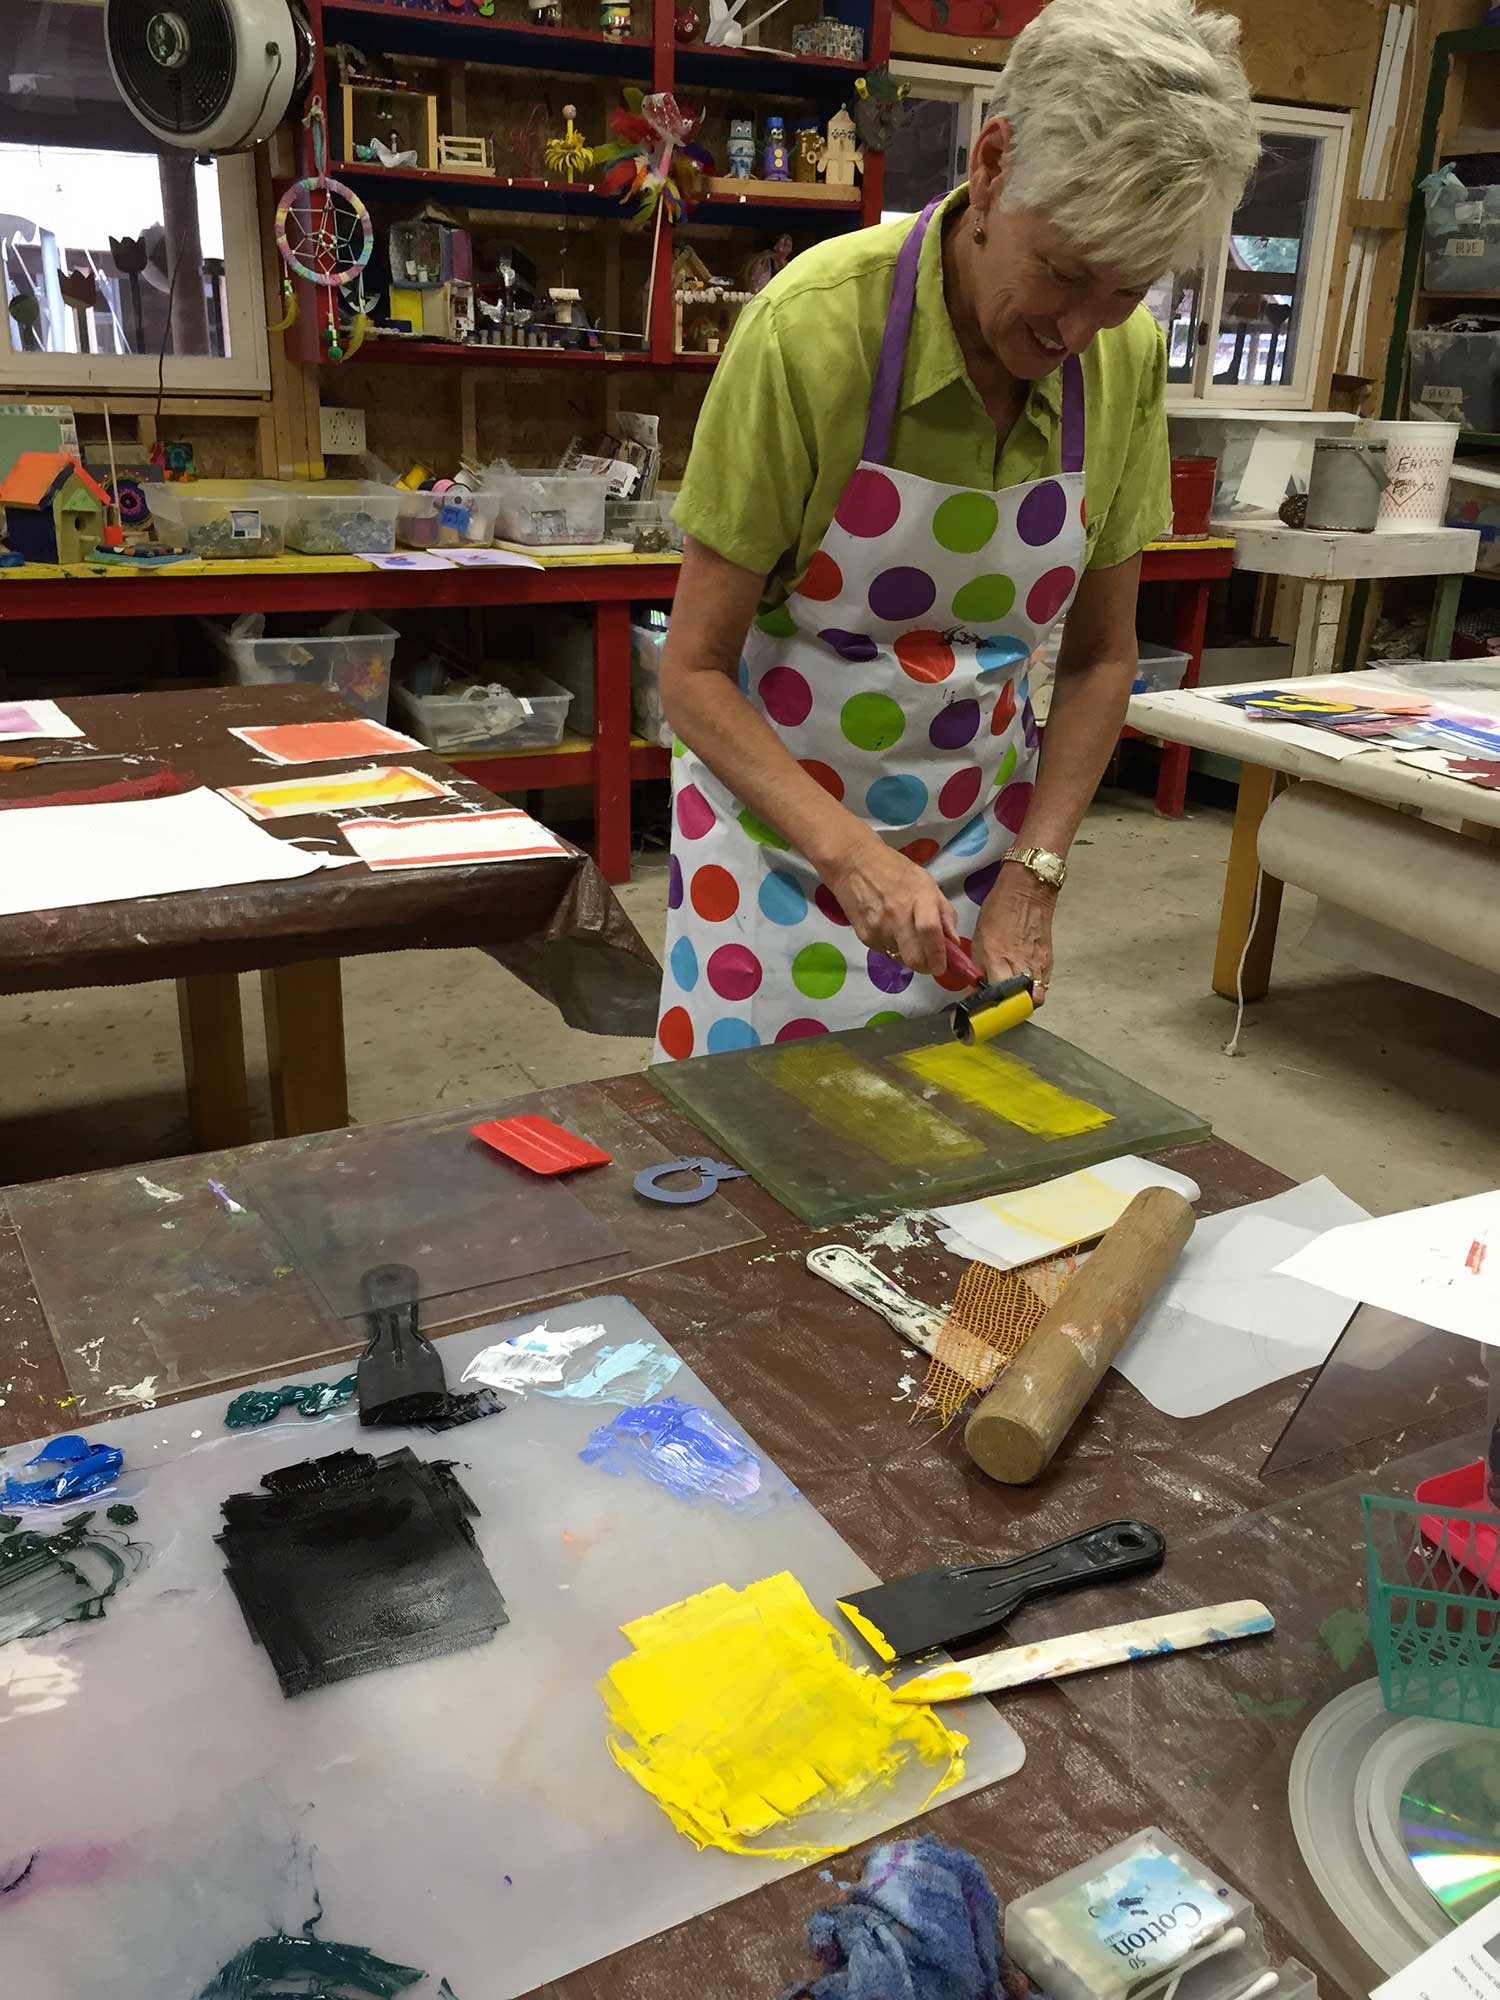
I have just returned to San Diego from 9 weeks in northern Michigan where I have been directing a summer art program for children and teaching workshops for adults. It is always a refreshing change to work with kids and hear their funny stories and witness their endless imagination.
Student work
Showing of the impressive work from my summer workshops for adults, taught at a Chautauqua in northern Michigan, called Bay View. Introduction to printmaking and indigo dyeing were very popular classes this summer and my students were wonderful!
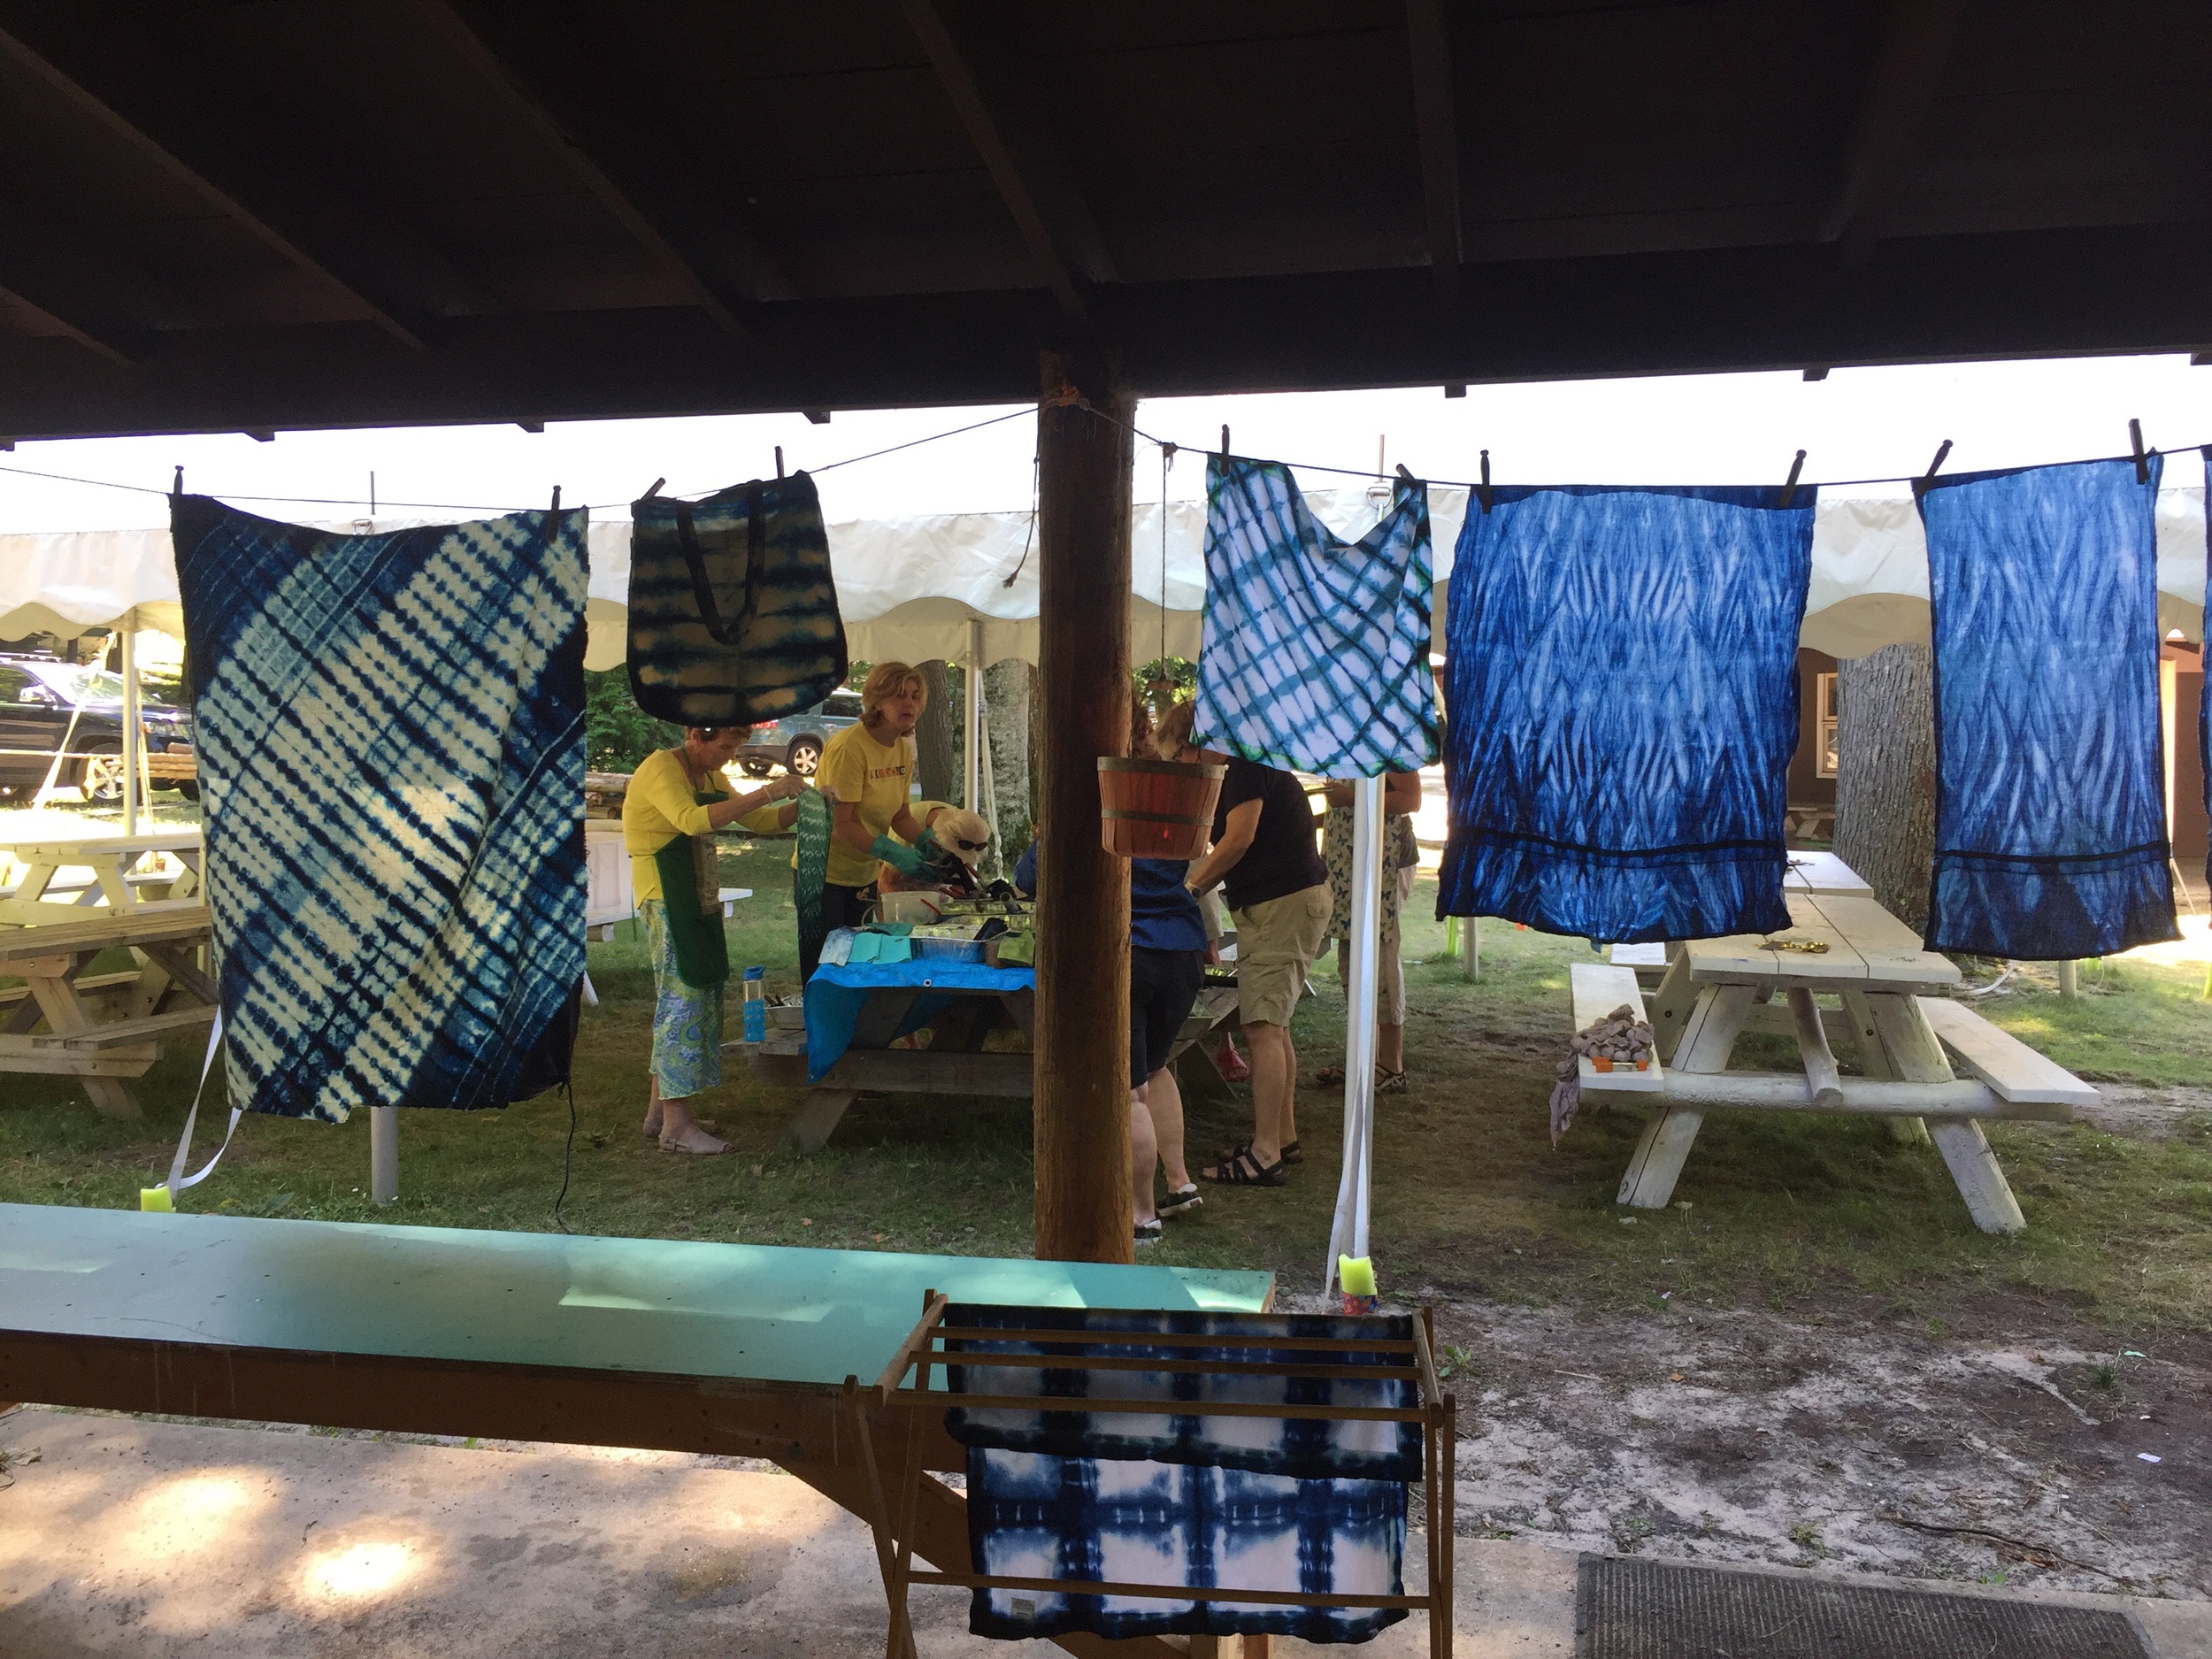
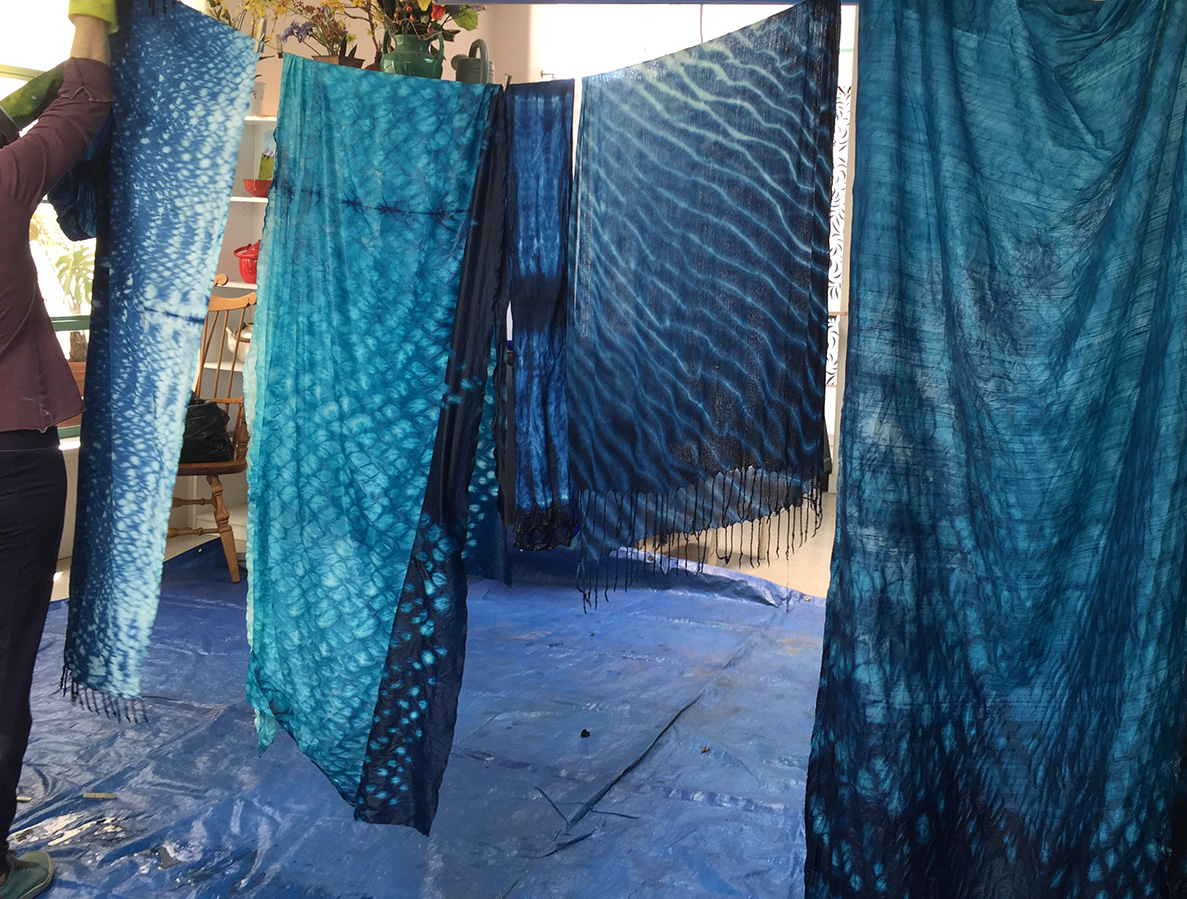
Indigo drying on the line

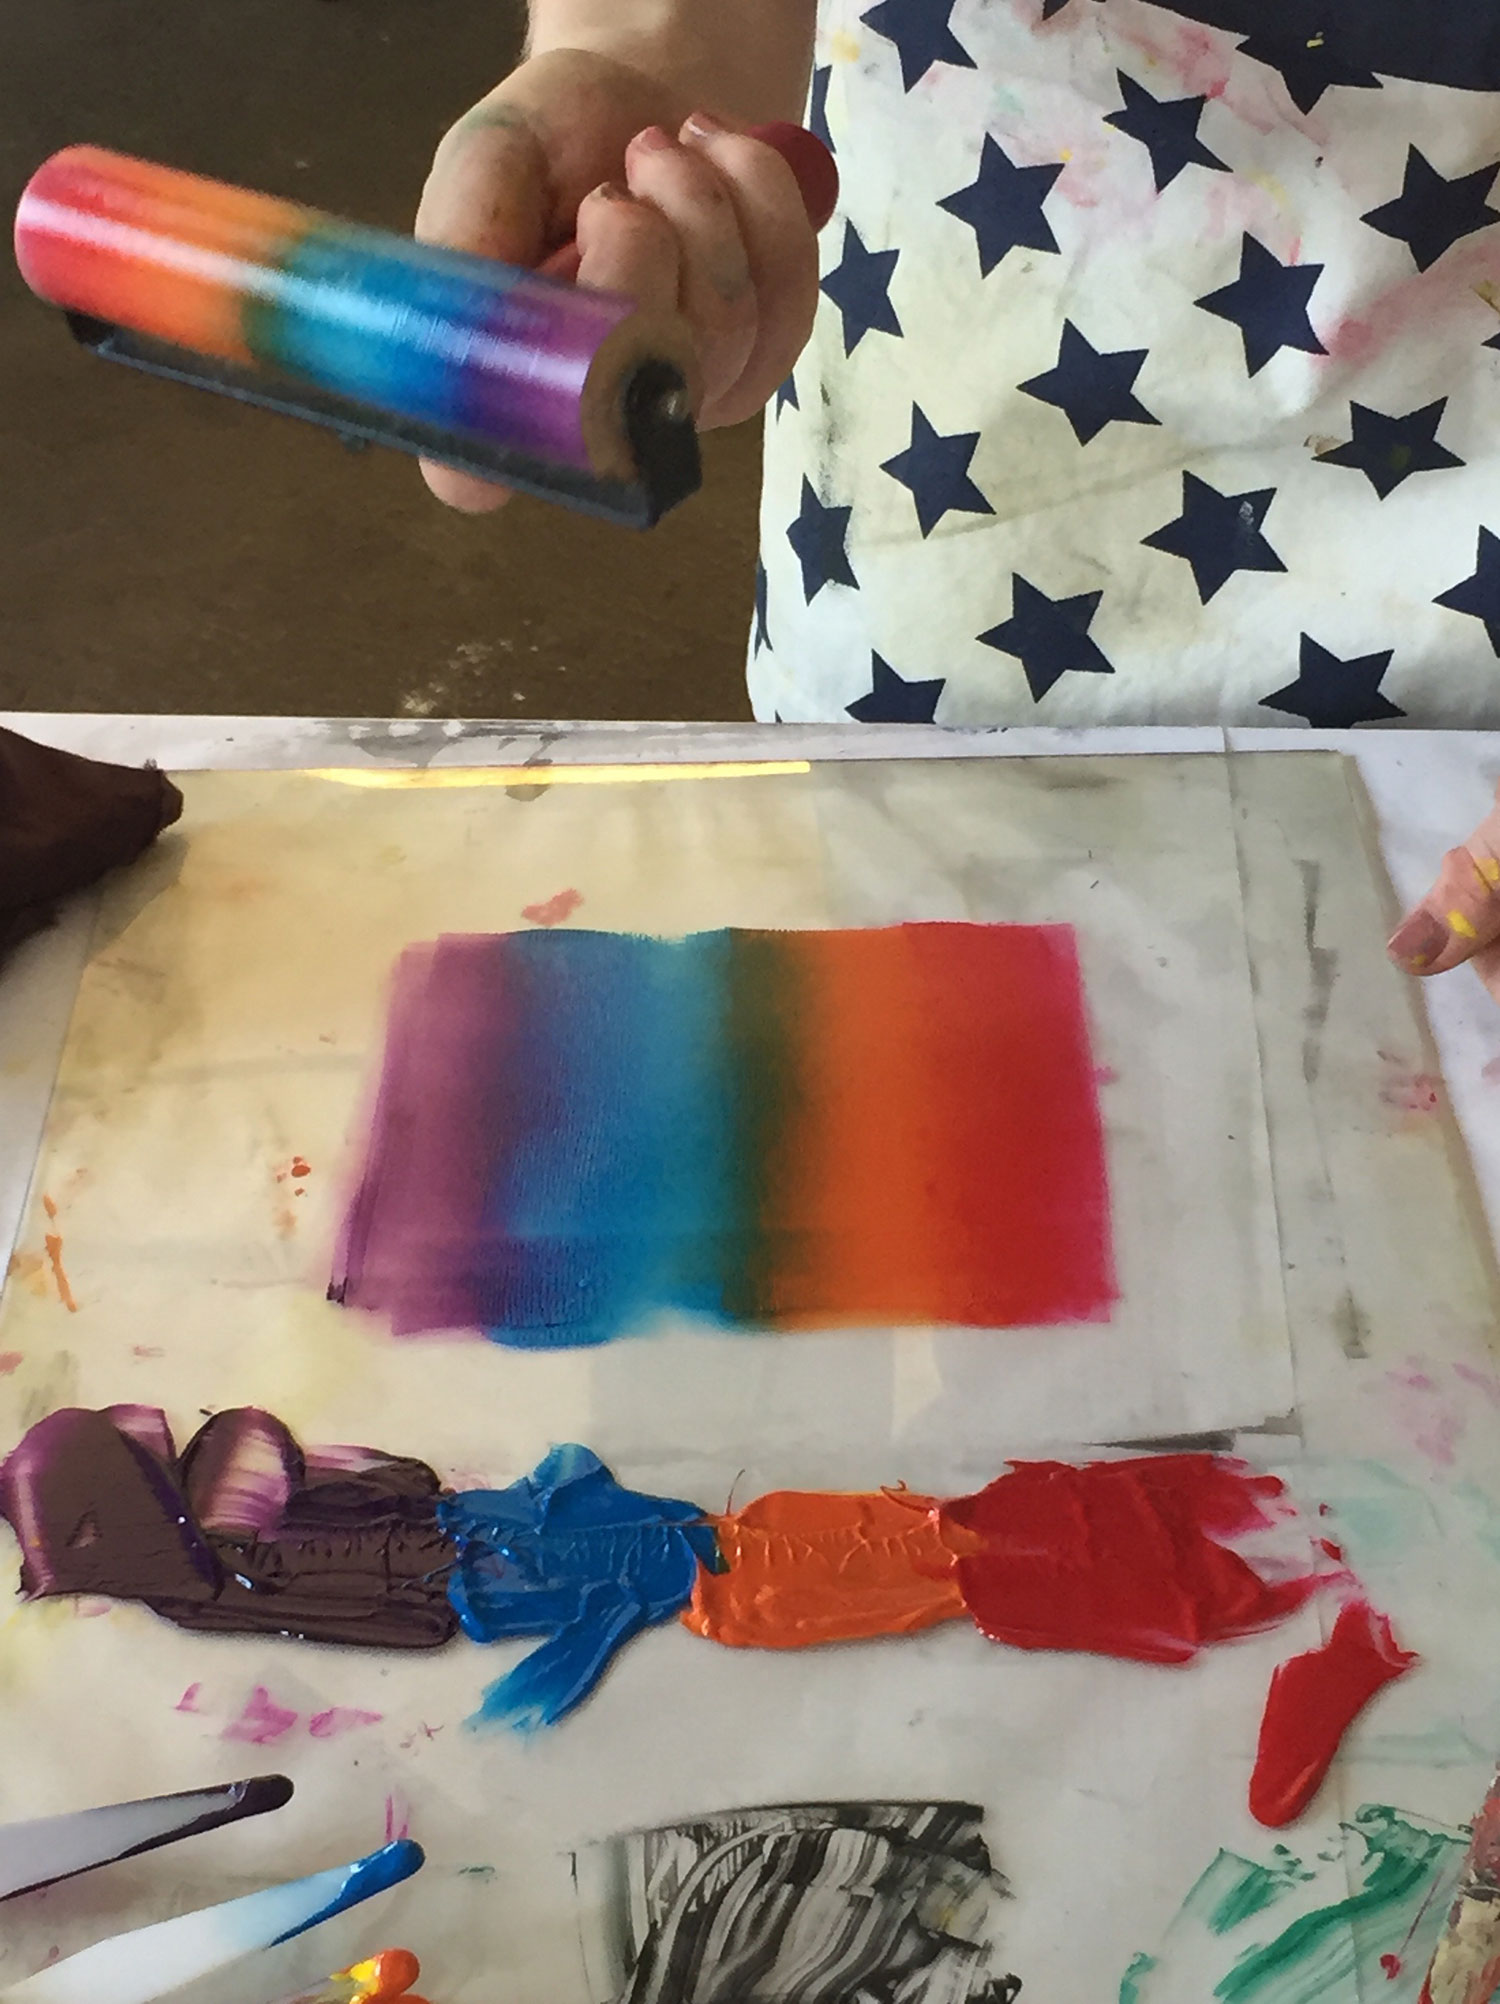
A students first Monoprint, complete with a rainbow roll and added texture. A big success!

This student already sewed a jacket from her indigo fabric.

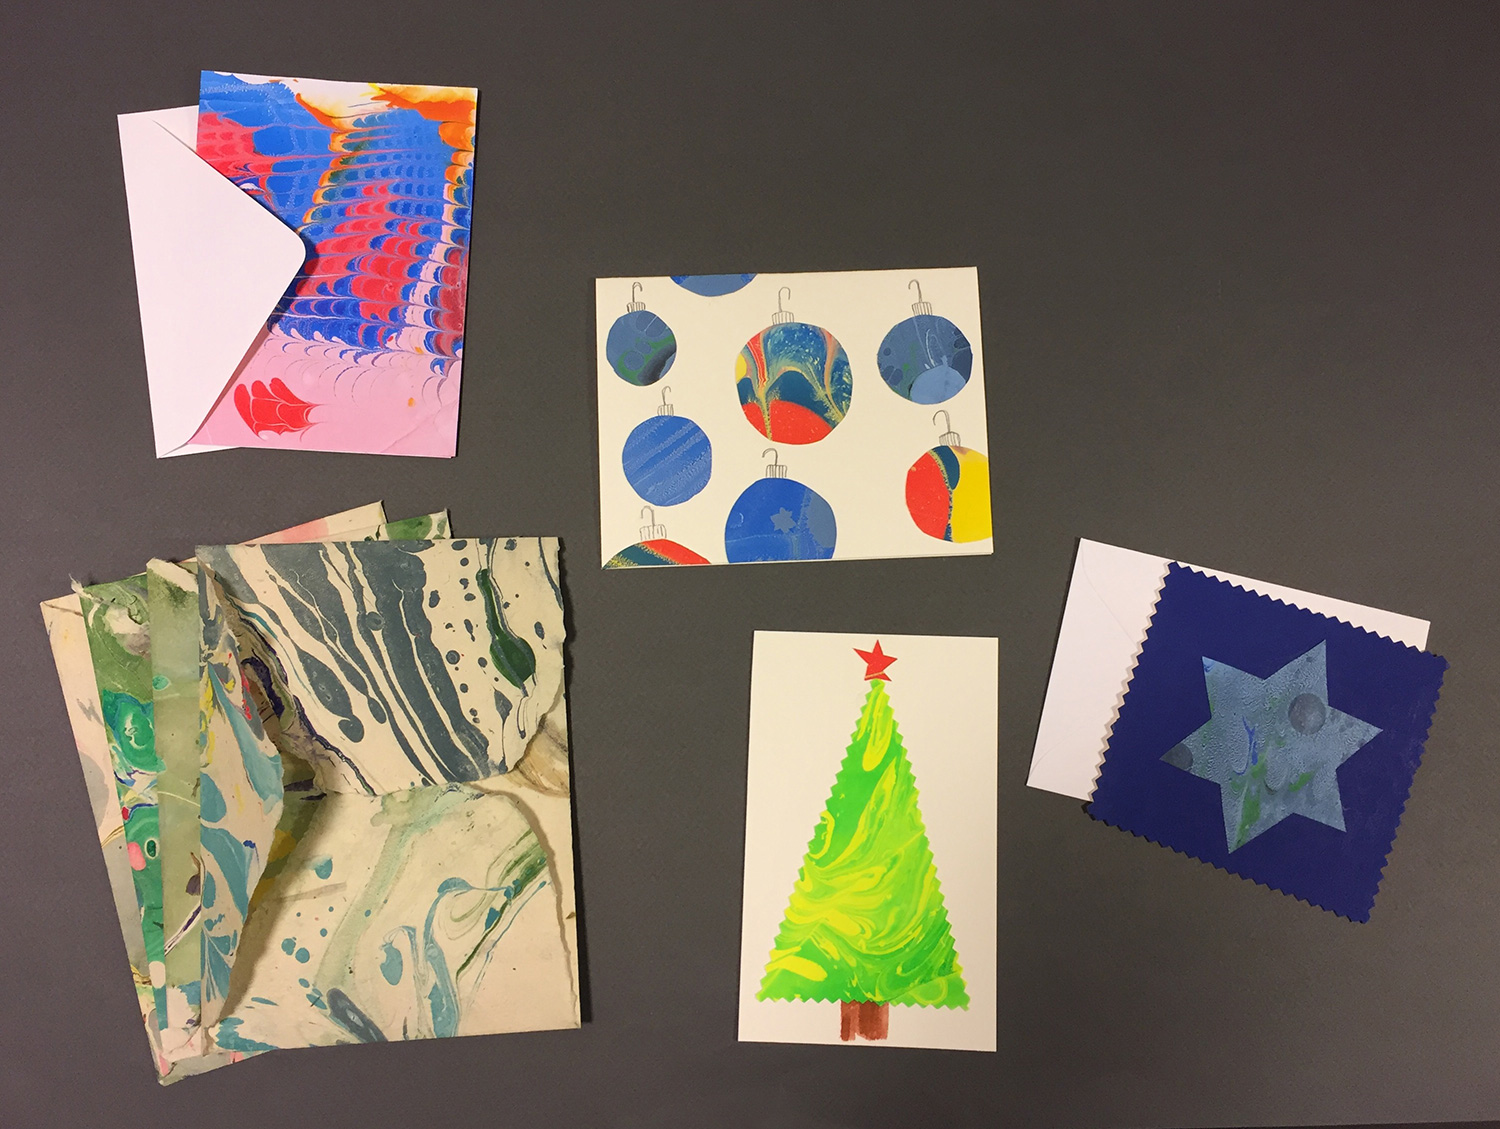
Hand printed greeting cards

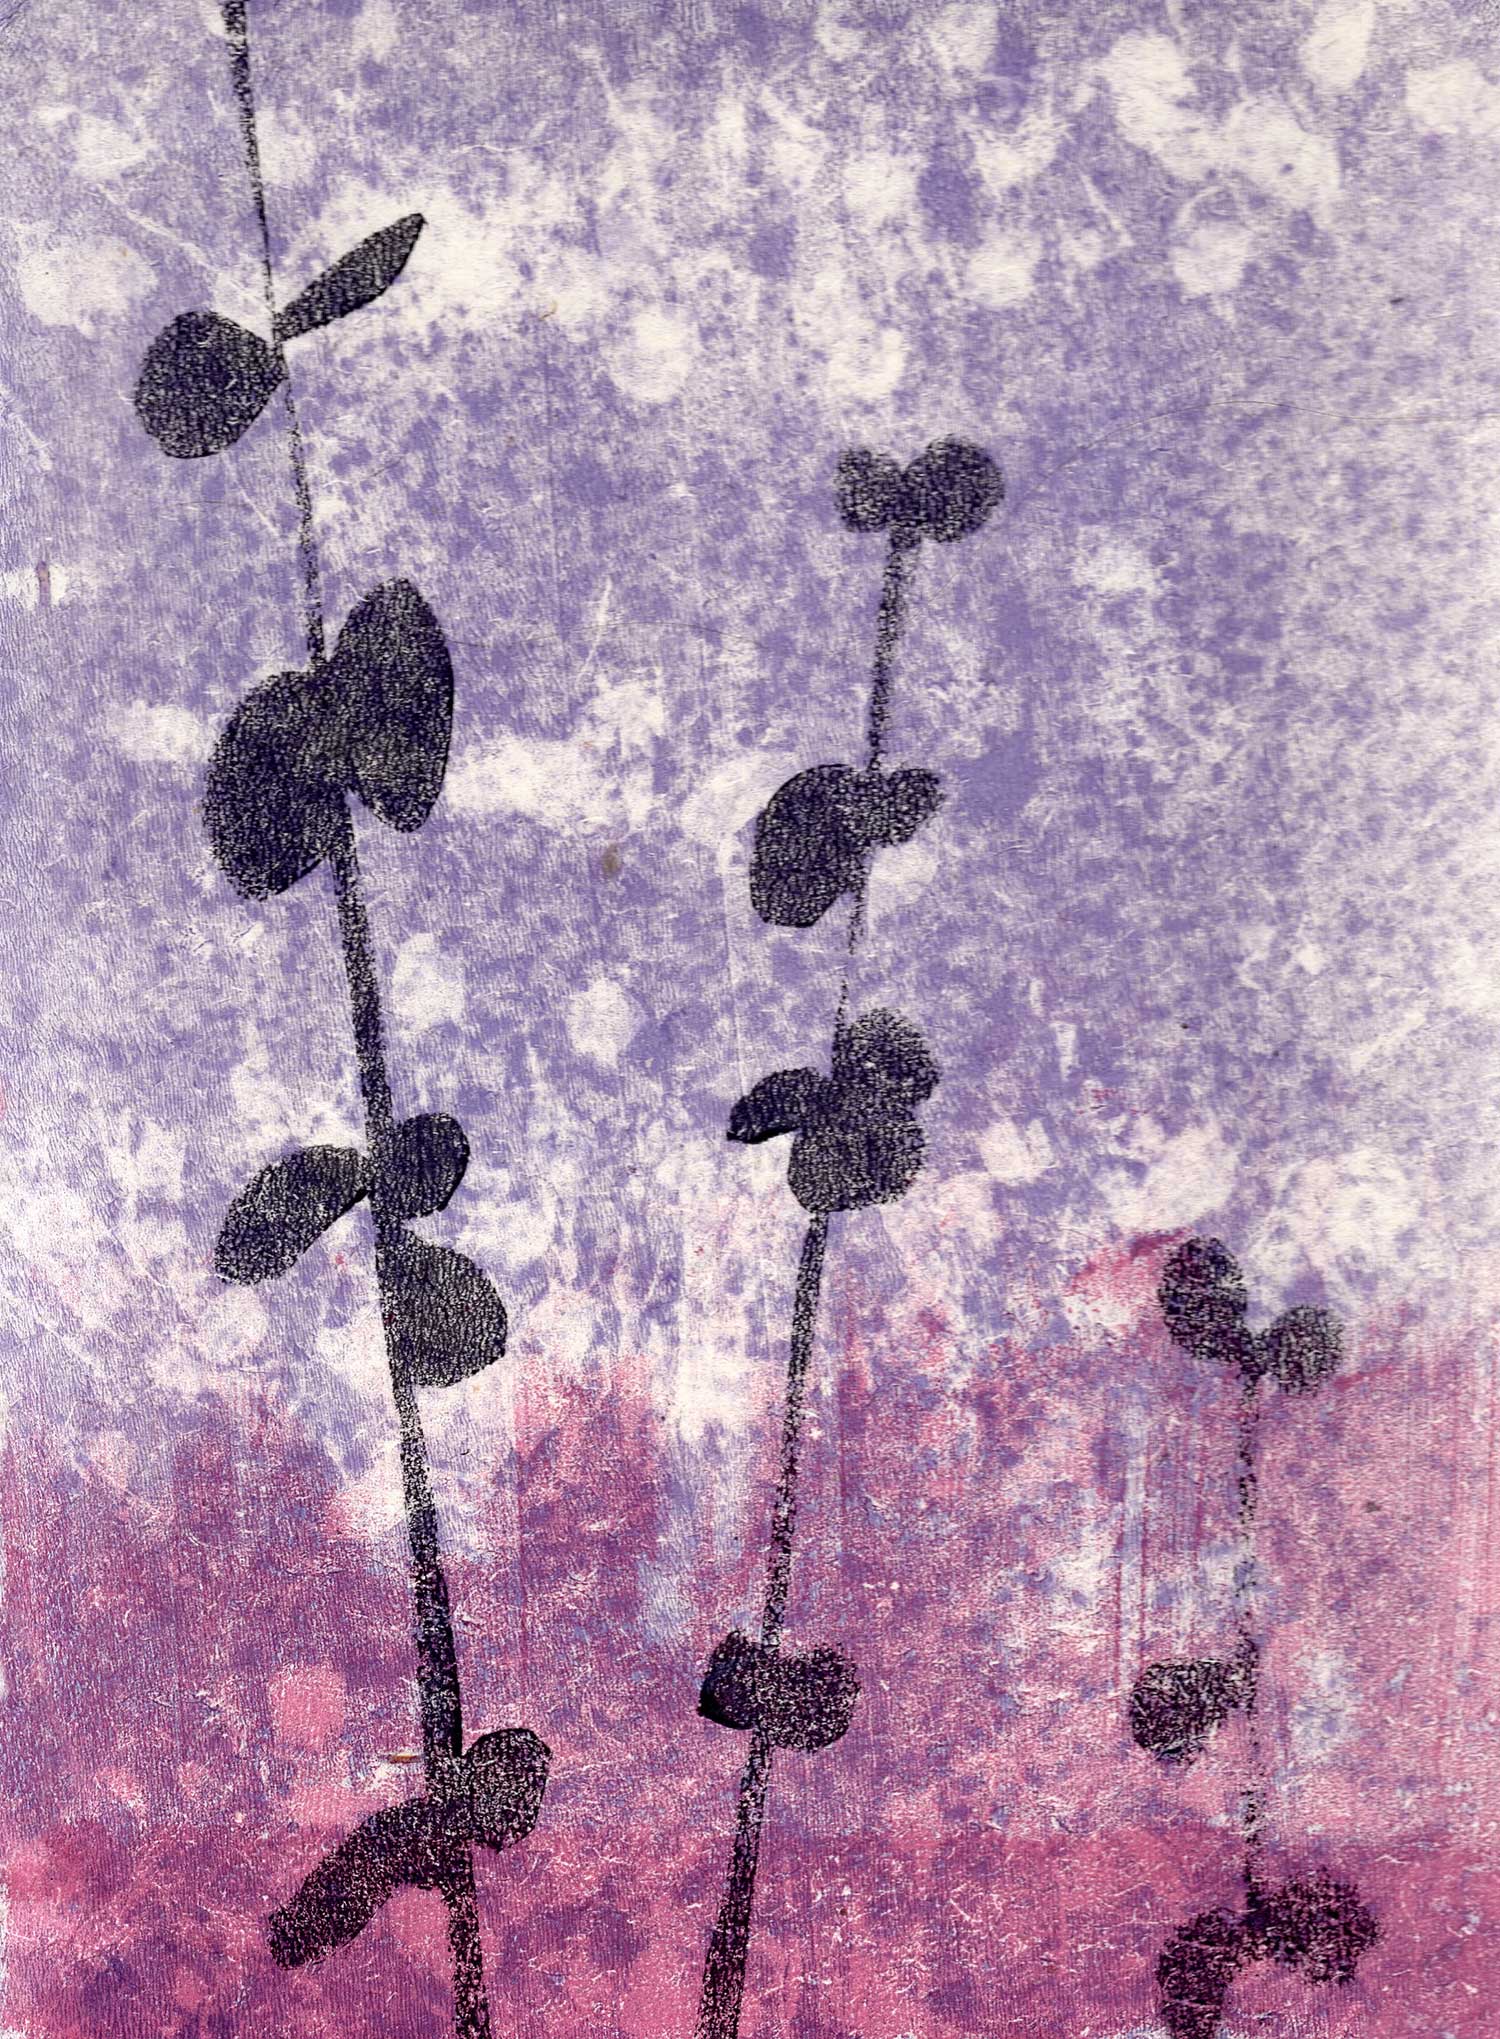
More monoprints!
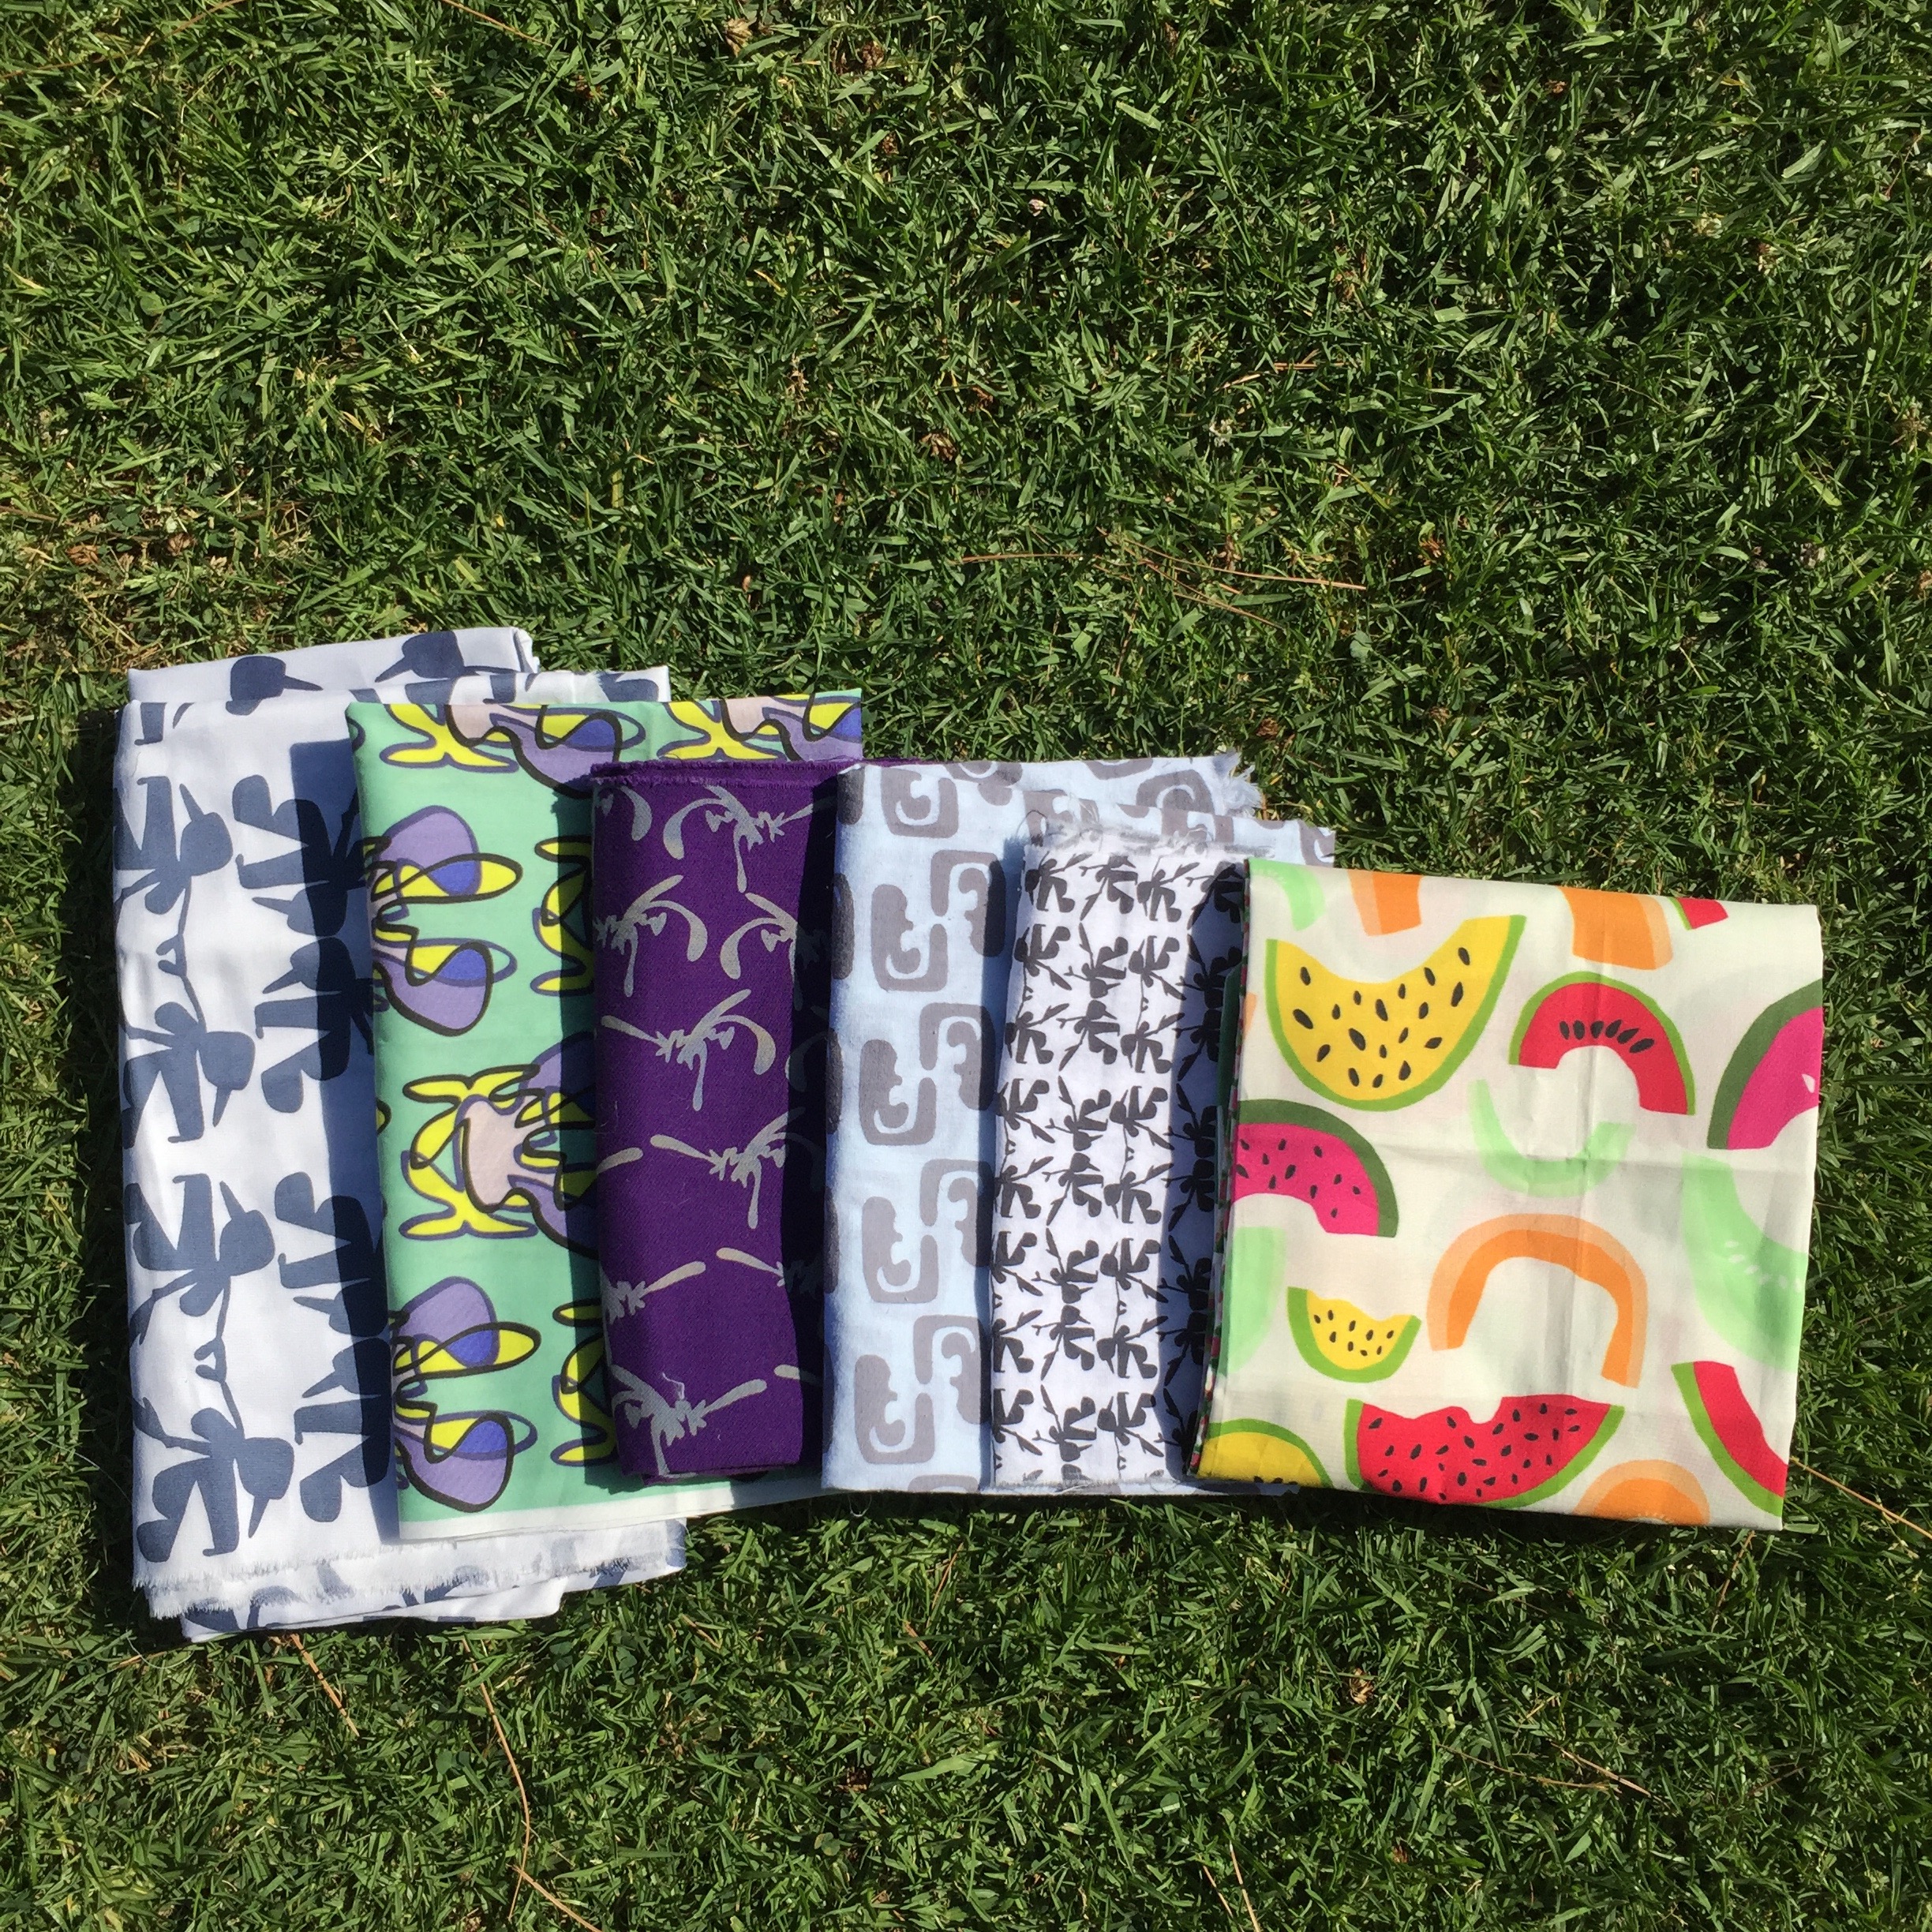
Textile Photo Shoot
Taking advantage of the beautiful summer light, I took photos of some digital and handprinted textiles outside last week. Here are some past and future collections in the works. The digitally printed fabrics were printed through Spoonflower. If you have never heard of them be sure to check them out for all your digital fabric and wallpaper printing needs!

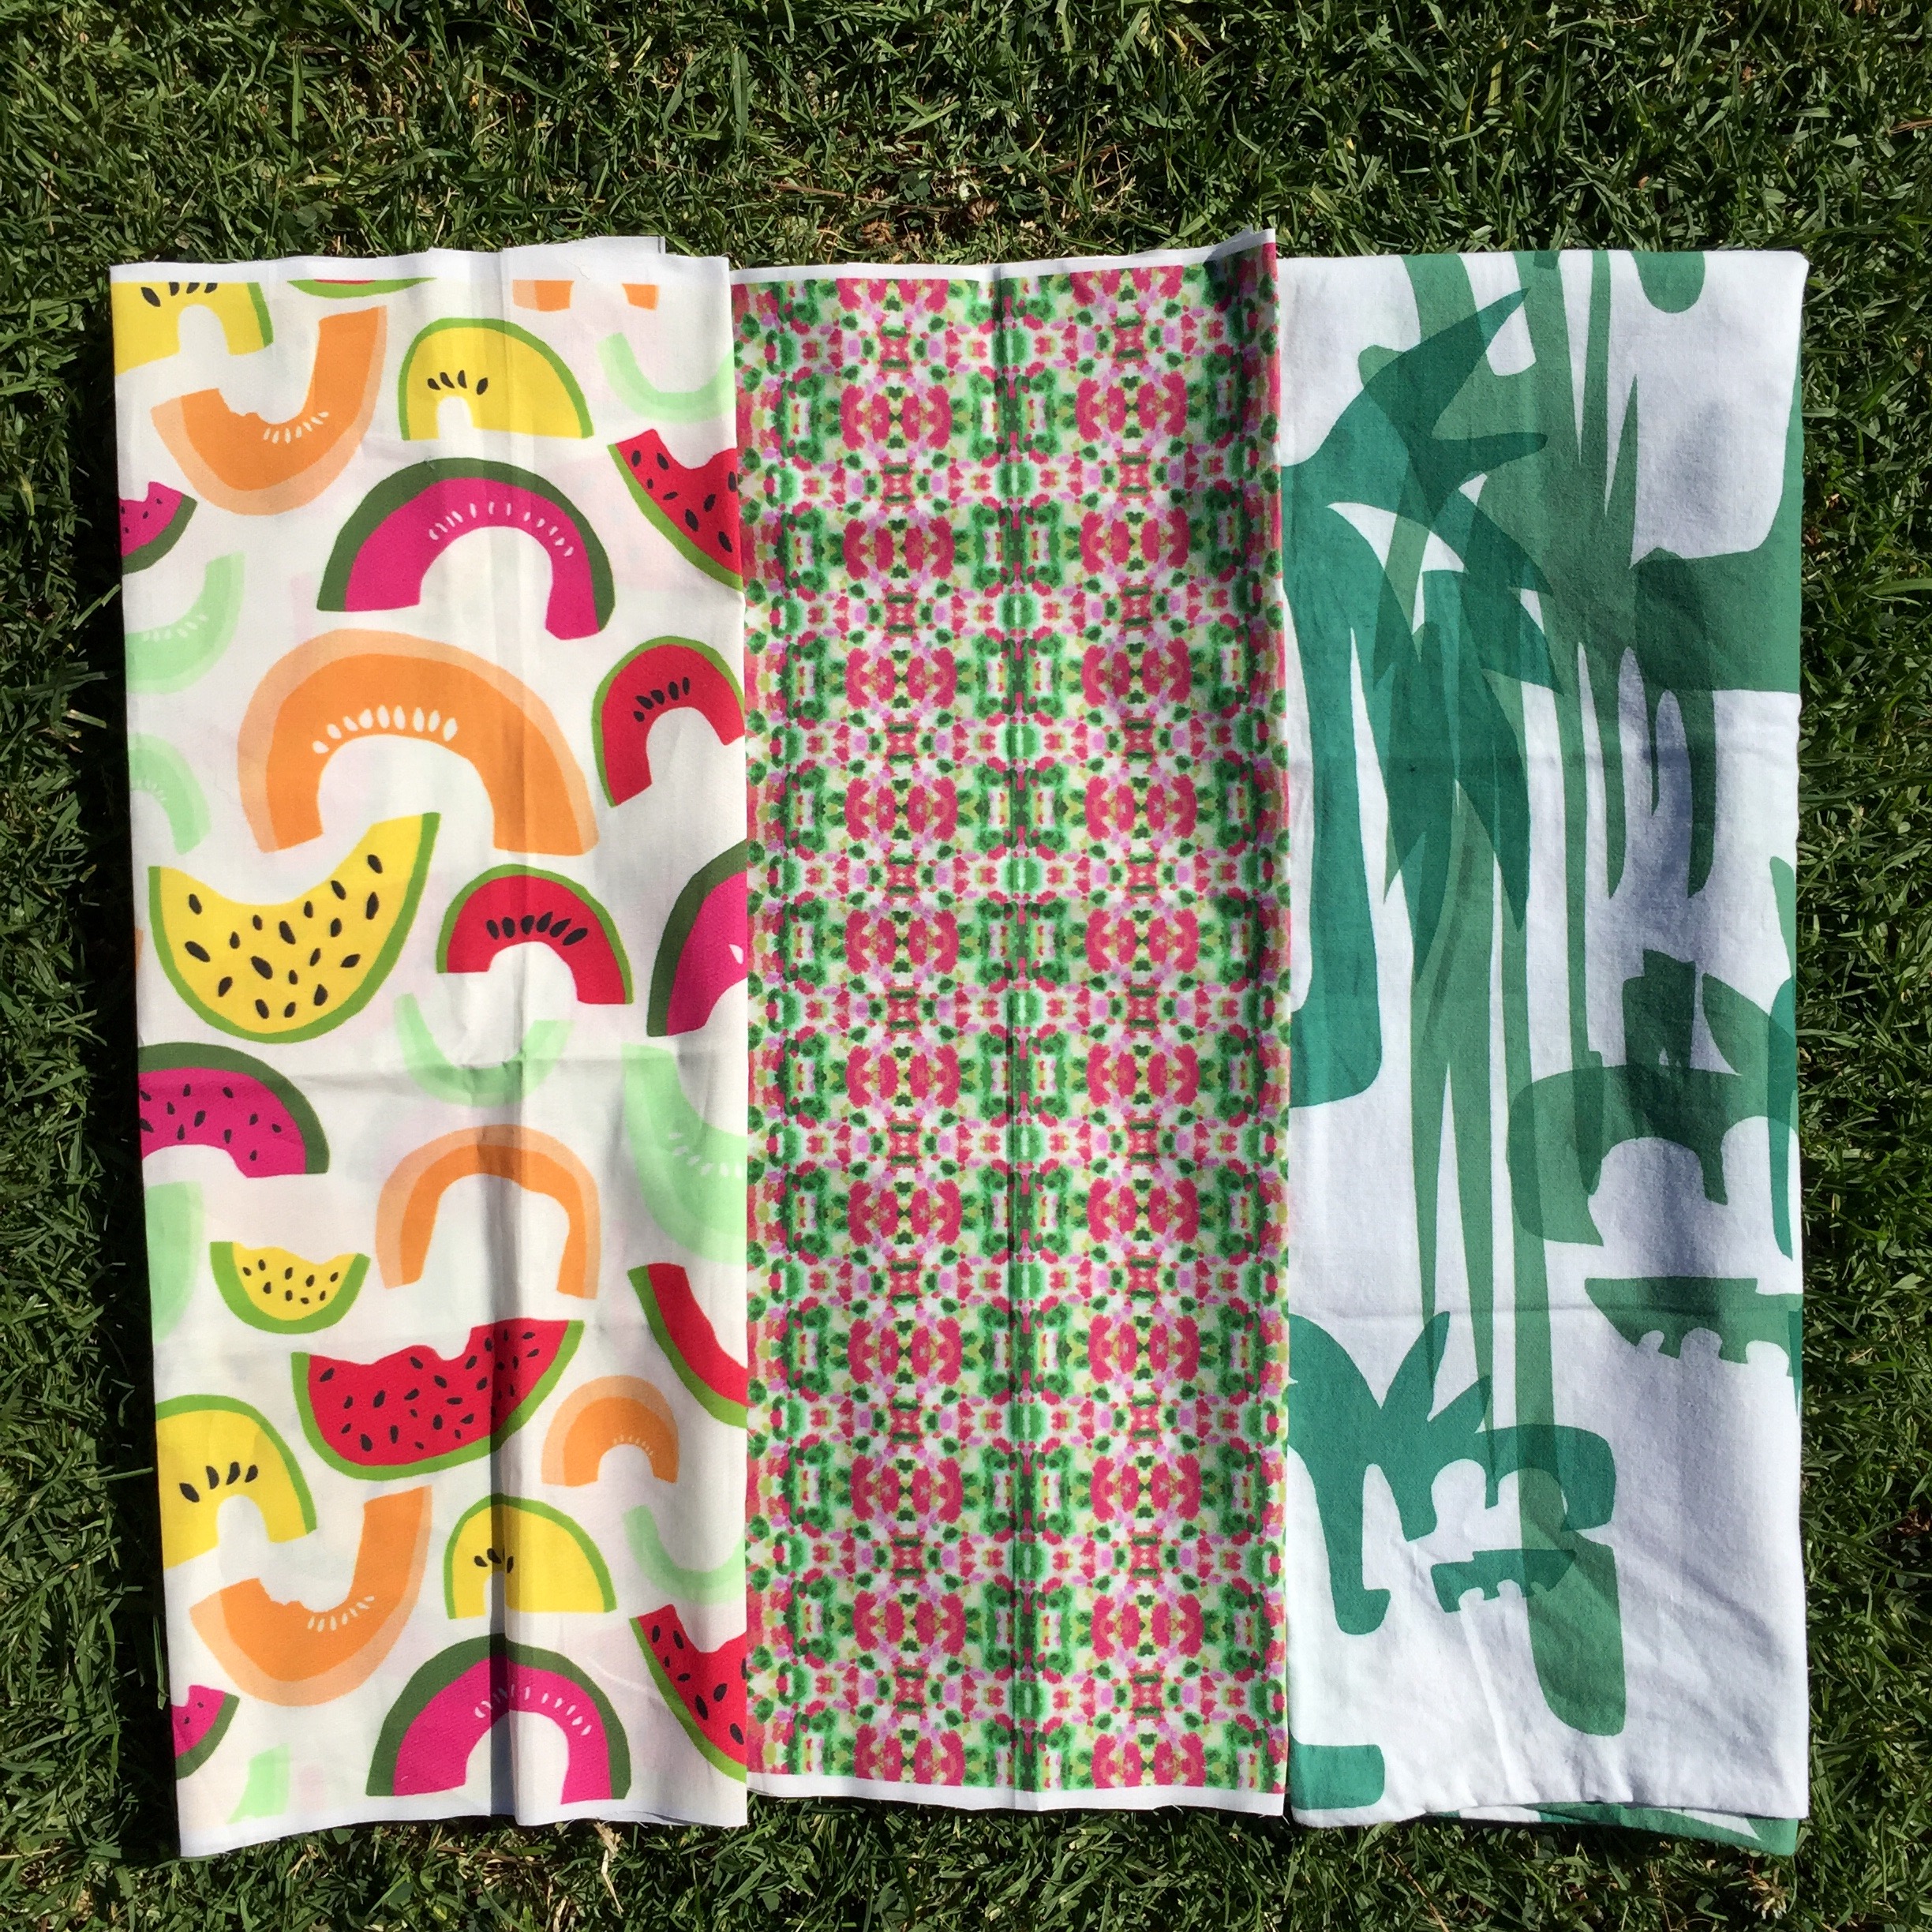


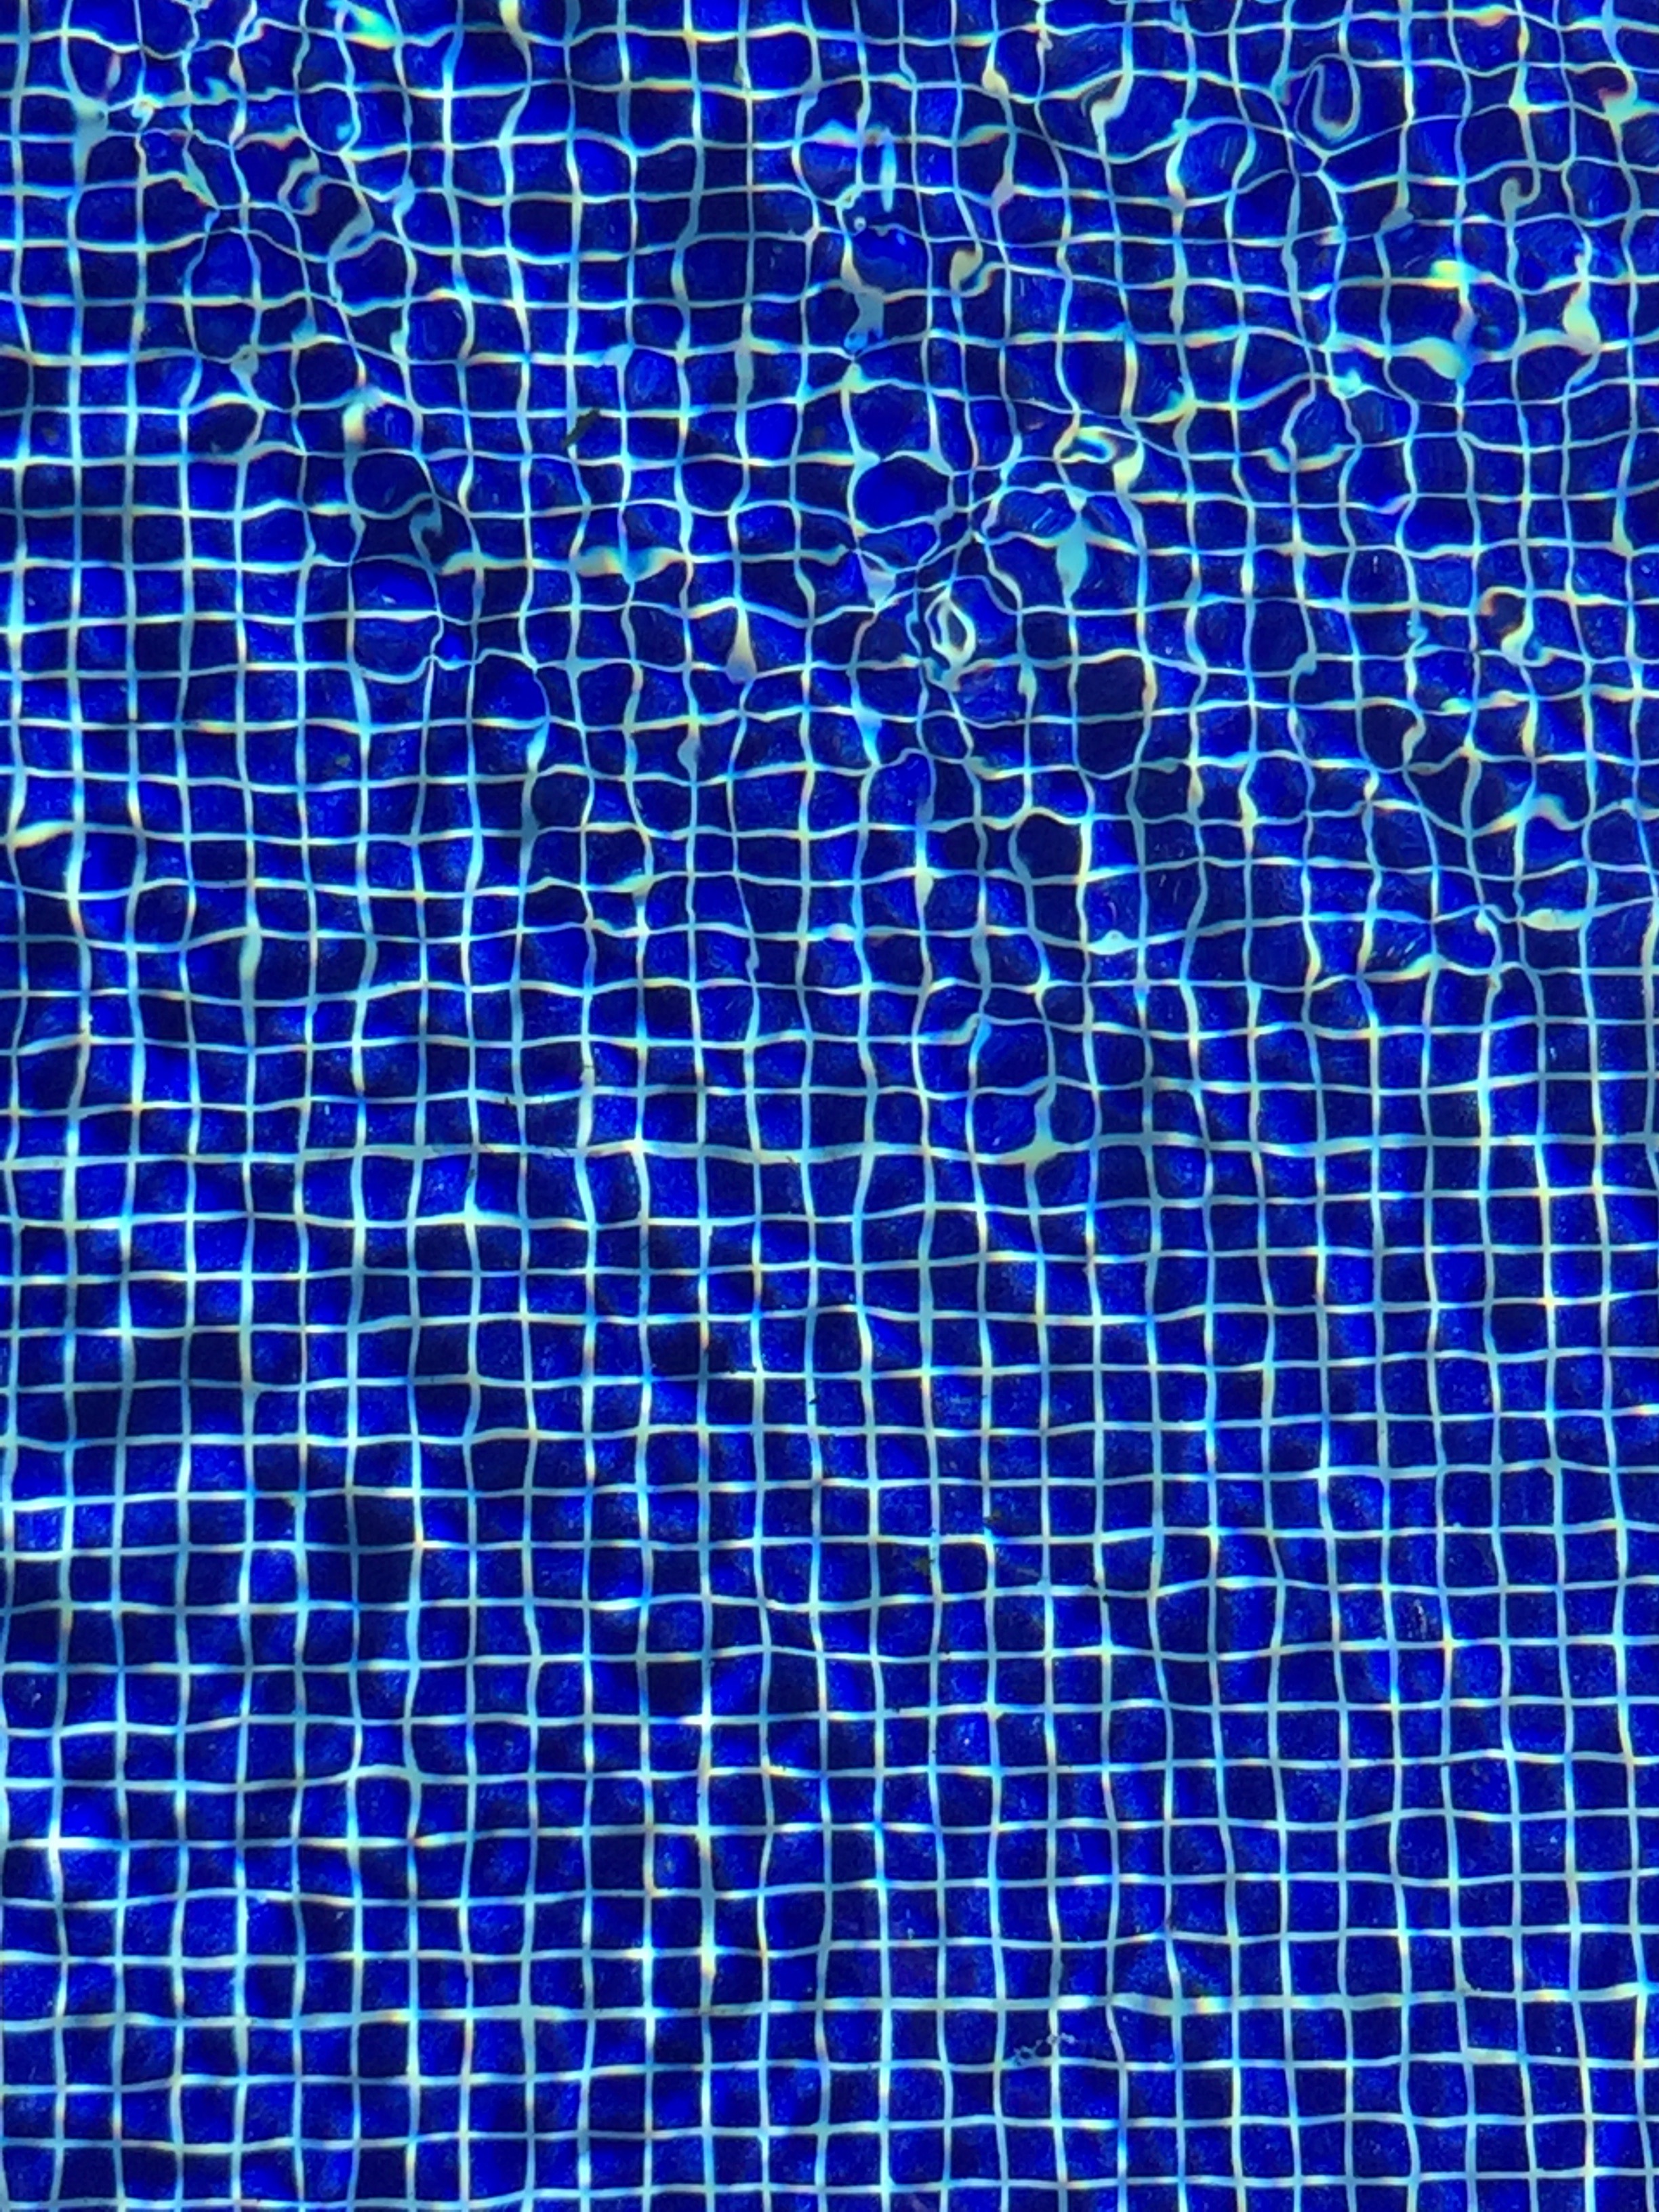
Summer is coming oh so fast!
A little pool inspiration for your post Memorial Day week. The time of sunshine, so much good fruit, swimming, and extra long days-My favorite season!
After Dark V in Taos New Mexico
Excited to be exhibiting once again in the fifth annual After Dark V in Taos, New Mexico at the Greg Moon Art Gallery. The exhibition will run from June 4th- June 25th with an opening reception June 4th from 5-6pm. If you are in the Taos area stop by and check out this fascinating selection of artwork! Pterodactyl Mosquitos will be hanging, a monoprint made with the screen printing process. While, the colors are vibrant, the subject matter is quite frightening. Enjoy!
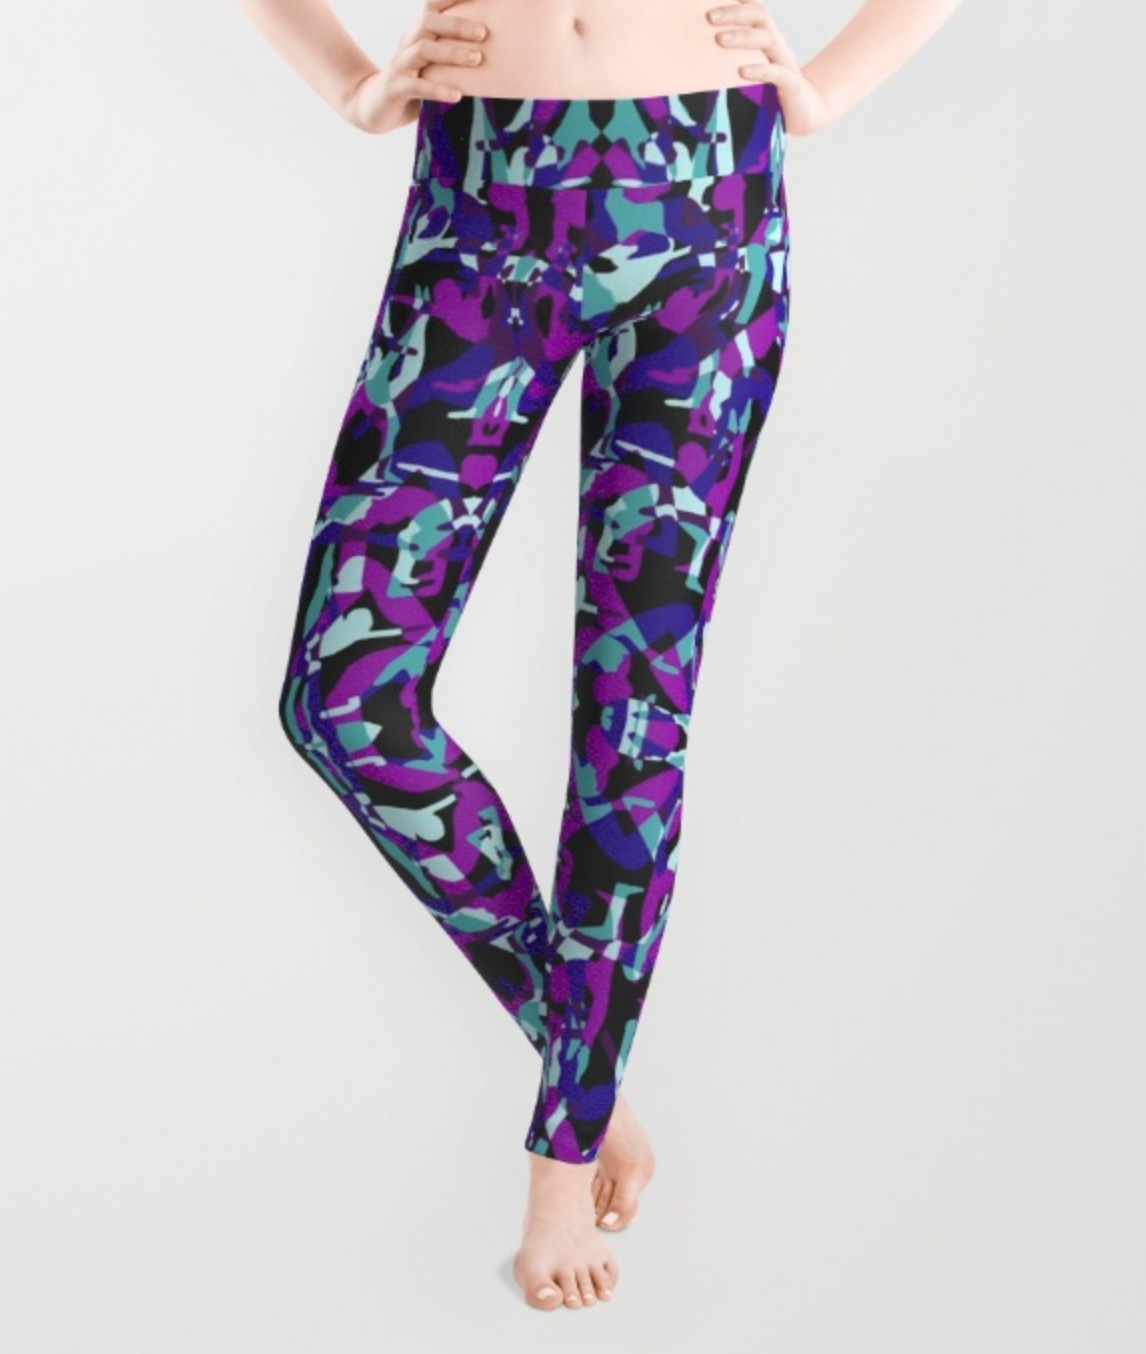
New Pants in the works
I little behind the scenes design post for this Tuesday afternoon. Excited to be designing these yoga pants inspired by my yoga studio here in San Diego, Mosaic, aka the best place to practice yoga ever!!! This pattern was made from piecing together many yoga poses and creating a mosaic pattern of asanas that are not noticed at first. Can't wait to see them moving on the body as well!
Spring art workshops in San Diego
Have you been wanting to be more creative and mix things up? Now is the chance with some spring workshops here in San Diego!